Effects + Modulation
Falcon has an extensive selection of audio effects and modulation sources that can be configured in both simple and extremely complex ways to achieve powerful effects. Most of these modules work on the same principles and interactions.
If you’ve followed the examples in the previous lessons, you should already be familiar with the basic concepts and use of effects and modulators in Falcon. Here we’ll build on that experience and explore some ways to further enhance your ability to both design sound and get hands-on with your patches.
For a detailed overview of each effect module and modulation source, please consult Effects and Modulators.
Using Dual Delay X
Dual Delay X is a delay effects module that is capable of a wide range of time-based effects, from classic delays to reverb-like decays to more unusual effects, with an immersive interface to visualize the stereo and phase adjustments being made.
-
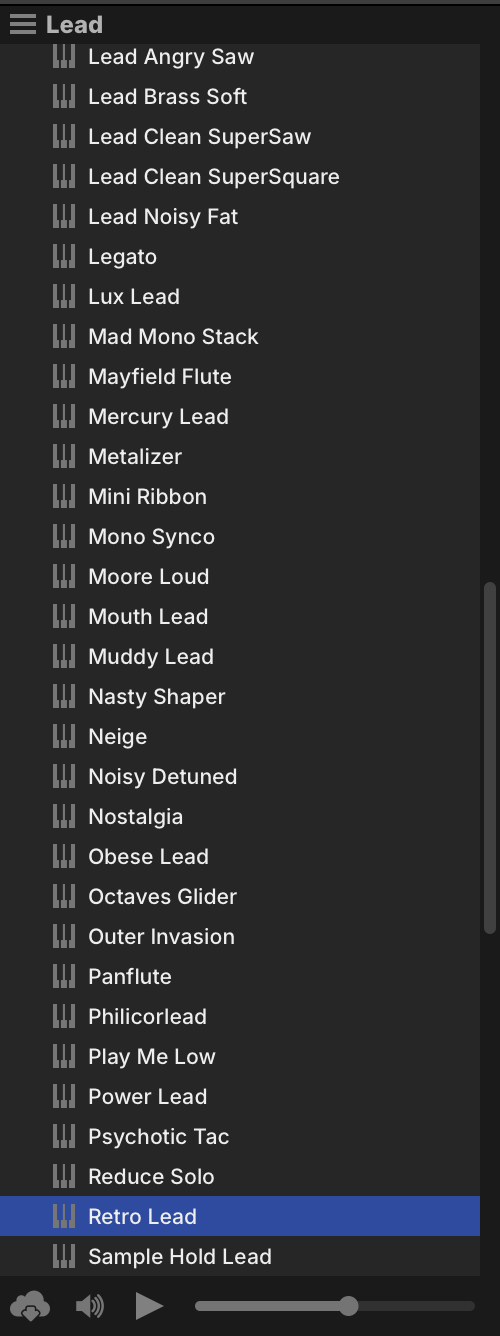
Let’s start with a preset from the FALCON FACTORY REV2 Soundware: in LEAD, find and double-click RETRO LEAD to load it.
-
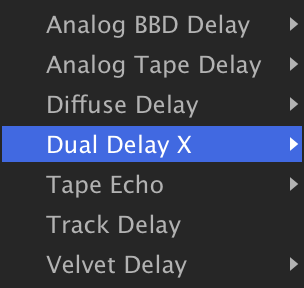
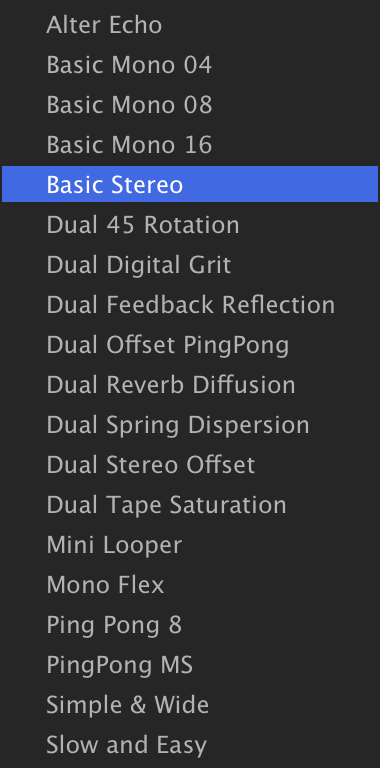
Switch to the EFFECTS tab, right-click the Analog Tape Delay effect header and choose DELAYDUAL DELAY X01 CLASSICBASIC STEREO.
-
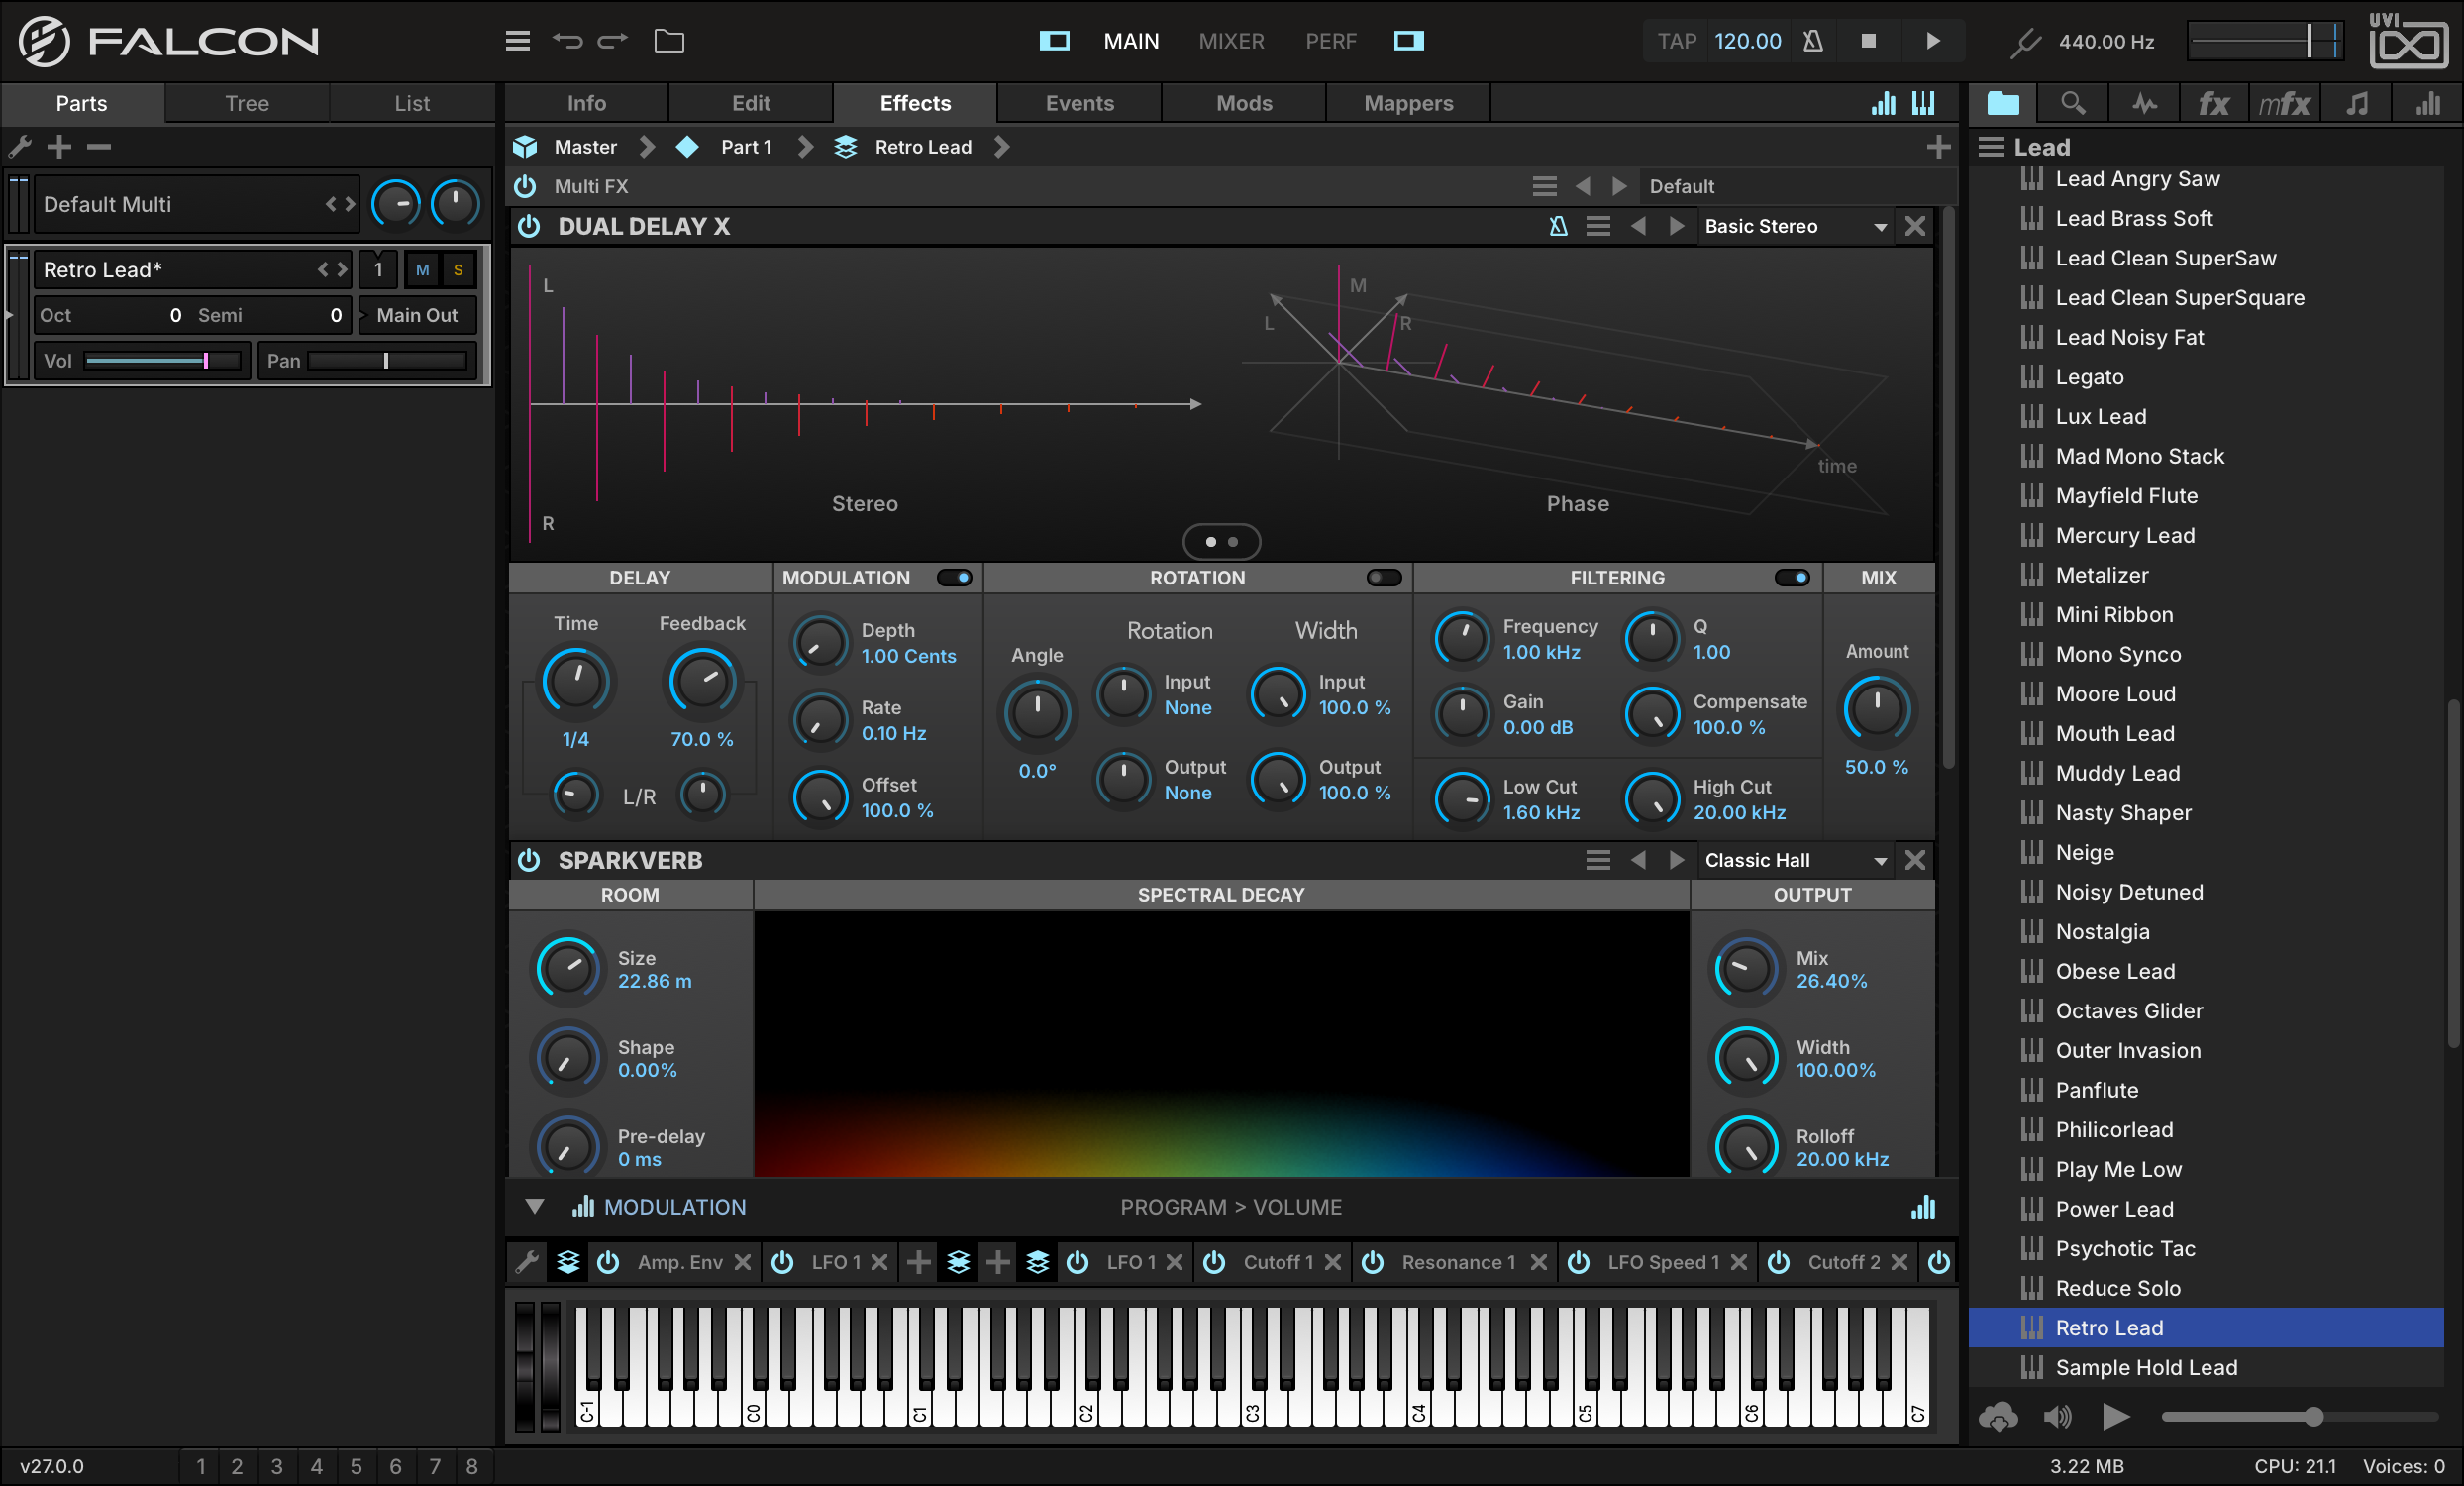
First, let’s increase DELAYTIME to 1/4 for a more pronounced delay effect. The delay time can be specified in milliseconds, or in bars/beats if tempo sync is enabled (as it is here).
-
The Stereo and Phase graphs are the centerpiece of the Dual Delay X interface. As you adjust the parameters below, the graphs are updated in real time. Let’s turn the DELAYFEEDBACK knob up to 70 %: you will see both the number of delay taps and their magnitude increase.
-
Time and Feedback can be the same for the left and right channels, or one channel can be shifted relative to the other. Turn the L/R knob under TIME counter-clockwise until it reads L x 0.50, and you will see the left channel delay taps are half the duration of the right channel delay taps.
-
Let’s add some gentle pitch modulation to our sound to give it a chorusing effect. Set MODULATIONDEPTH to 1.00 cents and MODULATIONRATE to 0.1 Hz.
-
Now let’s adjust the filter to clean up the low-frequency content: set FILTERINGLOW CUT to 1.6 kHz.
-
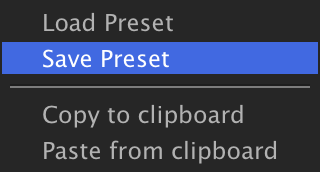
Once you have the effect where you like it, you can save its state as a preset. In the upper right of the effect module, press the Preset File menu and choose SAVE PRESET, and enter a name for the preset. Here we’ll name it MY PRESET.
-
You’ll now see your custom preset in the FX tab of the right sidebar and in the module’s preset menu, within a User Preset folder alongside the factory presets for the module.
Dual Delay X can produce many classic effects through its time and phase settings. A short delay time with modulation, for example, gives a chorus or flanger, with the modulation, filter and rotation parameters shaping its character — and it can also create sounds you have never heard before. The factory presets in the 08 CREATIVE category give many examples of special effects to explore.
Using SparkVerb
SparkVerb is a unique and versatile reverb with an extraordinarily light CPU footprint, whose frequency-based spectral display shows the decay band by band. A single Size parameter emulates room reflections from 4 m to 50 m while Decay can be shaped globally and with independent low and high frequency multipliers, each with adjustable crossovers.
-
Let’s create a quick set of loops. In this case we’re using Falcon’s search engine to find loops across our Soundware such as Mayhem of Loops. Navigate to it and create new parts for loop files by dragging them over to the parts list. If the loops aren’t playing automatically, press Play in Falcon’s toolbar or in your DAW’s transport if you’re using Falcon as a plug-in.
-
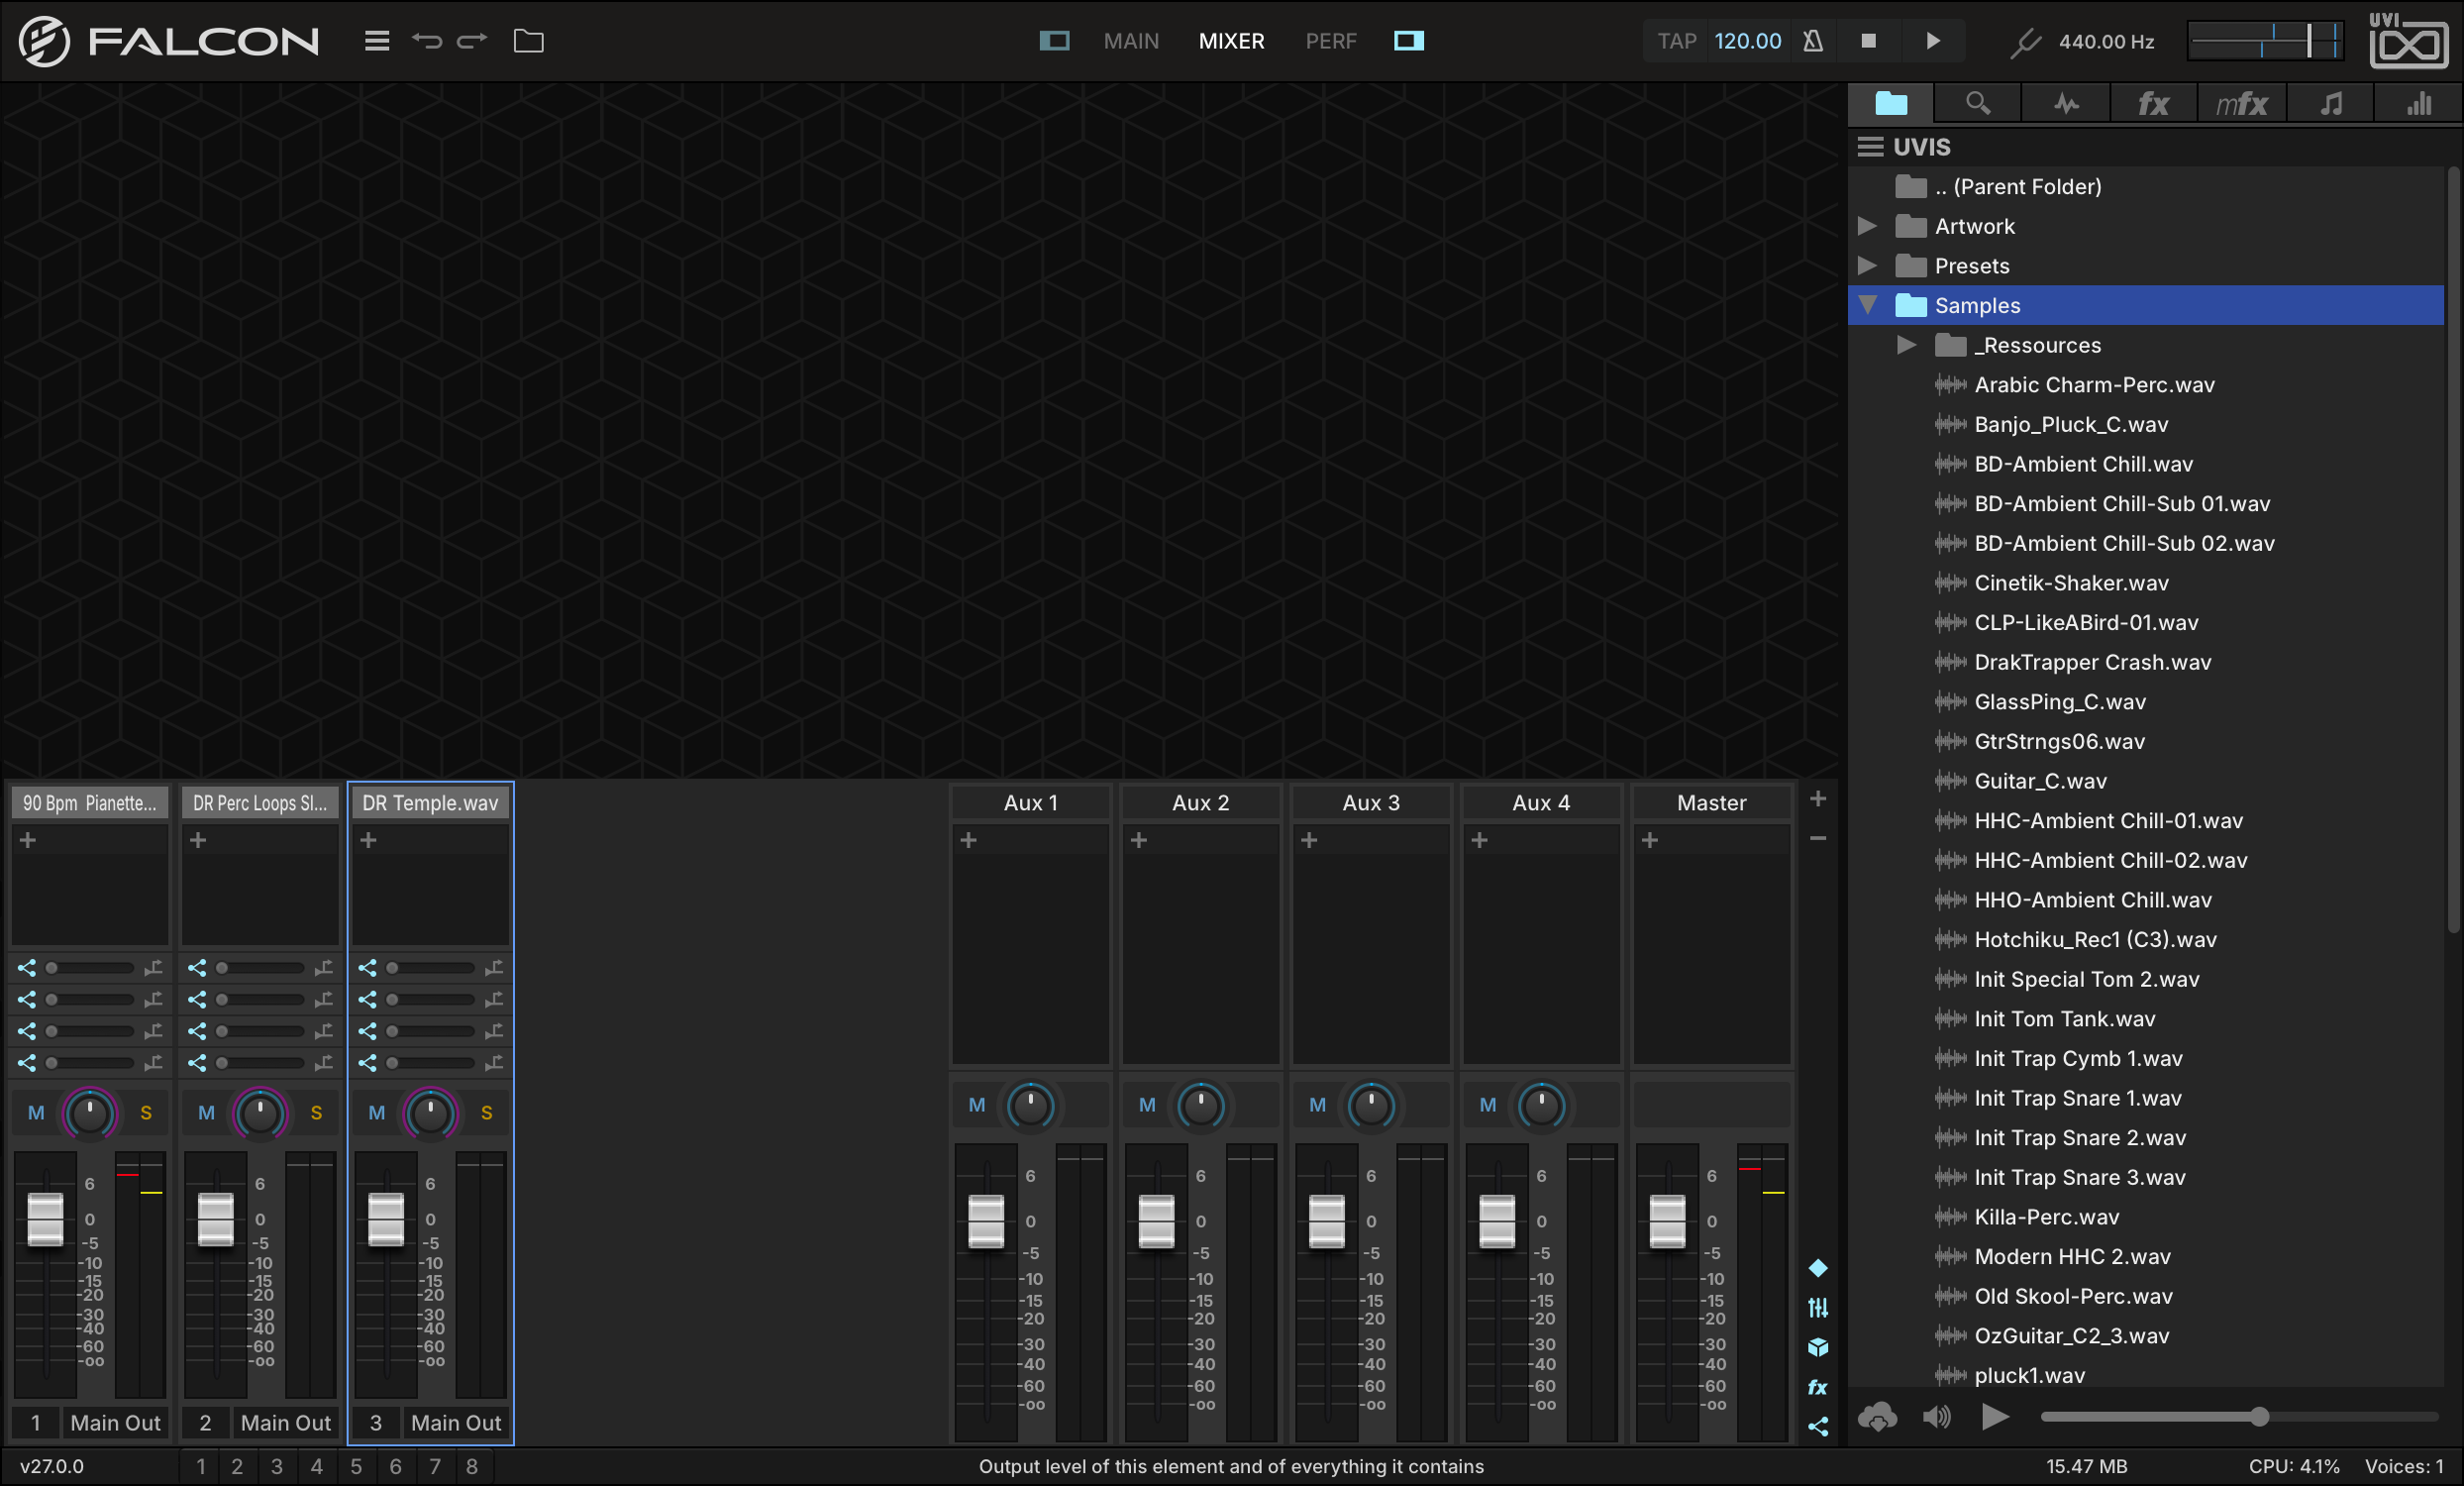
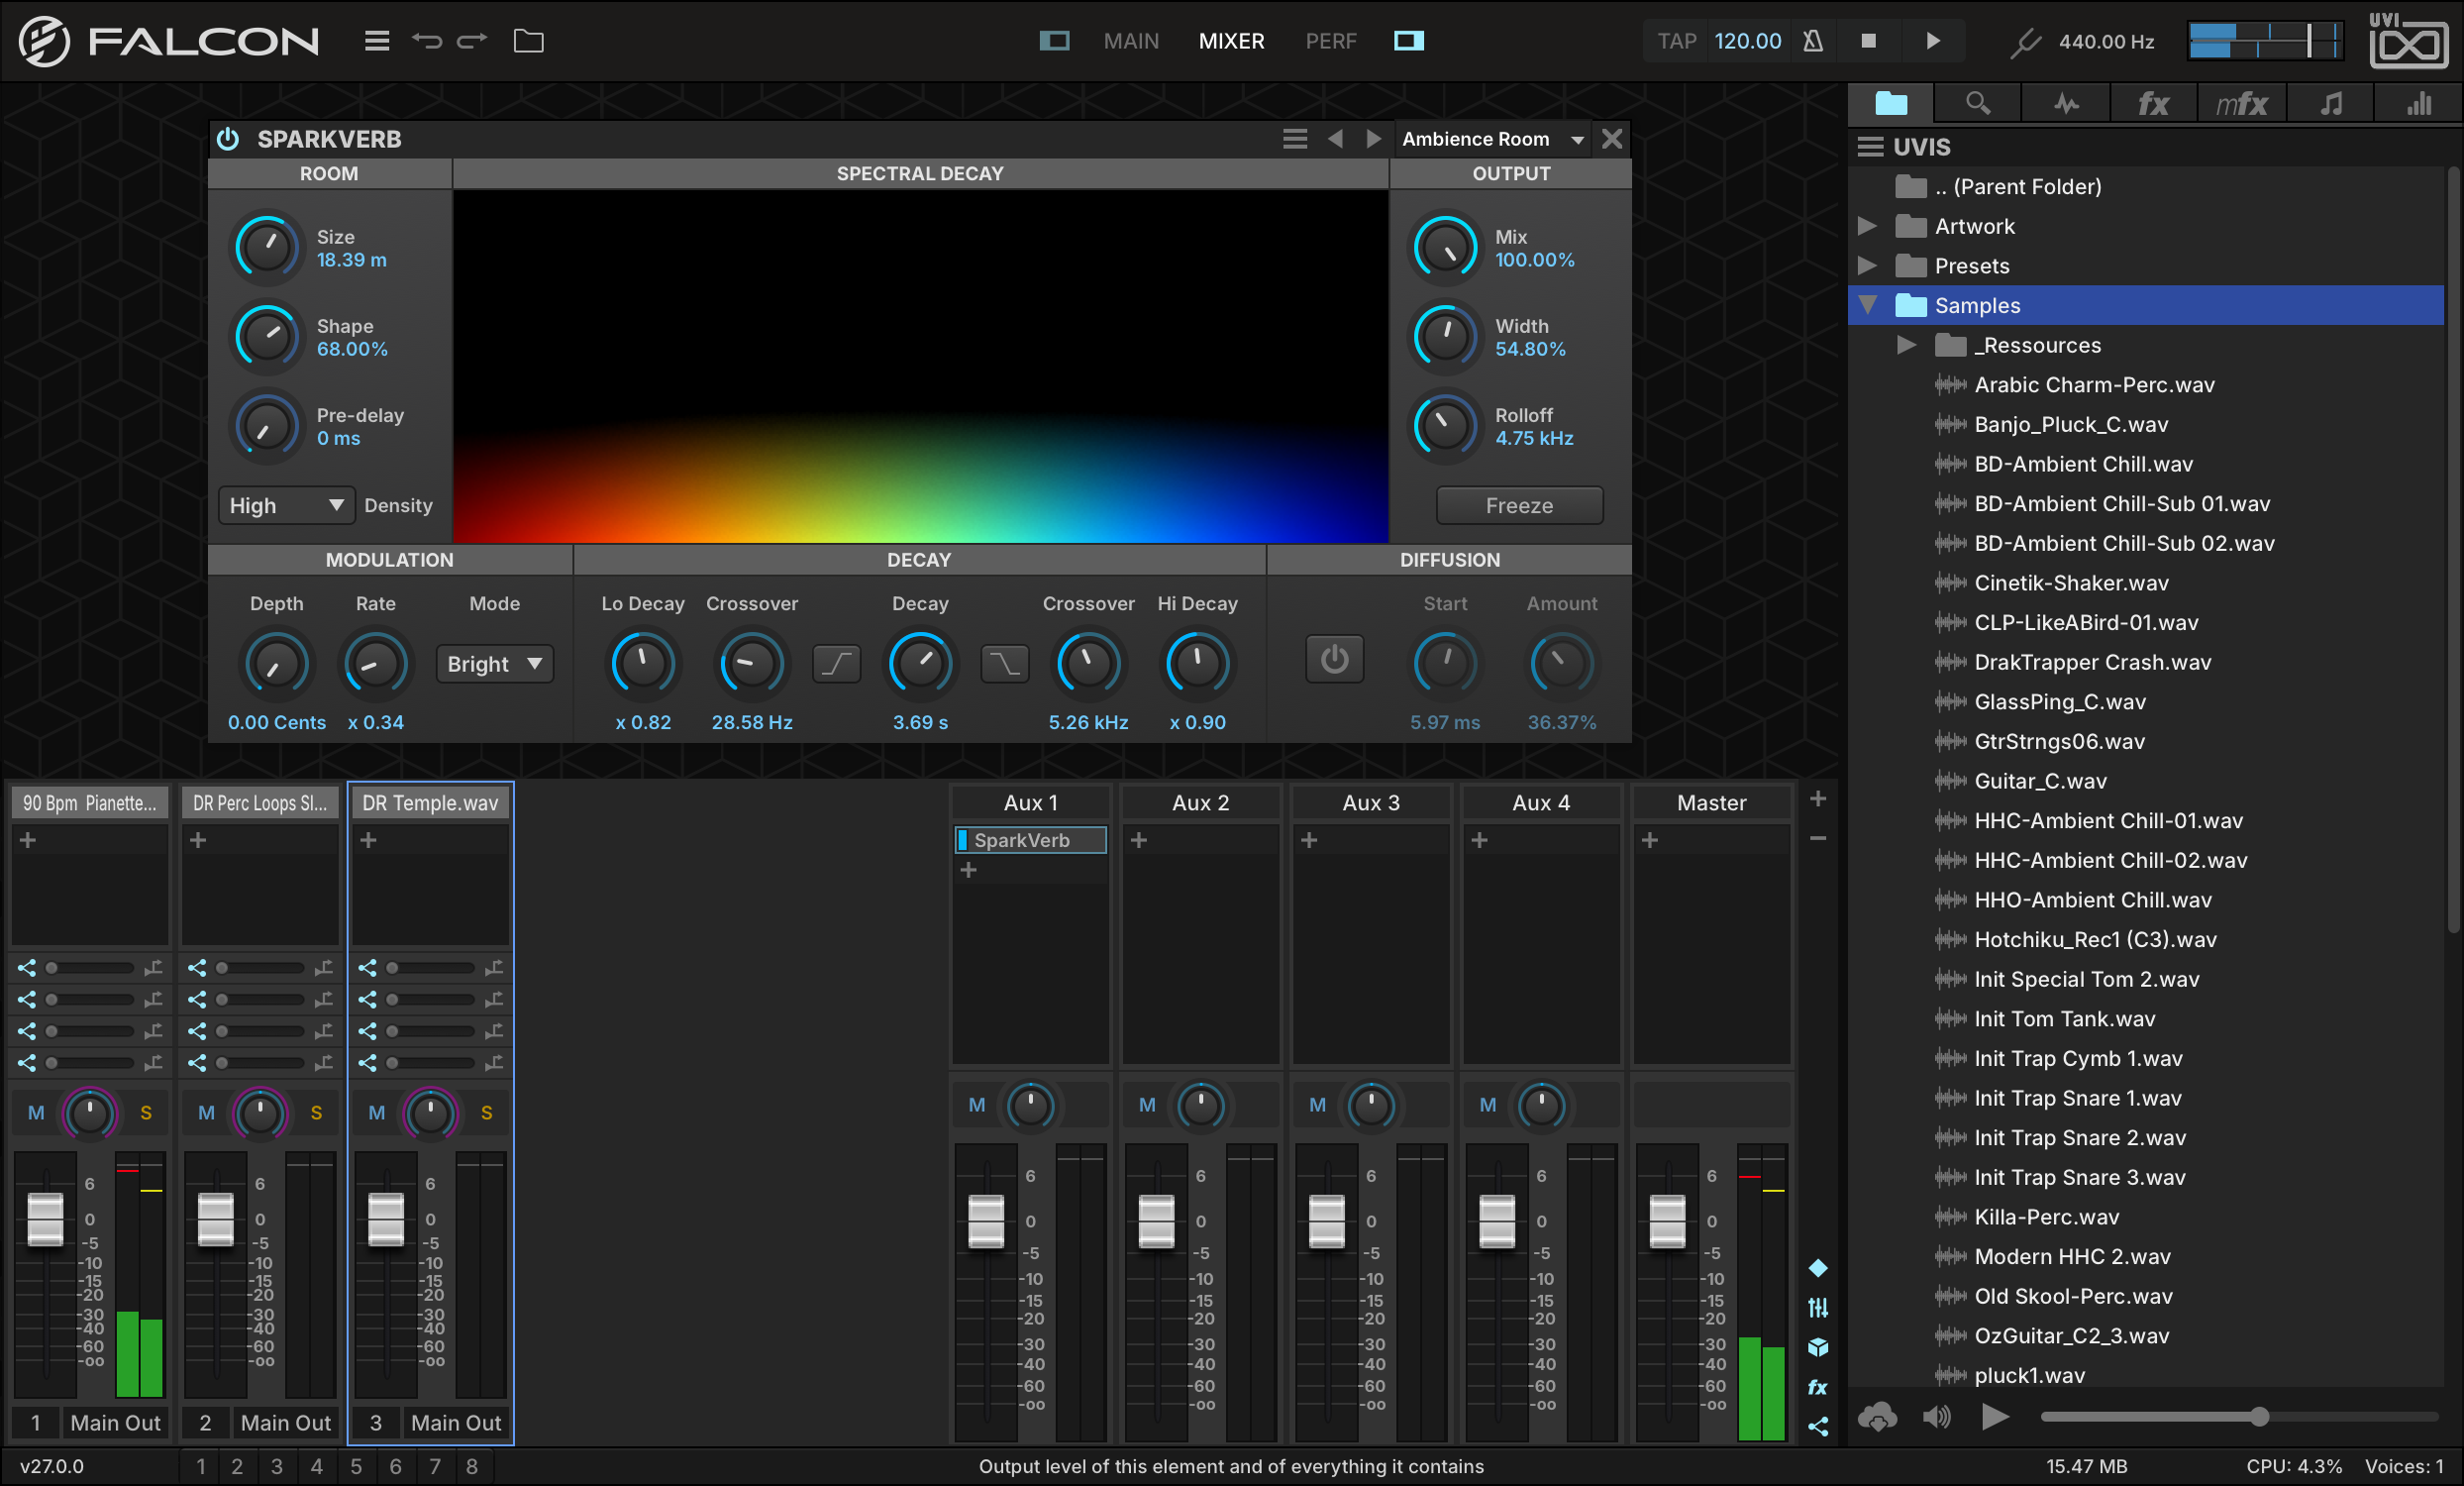
Now that we have some loops let’s put SparkVerb on an Aux channel. This will allow us to use one instance of SparkVerb for as many parts as we like. Click the MIXER button in Falcon’s toolbar to change the current view. Now we can see our 3 instrument parts on the left and 4 aux channels and the master on the right.
-
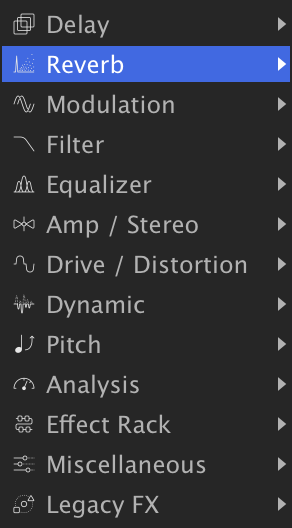
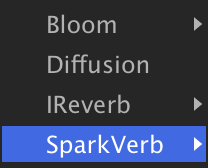
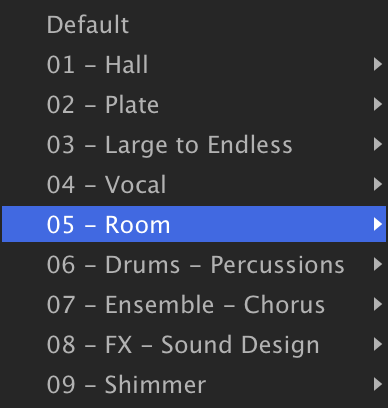
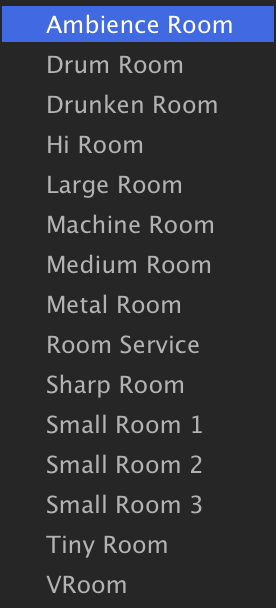
Click the + button at the top of the AUX1 channel and select REVERBSPARKVERB05 - ROOMAMBIENCE ROOM. You should now see the SparkVerb interface at the top.
-
At the center of the SparkVerb interface is the spectral display. Frequency is mapped across the X axis (low to high) and decay time along the Y axis, so the display grows upward as the room gets bigger; it follows every change you make to the parameters.
-
Since we’ve instanced SparkVerb on an effect bus let’s turn MIX up to 100 %, as we’ll control the wet amount with individual part sends.
-
Let’s send some signal from our 3 loops over to SparkVerb. Set their Aux 1 sends to −16 dB, −30 dB and −60 dB, respectively. We can now hear all three tracks affected by the reverb.
-
Now, finally, let’s toggle SparkVerb’s POWER button on/off to A/B the results. From here, we can continue exploring SparkVerb’s settings and if we find one that works well that we want to save, we can make a preset to recall later.
Using Effect Racks
The Effect Rack is a special kind of effect module that creates a new effects path inline where the Effect Rack module is added, similar to patching in an external rack of effects from a mixing console. Macros can then be added for “front-panel” control of the effects in the Effect Rack’s FX chain.
To see it in action, load a program, then switch to the EFFECTS tab and add an EFFECT RACK.
-
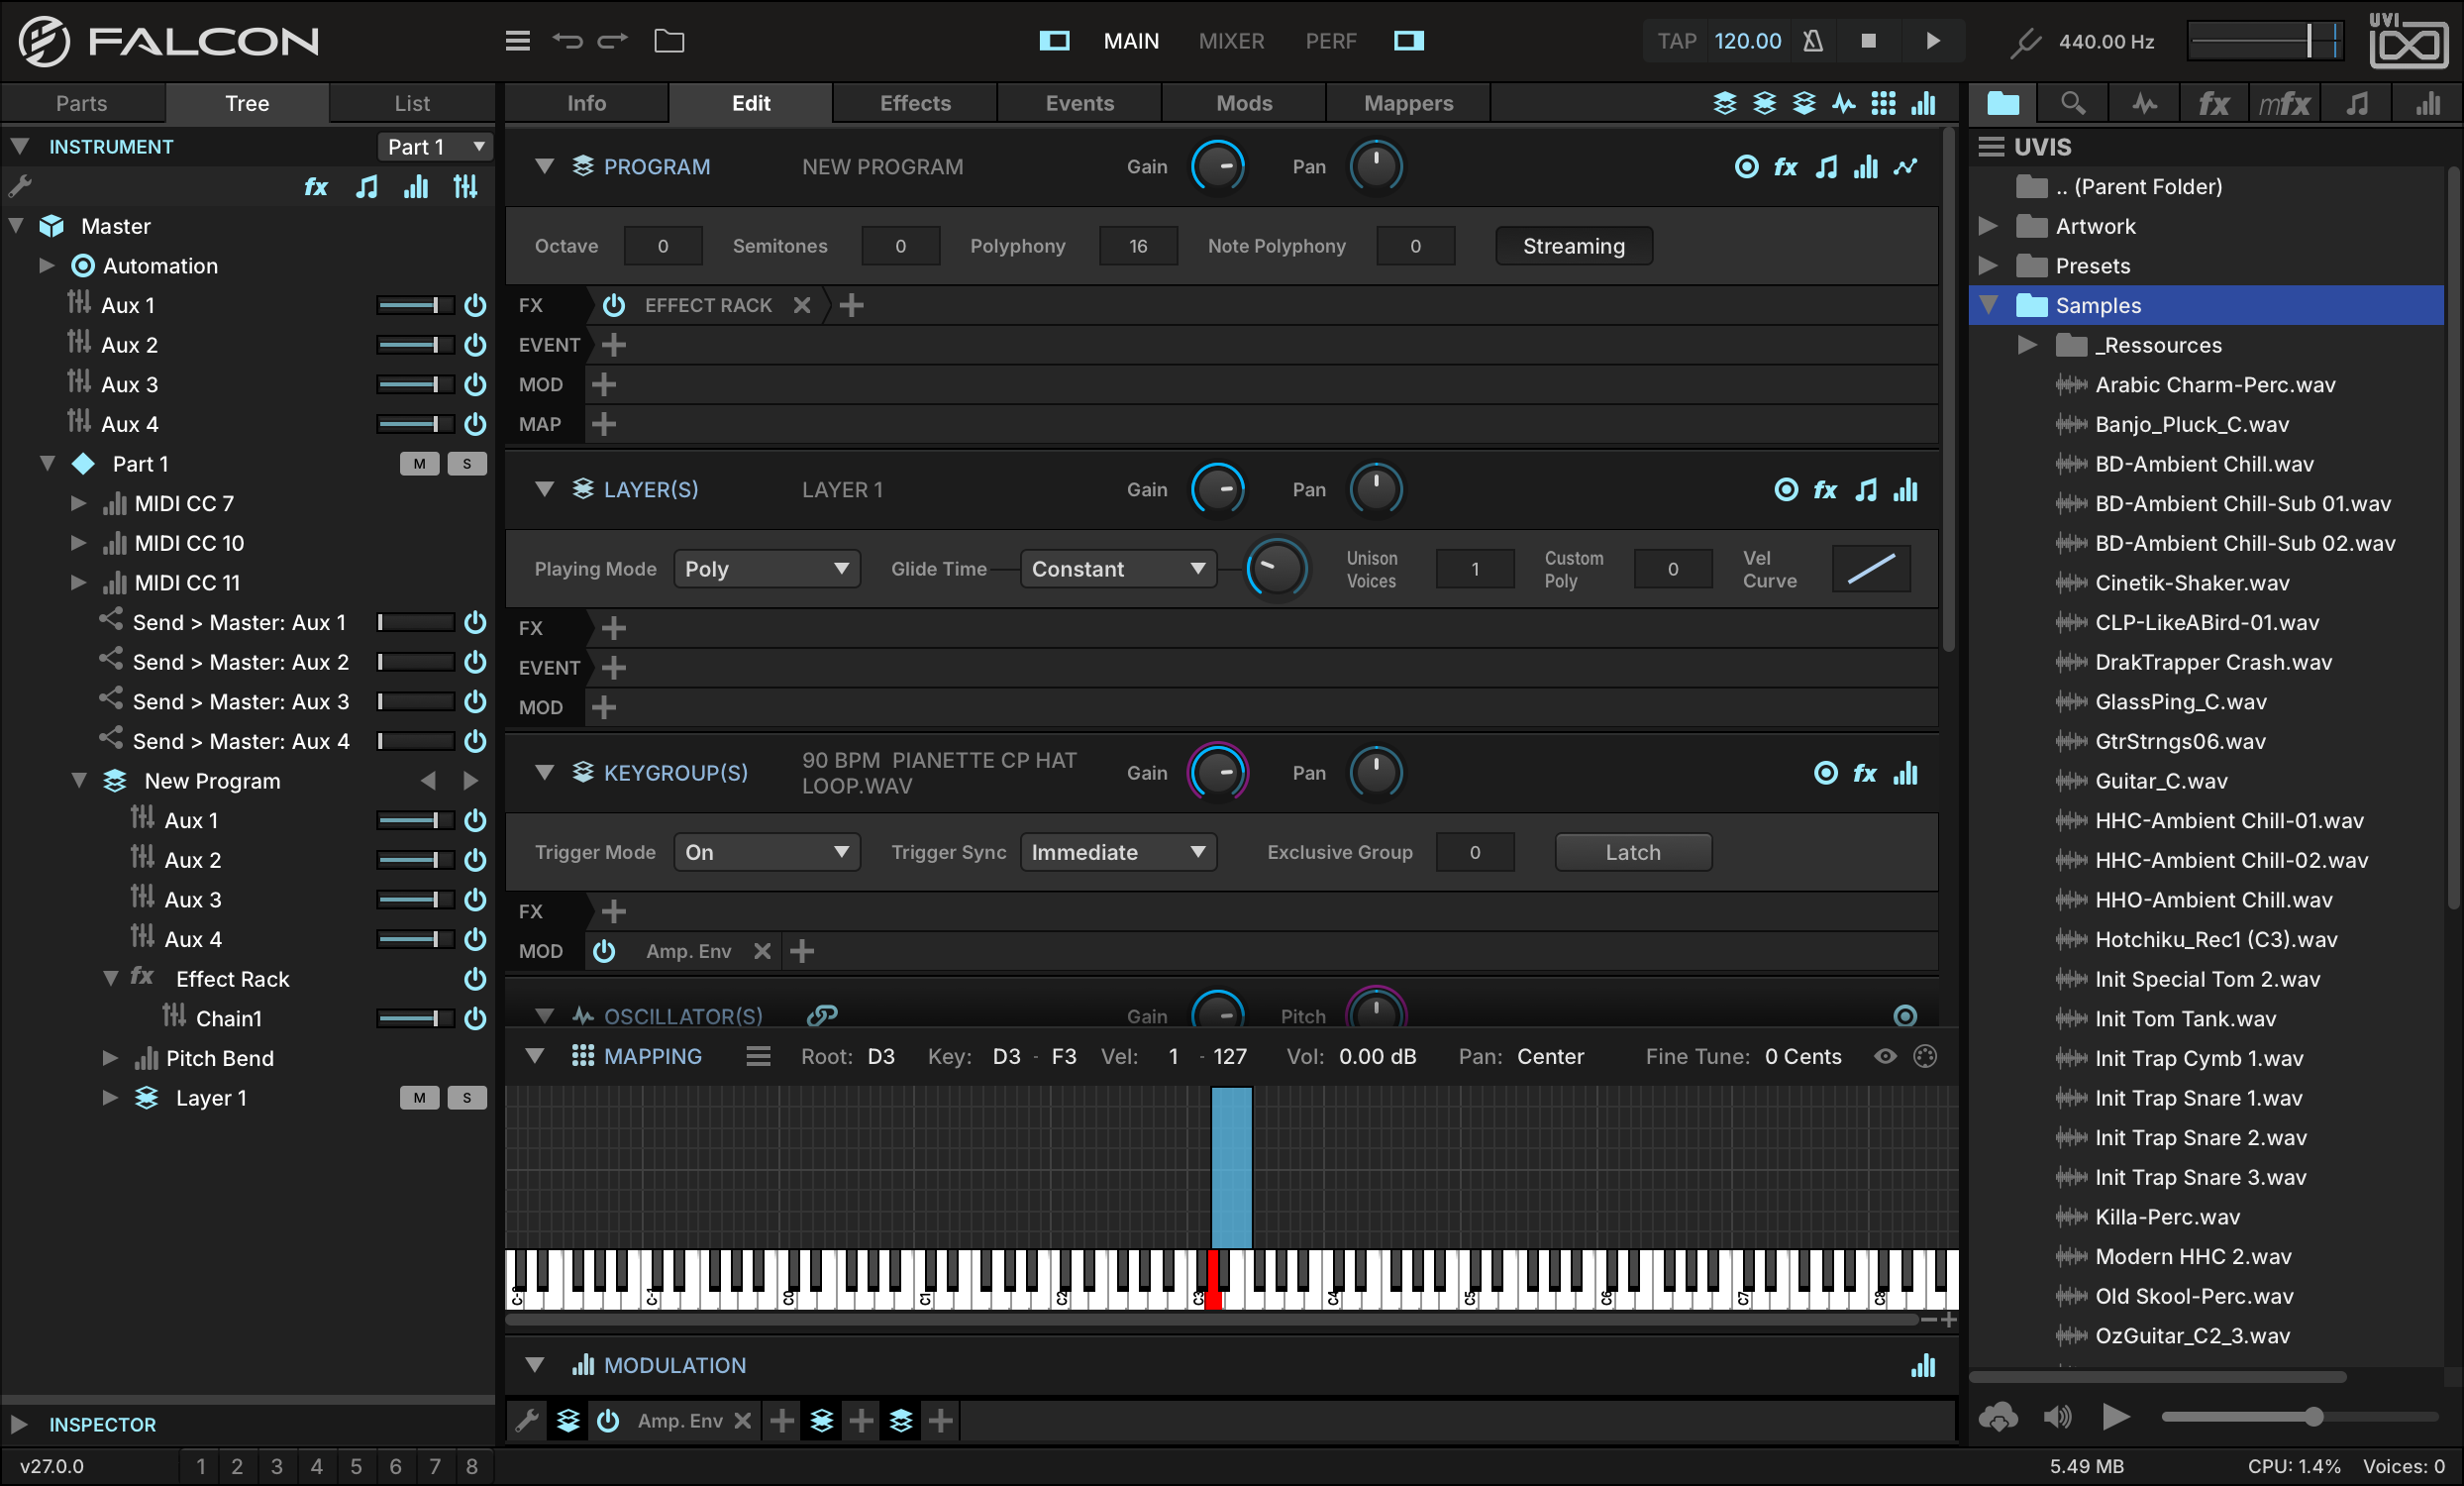
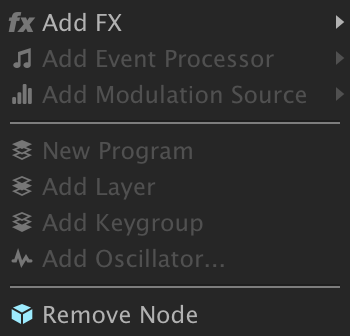
When the Effect Rack is added, it doesn’t add any audio processing on its own; instead, it creates a new FX chain. Navigate to the TREE tab and expand our new Effect Rack. Inside it is CHAIN 1. You can right-click this chain to add as many effects as you like.
-
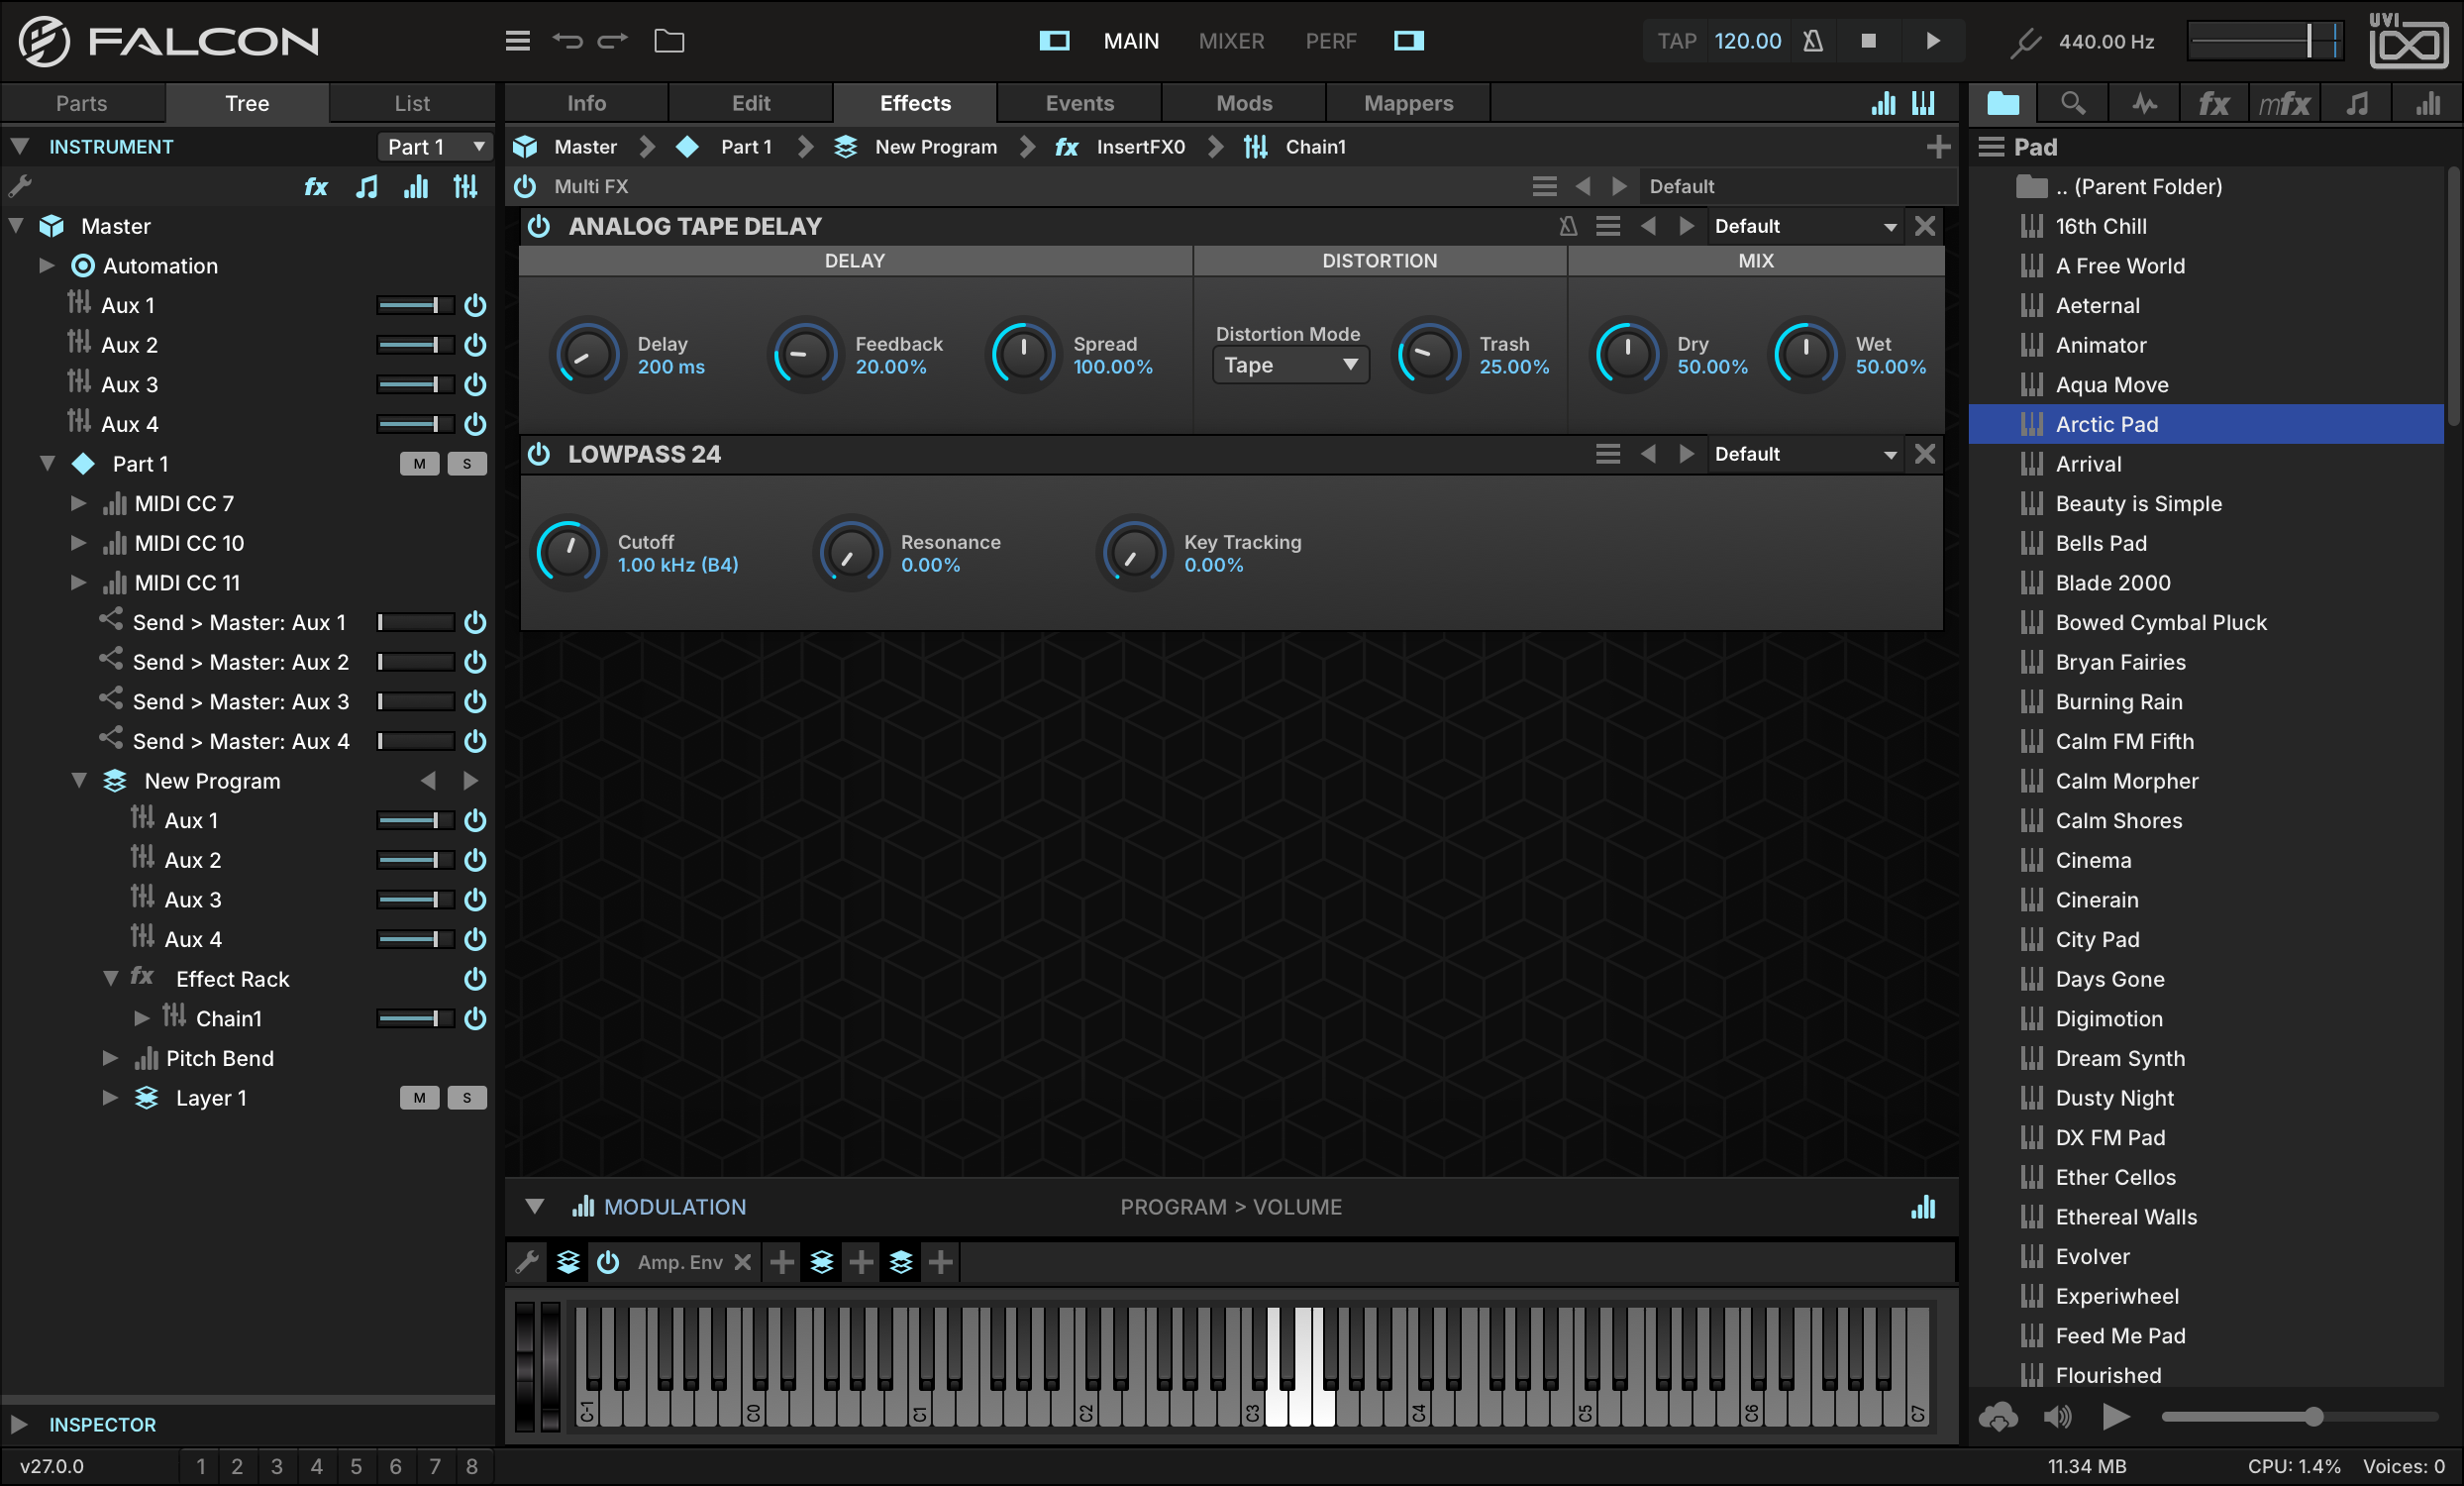
Let’s add a delay and a filter to chain 1, ANALOG TAPE DELAY and LOWPASS 24.
-
Switch to the EDIT tab, then show the Modulation Editor with its button in the upper-right toolbar of the Edit tab.
-
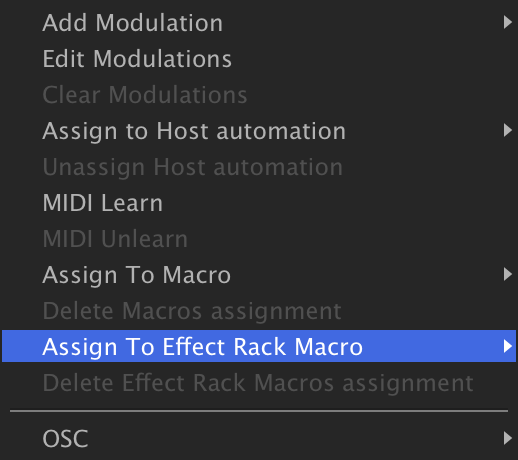
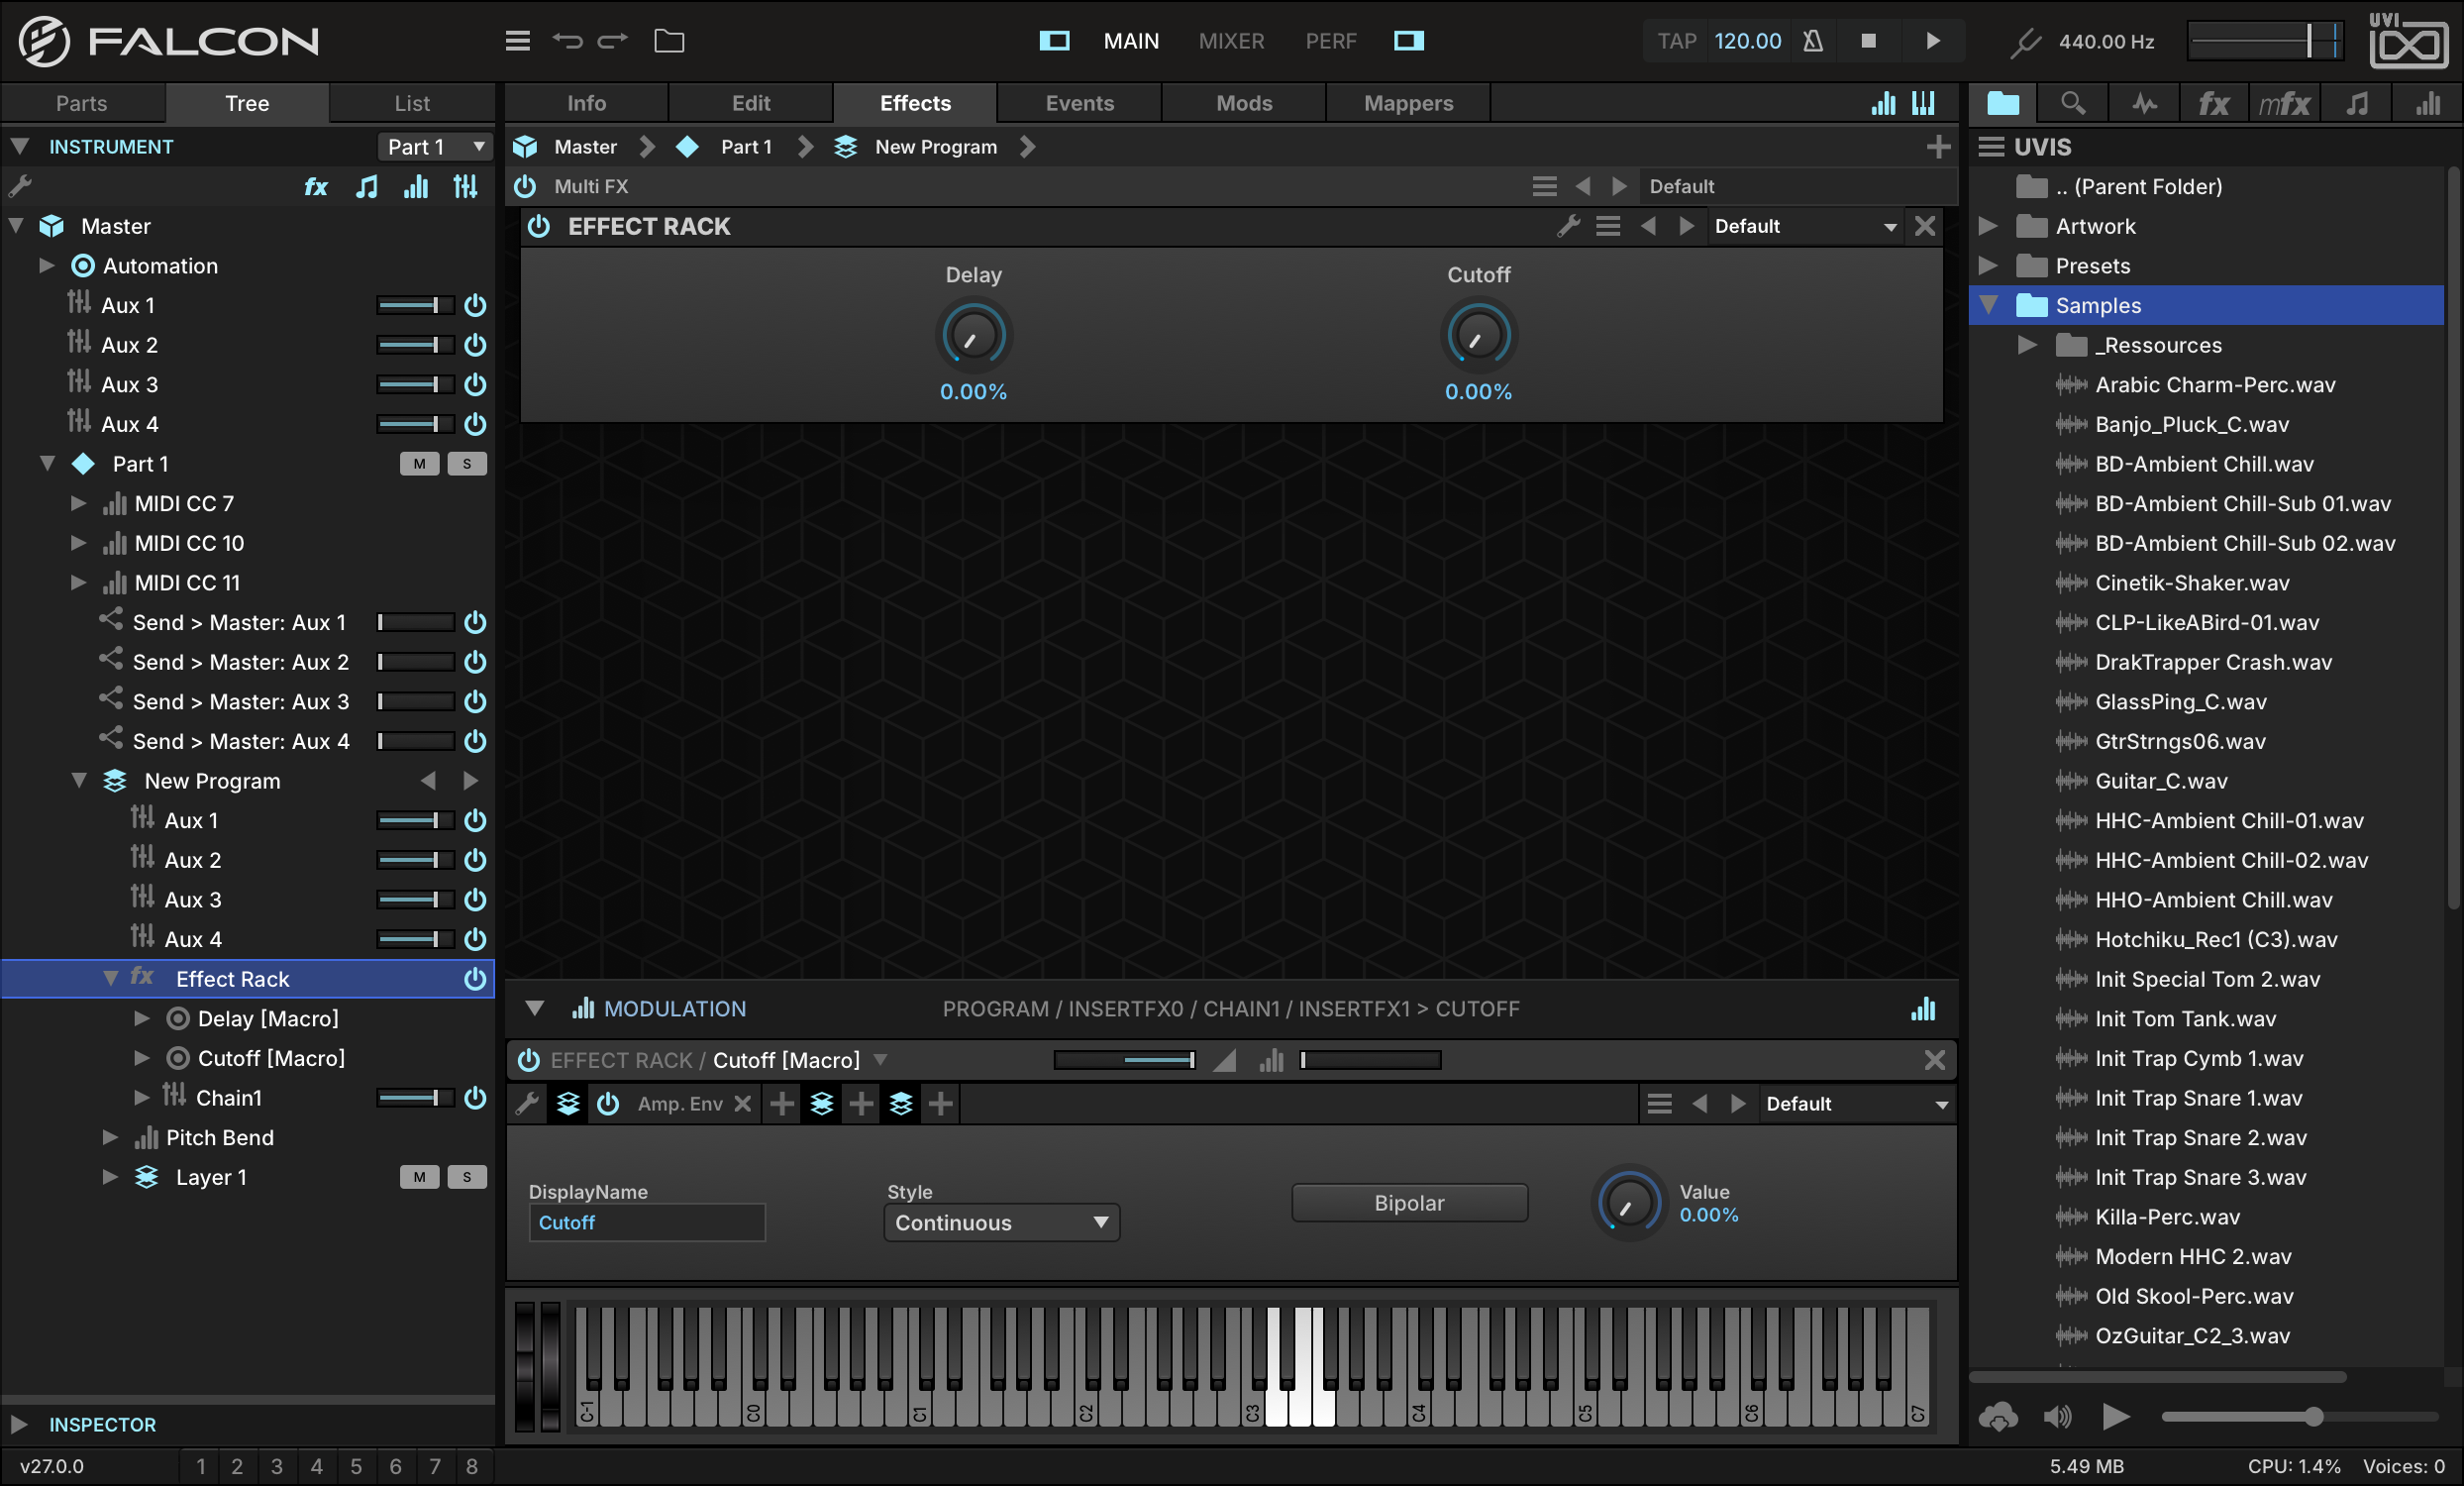
Now right-click the DELAY knob in the Analog Tape Delay effect and select ASSIGN TO EFFECT RACK MACROADD NEW MACRO. In the Editor below you will see the Macro modulator we just created along with all of its editable parameters. Locate the DISPLAYNAME field, double-click it and rename the macro DELAY. Do the same for the filter cutoff, renaming it CUTOFF.

-
Now let’s head back to the Effect Rack “front panel” by selecting the Effect Rack in the Tree view. Now we see our two macros and the names we set for them.
-
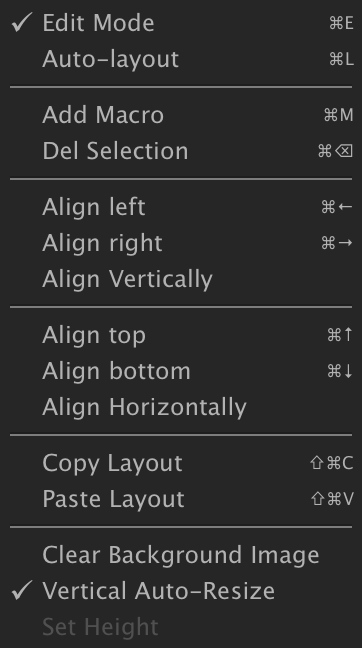
If you want to change the layout of the Macro panel, press Cmd/Ctrl+E to enter Edit mode, or click the wrench in the Effect Rack’s header. Select both macro knobs and right-click over the background for helpful layout options. You can also add a custom background by dragging an image onto the panel. Press Cmd/Ctrl+E again to exit Edit mode when your changes are complete.
-
To set the overall level of the FX chain, adjust the volume slider of the FX chain in the Tree view.
Using Macros
Macros are intermediary modulation sources which modulate other controls, useful for placing a small number of important controls on the “front panel” of a patch. Any parameter that can be modulated can be assigned to a macro, and a single macro can drive any number of parameters.
-
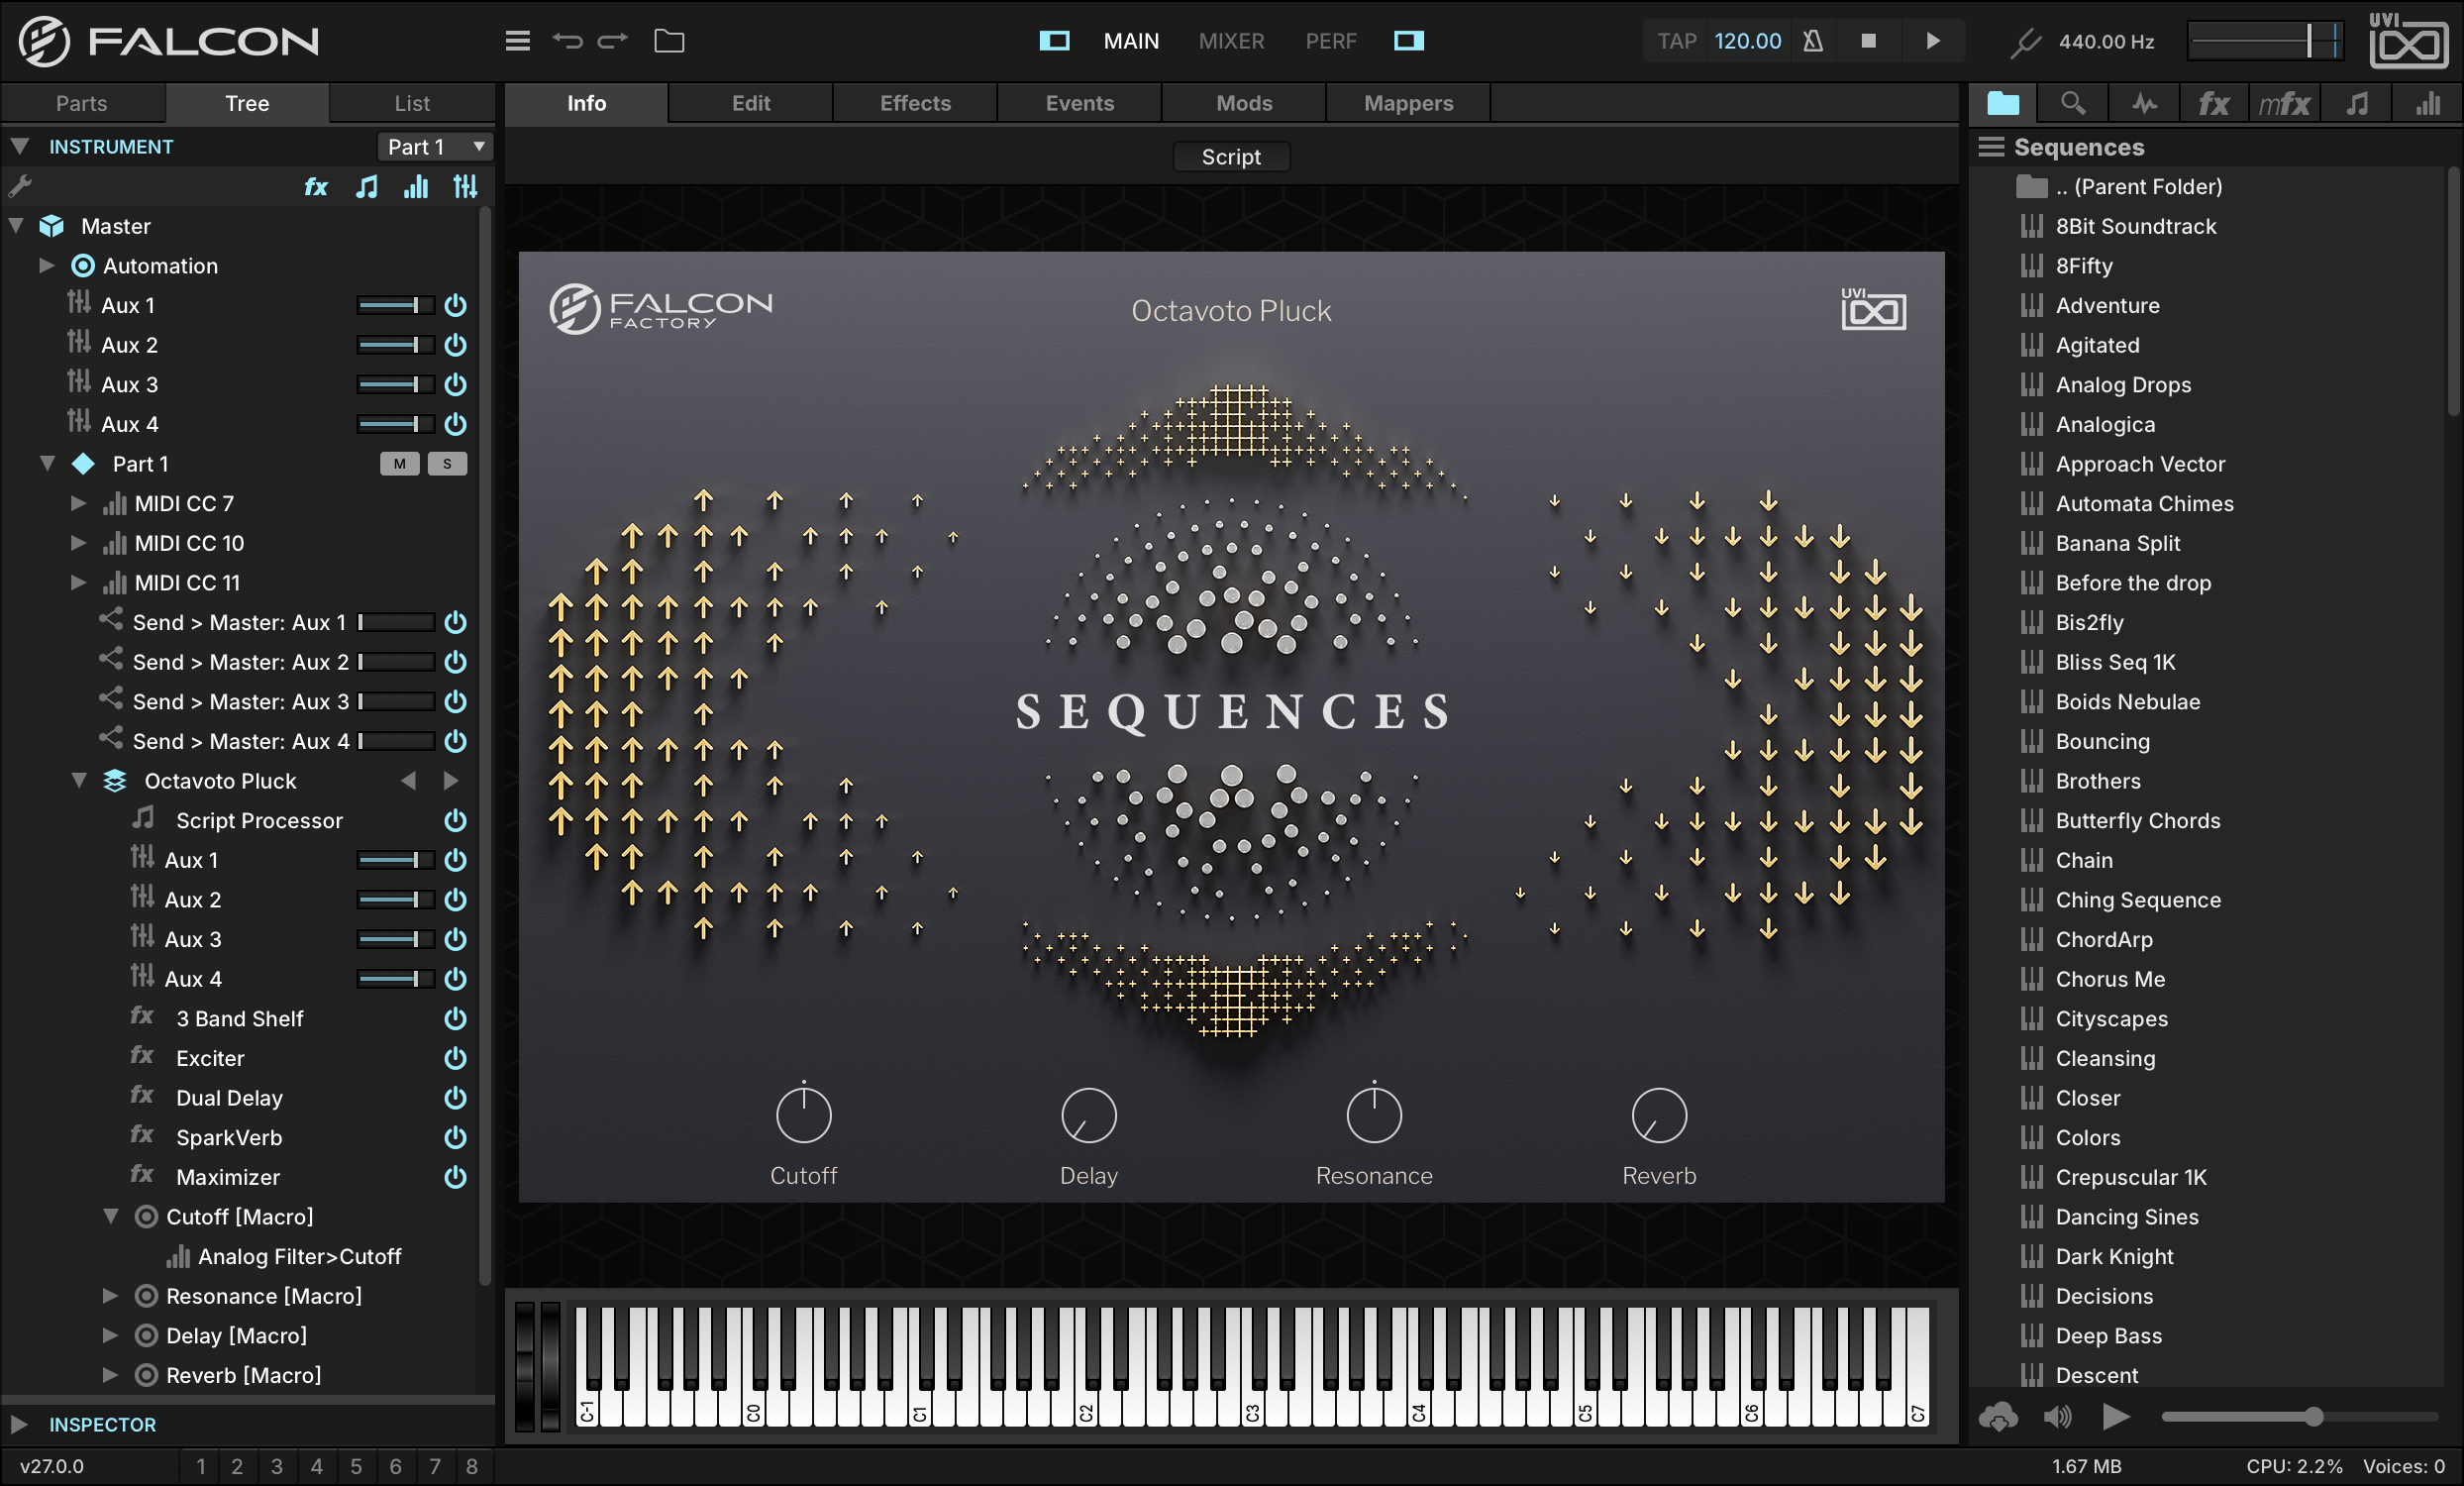
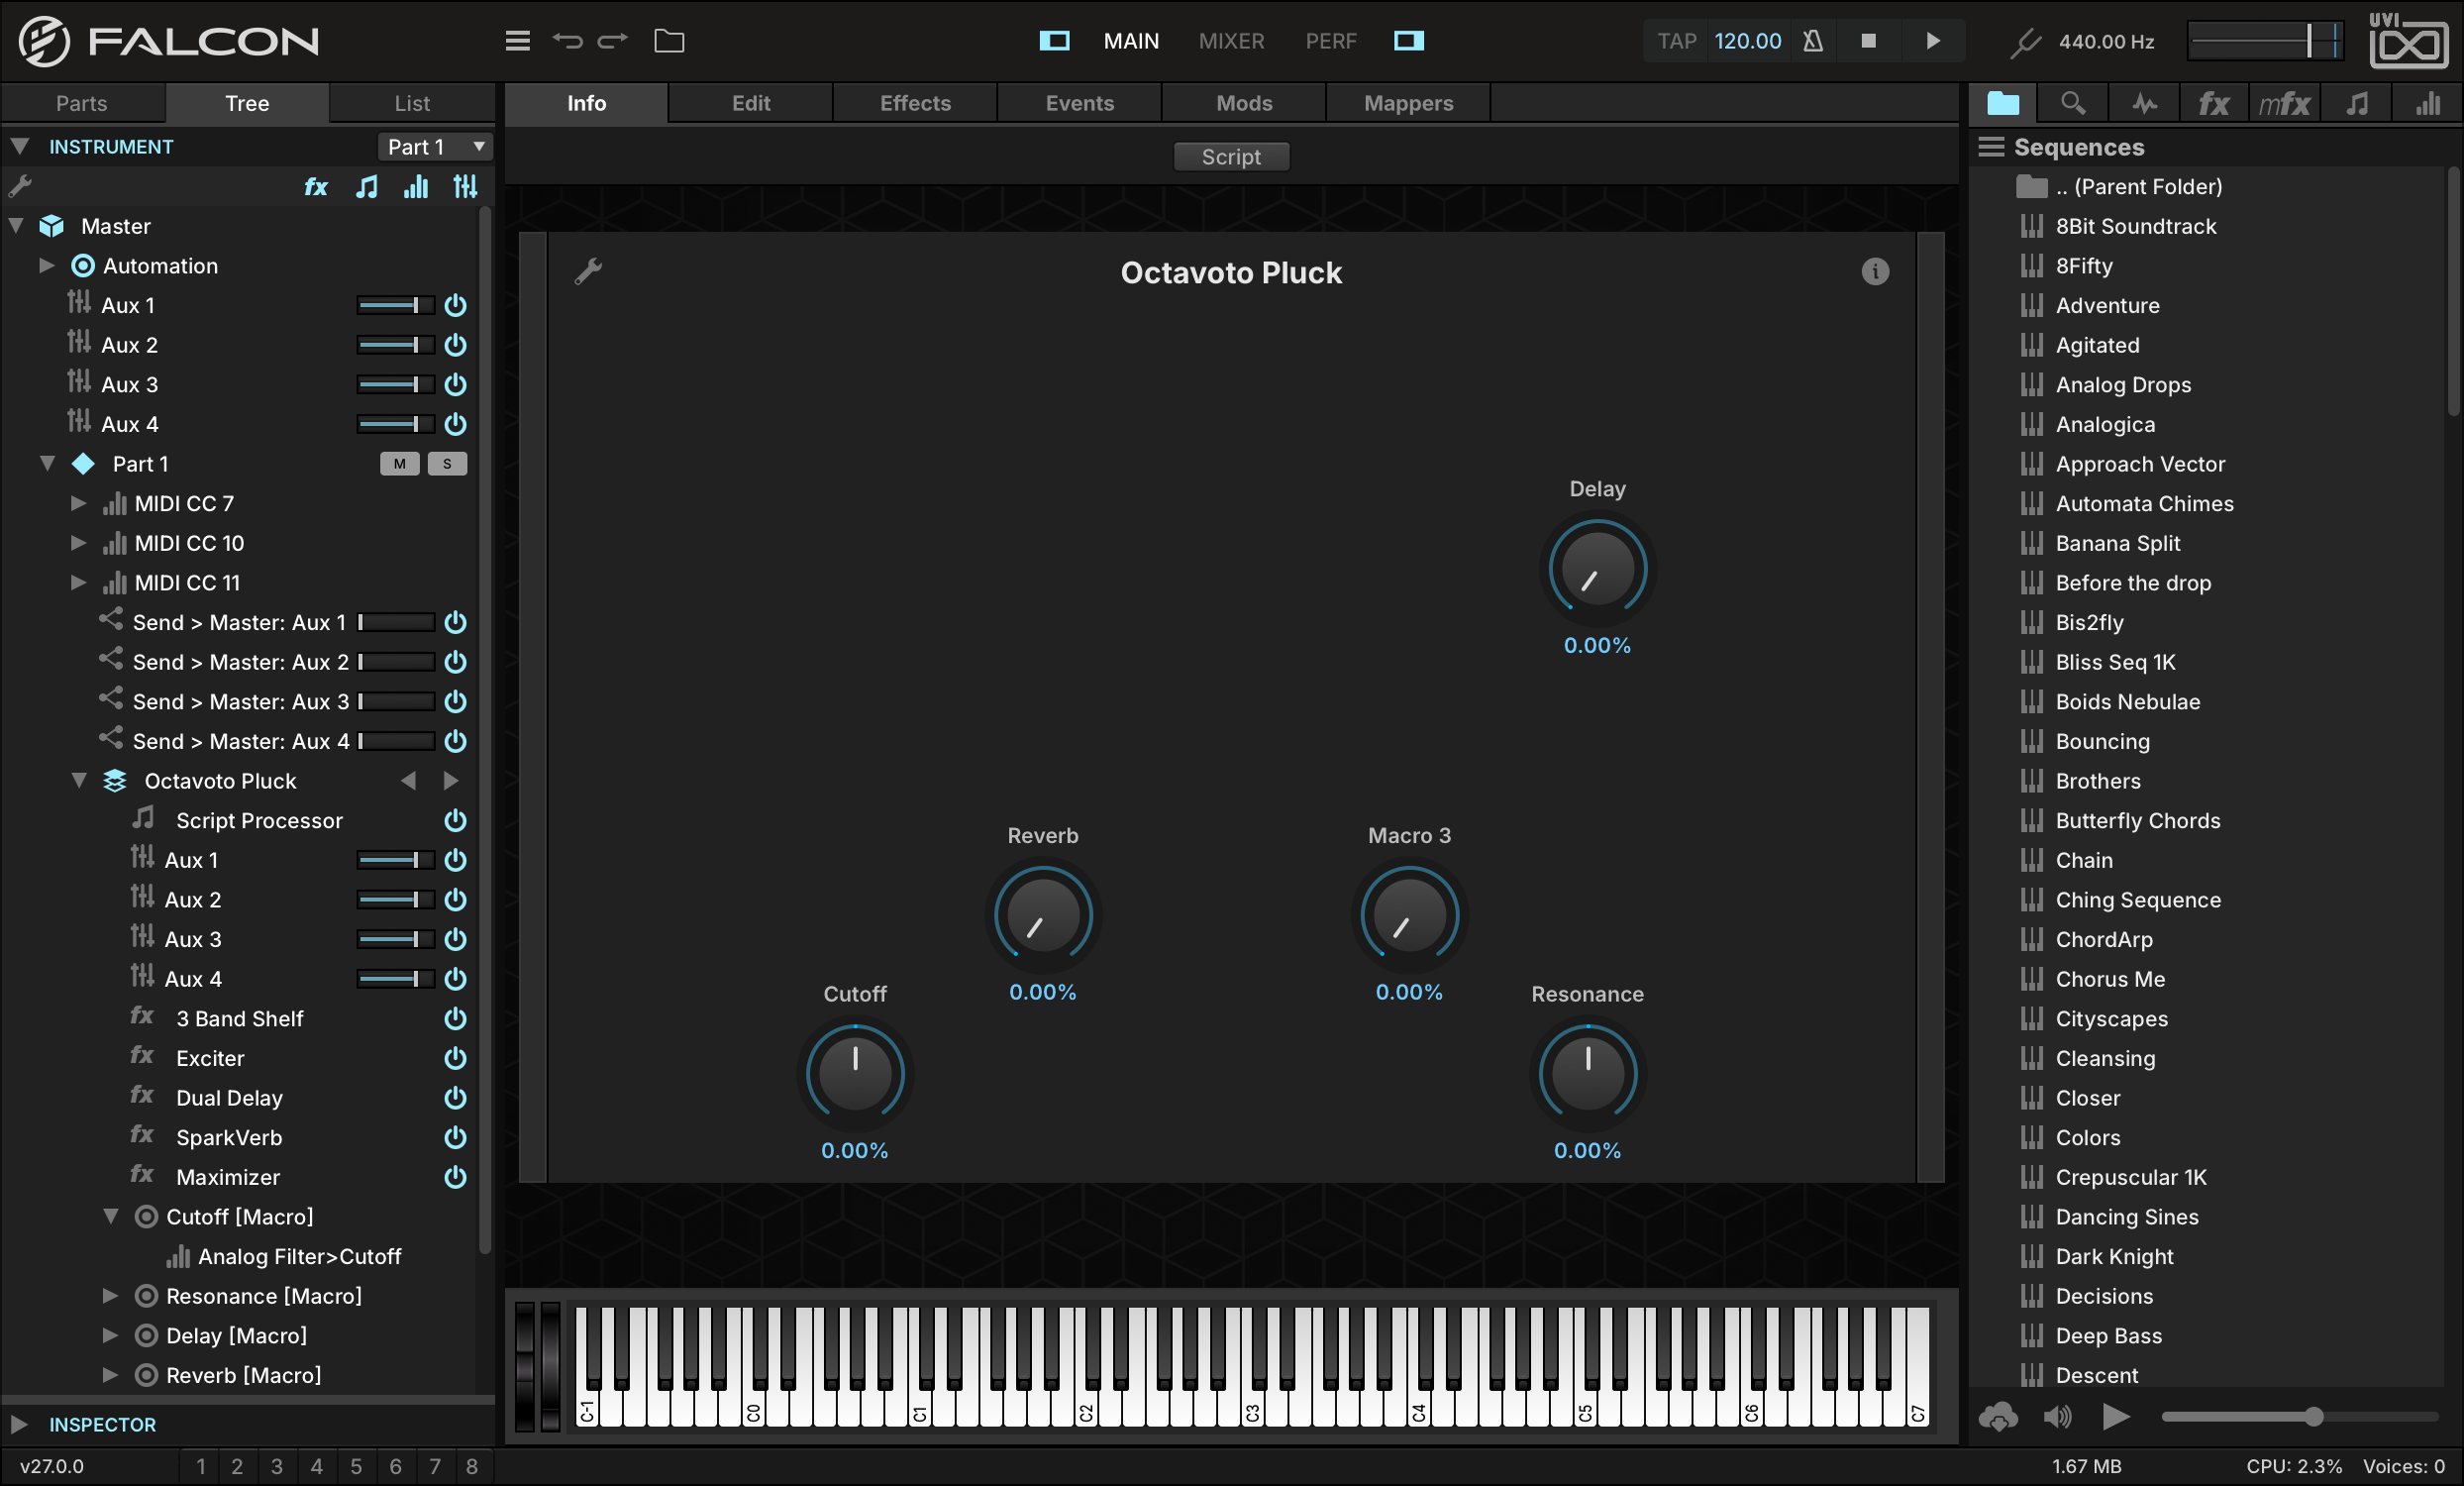
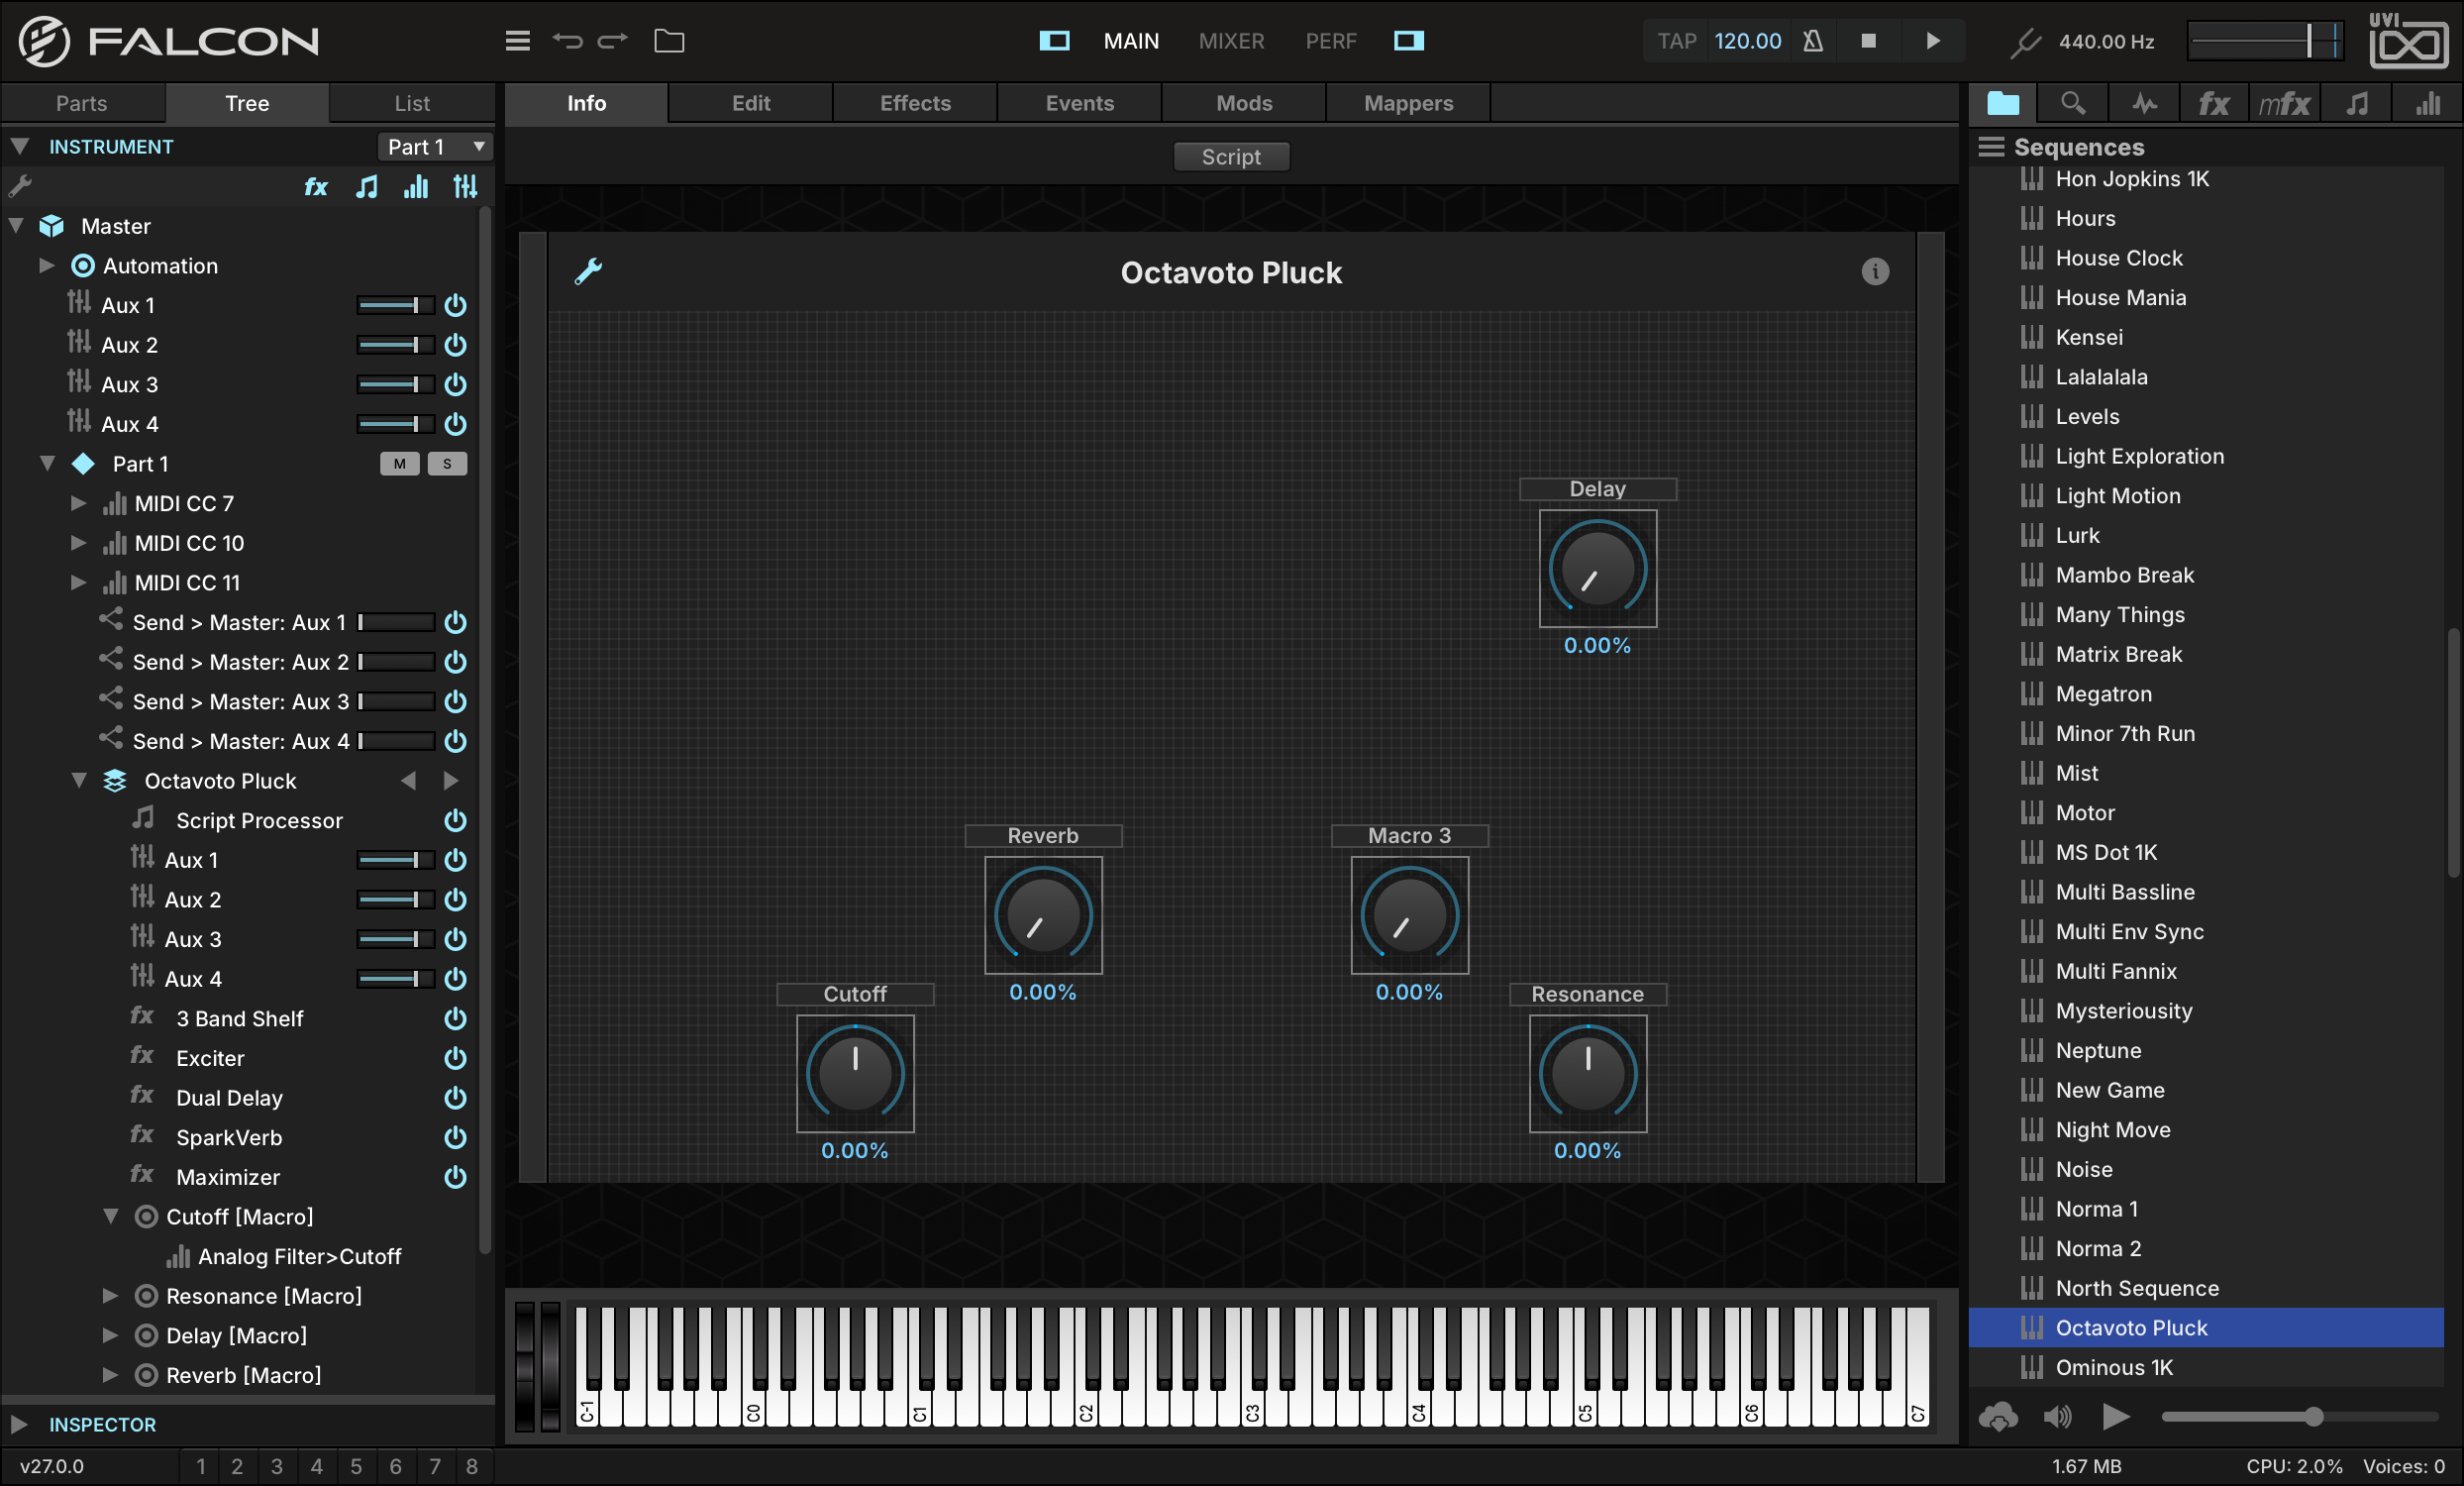
Let’s start with a program that already has some macros assigned, such as SEQUENCESOCTAVOTO PLUCK from the FALCON FACTORY REV2 Soundware. Load the program, then switch to the INFO tab in the Main view: its Cutoff, Delay, Resonance and Reverb knobs are macros.
-
To see which parameters the macros are assigned to, switch the left sidebar to the TREE tab. Press the arrow next to the macro name to expand it and display its assignments.
-
Let’s create a new macro. To create an adjustable vibrato, we can modulate keygroup pitch with an LFO and assign a macro to control the depth of the LFO.
-
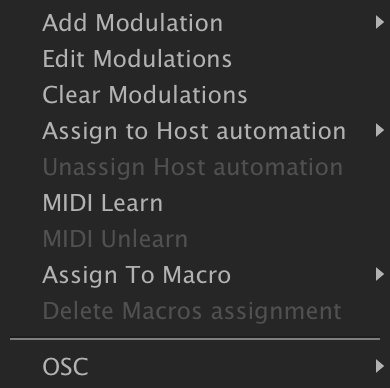
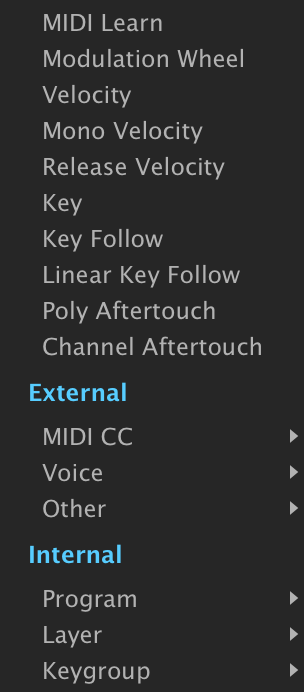
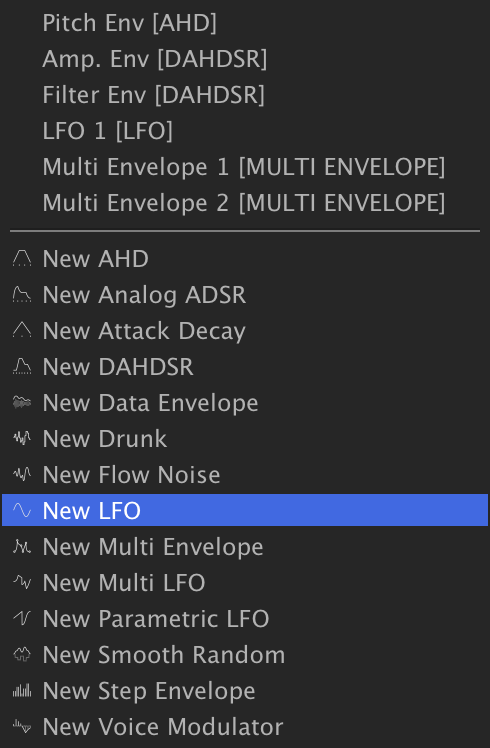
Switch to the EDIT tab, right-click the PITCH knob in the OSCILLATOR(S) header, and choose ADD MODULATIONKEYGROUPNEW LFO.
-
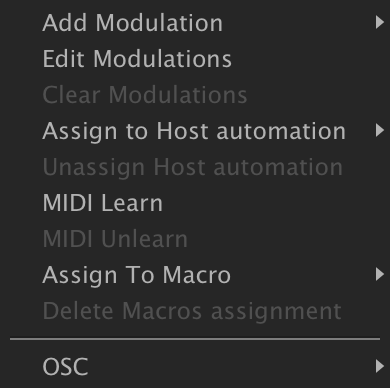
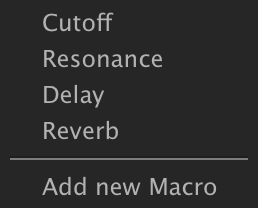
On the new LFO, set FREQ to 5.8 Hz and turn the DEPTH knob down to 0, then right-click it and choose ASSIGN TO MACROADD NEW MACRO.
-
Switch back to the INFO tab. The program shows its own script front panel, where a macro added afterwards does not appear: press the SCRIPT button at the top of the Info tab to switch to the standard view, and you’ll see the new macro knob alongside the others. Turn the new knob, and you can hear the depth of the LFO modulation increasing.
-
To help remember what the macro is modulating, we can give the knob a more meaningful label and move it to a handy position as well. Press the EDIT button in the top left, then move the macro to line it up with the existing macros and double-click the label and enter a new name, such as VIBRATO. Press EDIT again to leave Edit mode.
Using Host Automation
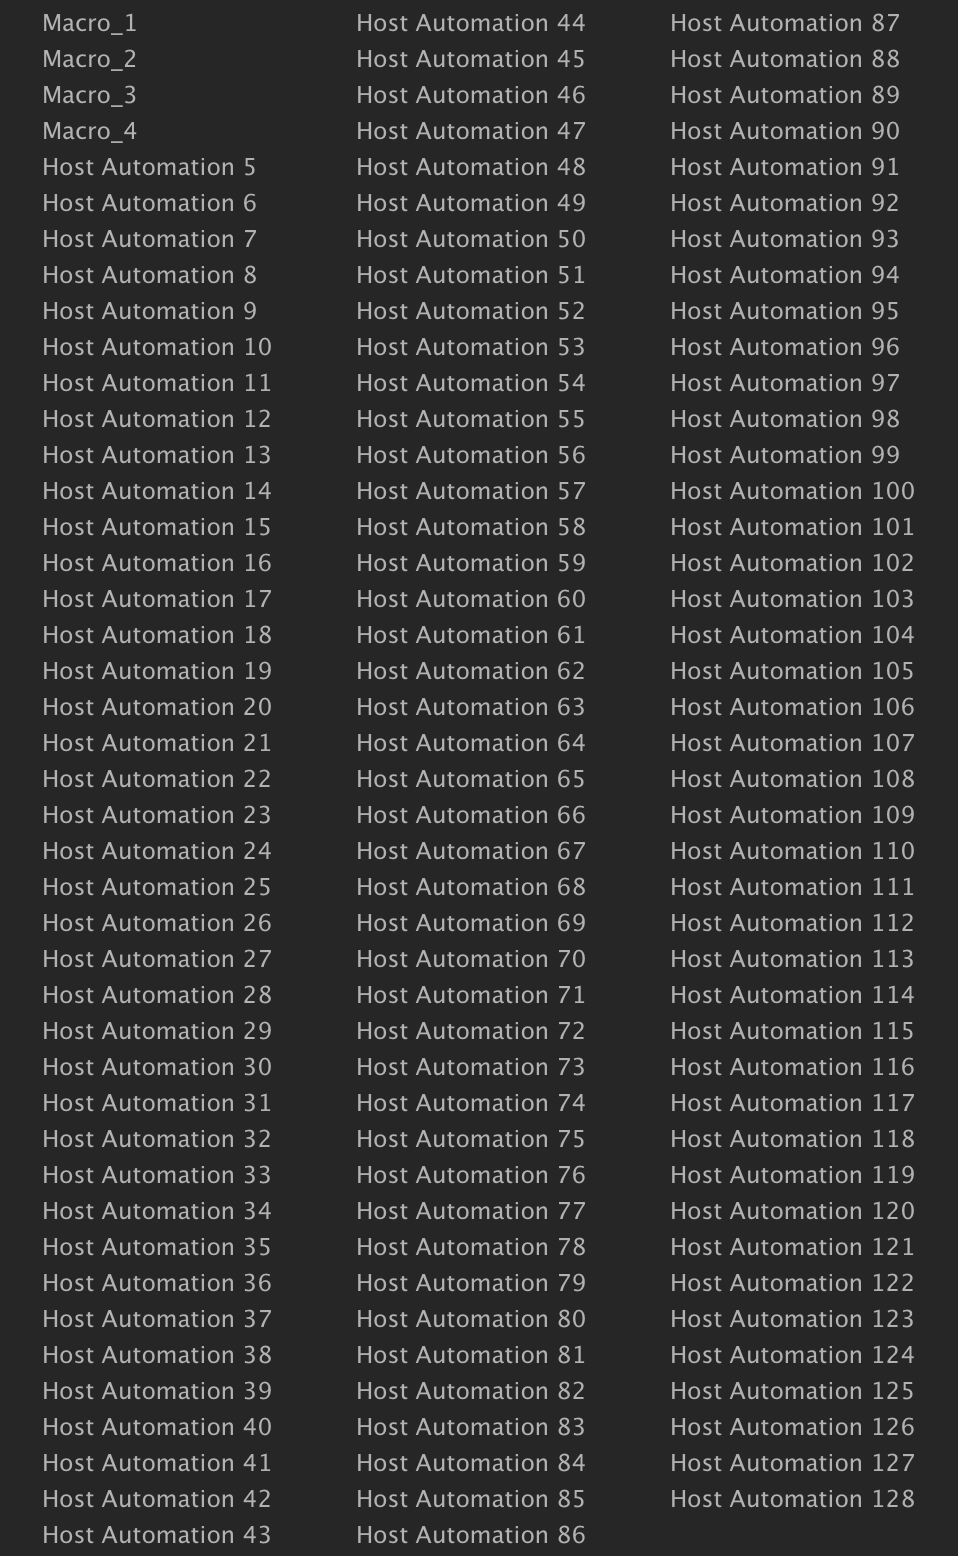
In addition to Falcon’s extensive internal modulation sources, when using Falcon as a plug-in you can take advantage of your host application’s automation capabilities. Each Falcon instance has 128 automation connections that can be assigned to individual controls.
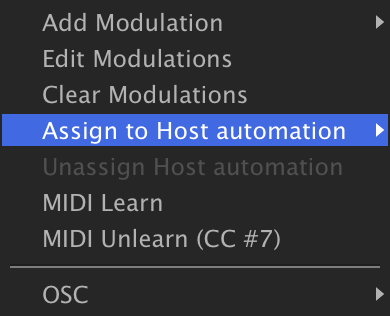
To make a host automation assignment, right-click a parameter, choose Assign to Host Automation, and choose one of the available items.
-
For example, load OCTAVOTO PLUCK (FALCON FACTORY REV2SEQUENCES), right-click Part 1’s VOLUME slider and choose ASSIGN TO HOST AUTOMATIONHOST AUTOMATION 5. The first four slots are already taken: the program publishes its four macros on them, and the menu names them after the macros.
-
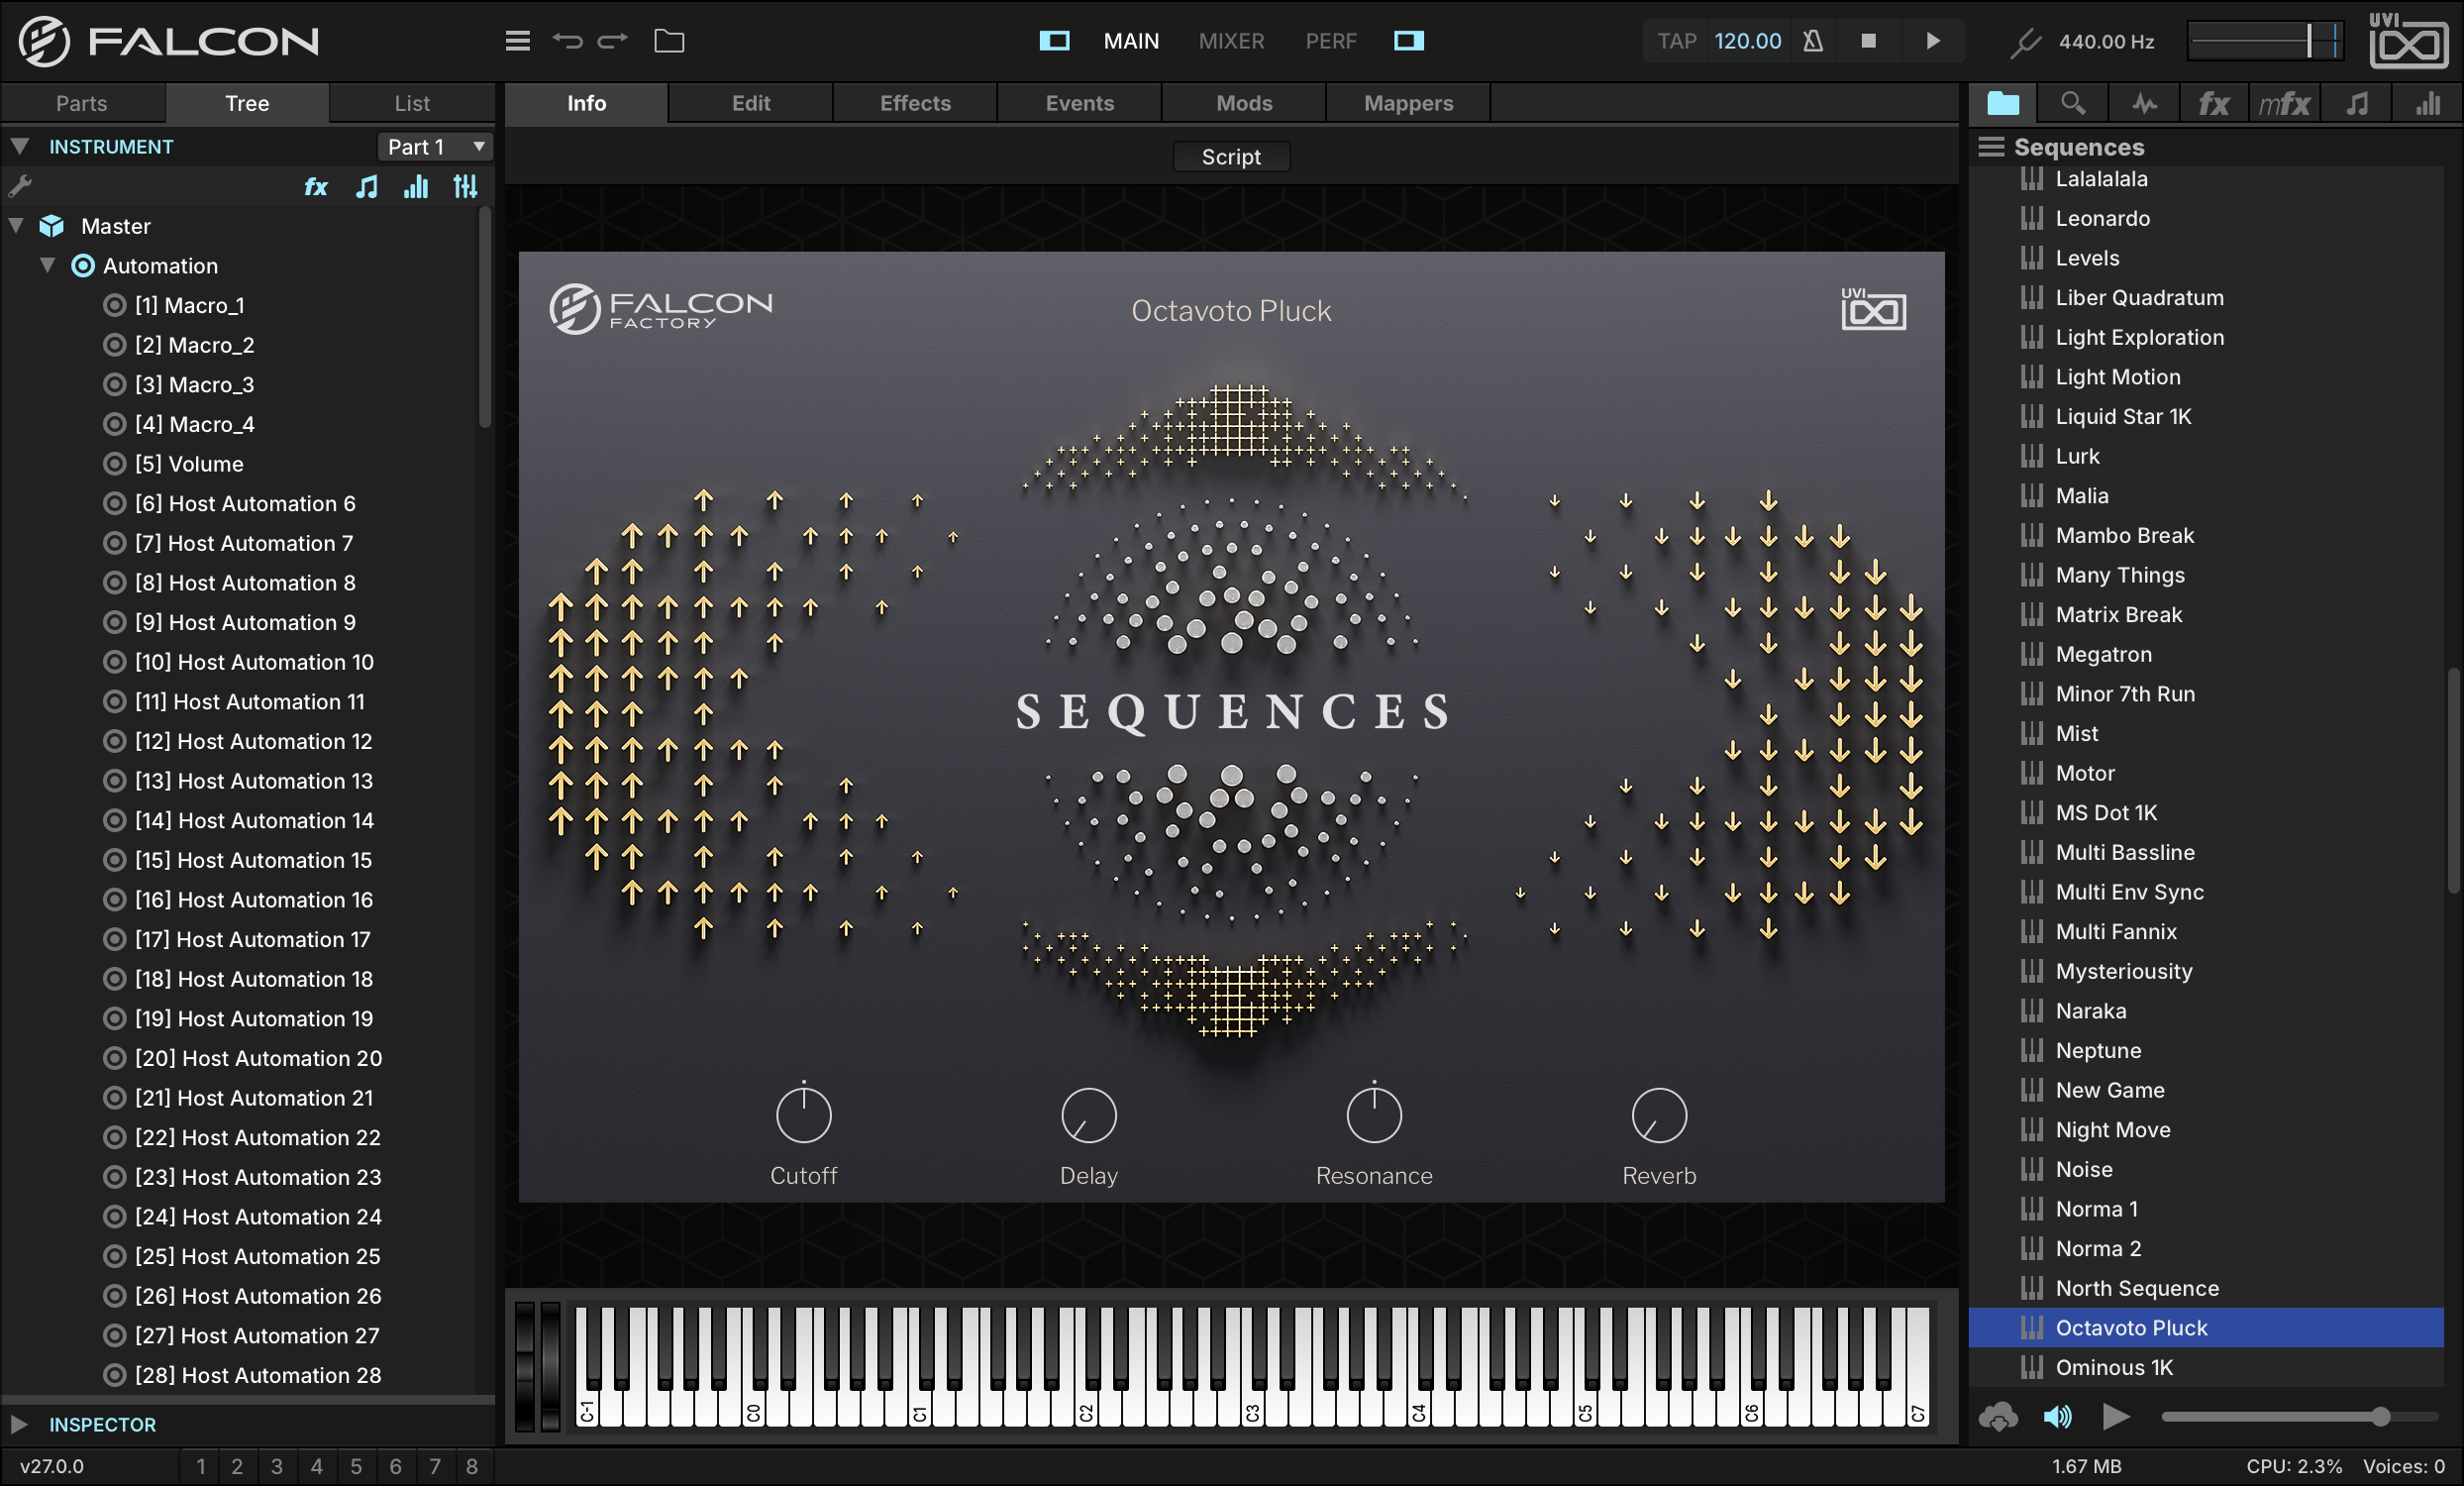
The name of the assigned parameter will be displayed in the TREE view.
-
If your host application supports it, the name of the assigned parameter may be displayed in the host application. Otherwise, the numbered parameter name (such as “Host Automation 1”) will be displayed.
Using Step Envelopes
The Step Envelope is a programmable envelope for creating time-based effects, and makes a great programmable pattern sequencer.
-
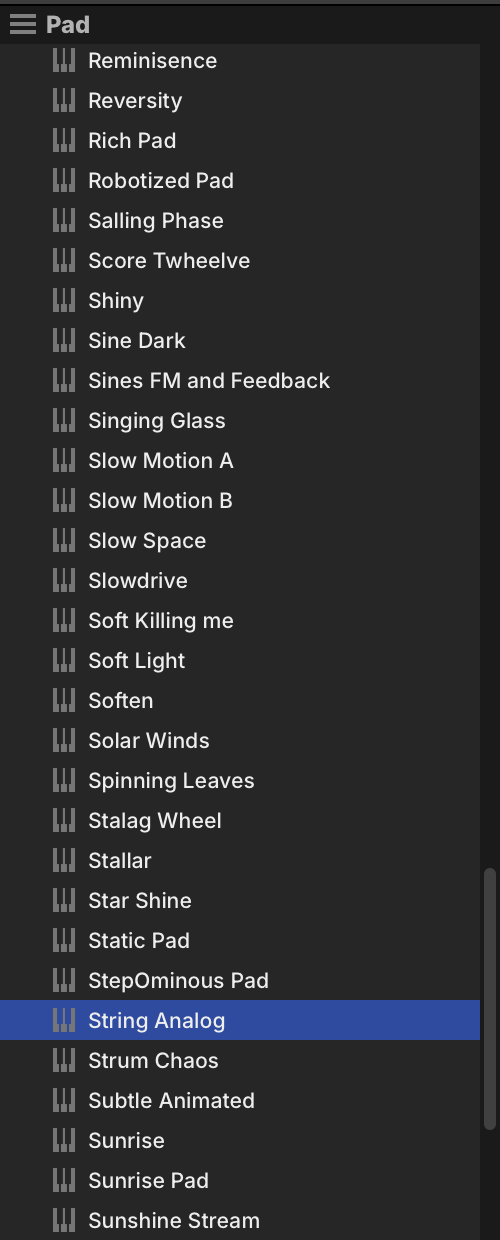
A good way to understand the Step Envelope is to use it to modulate keygroup gain. Load PADSTRING ANALOG from the FALCON FACTORY REV2 Soundware.
-
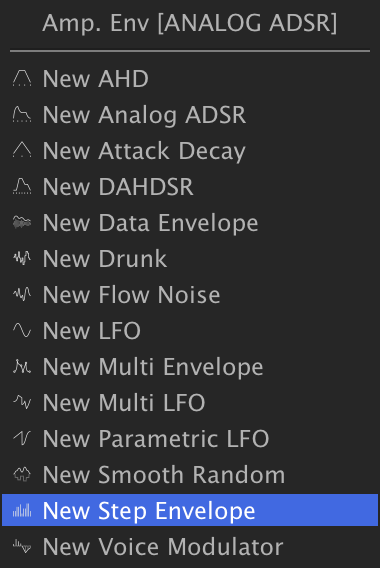
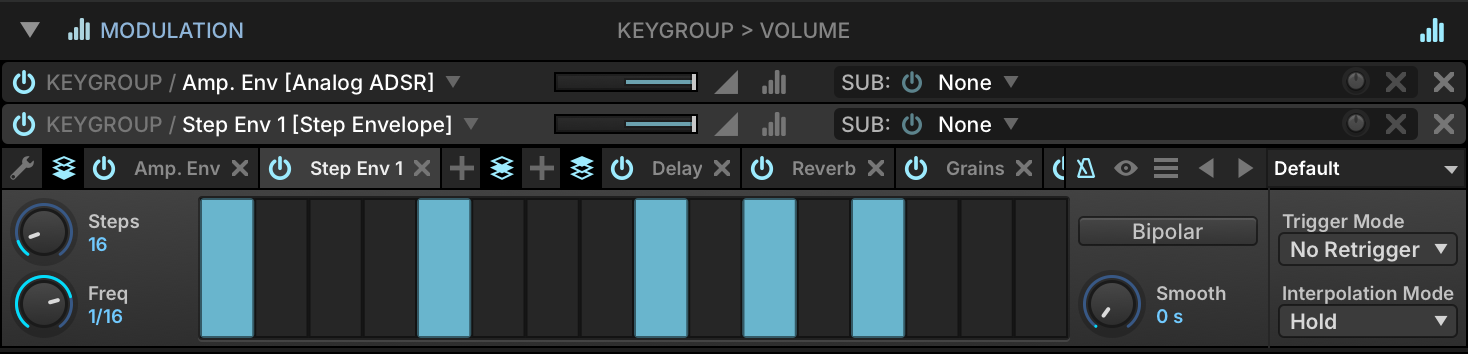
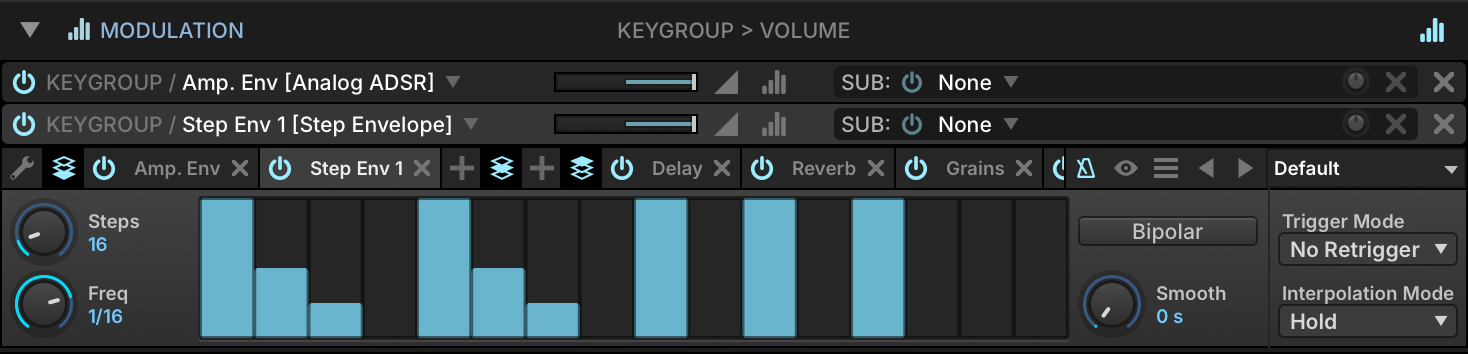
Right-click the keygroup GAIN knob and choose ADD MODULATIONKEYGROUPSTEP ENVELOPE. Play a few notes, and you’ll hear the signal gated on the empty steps, and full volume on the steps with full bars.
-
Each step doesn’t have to be fully on or fully off, however — you can continuously adjust the value of each step between the two.
-
Adjust the value of a few steps to half or a quarter, and you’ll hear an effect similar to delay feedback taps. You can also apply smoothing between steps to avoid abrupt transitions, pops and clicks.
-
To enable TEMPO SYNC for the Step Envelope, click the metronome icon in the toolbar of the Modulation Source Editor.
-
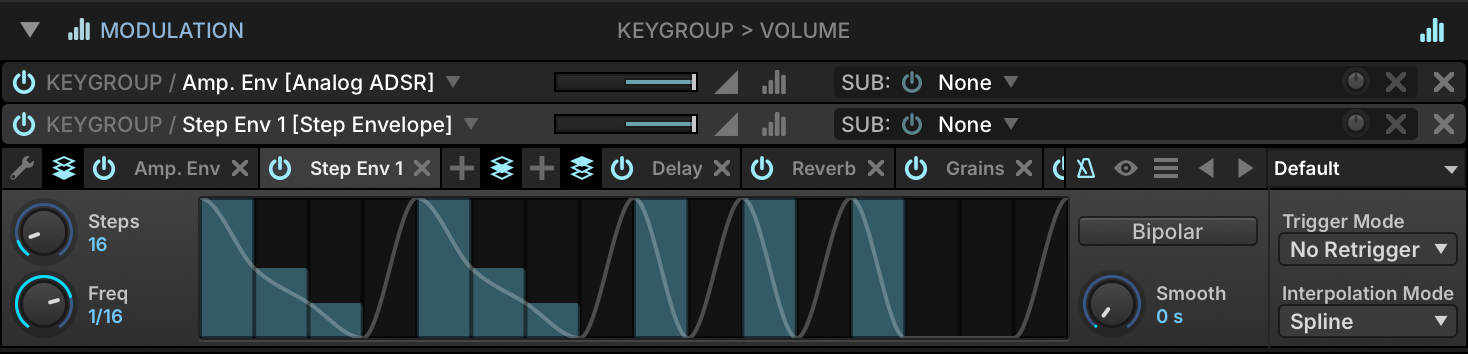
You can also create LFO-like patterns that glide smoothly from step to step. With Interpolation Mode set to SPLINE, a continuous line is interpolated from the individual bars, creating a continuously variable modulation source that’s suited for pitch sweeps, wobbles, and so on.
Using Multi Envelopes
The Multi Envelope is an envelope with a user-defined shape, consisting of any number of points. This allows for truly customized envelopes beyond classic DAHDSR envelopes, such as sweeps that evolve over a long period of time or looped LFO-like shapes.
-
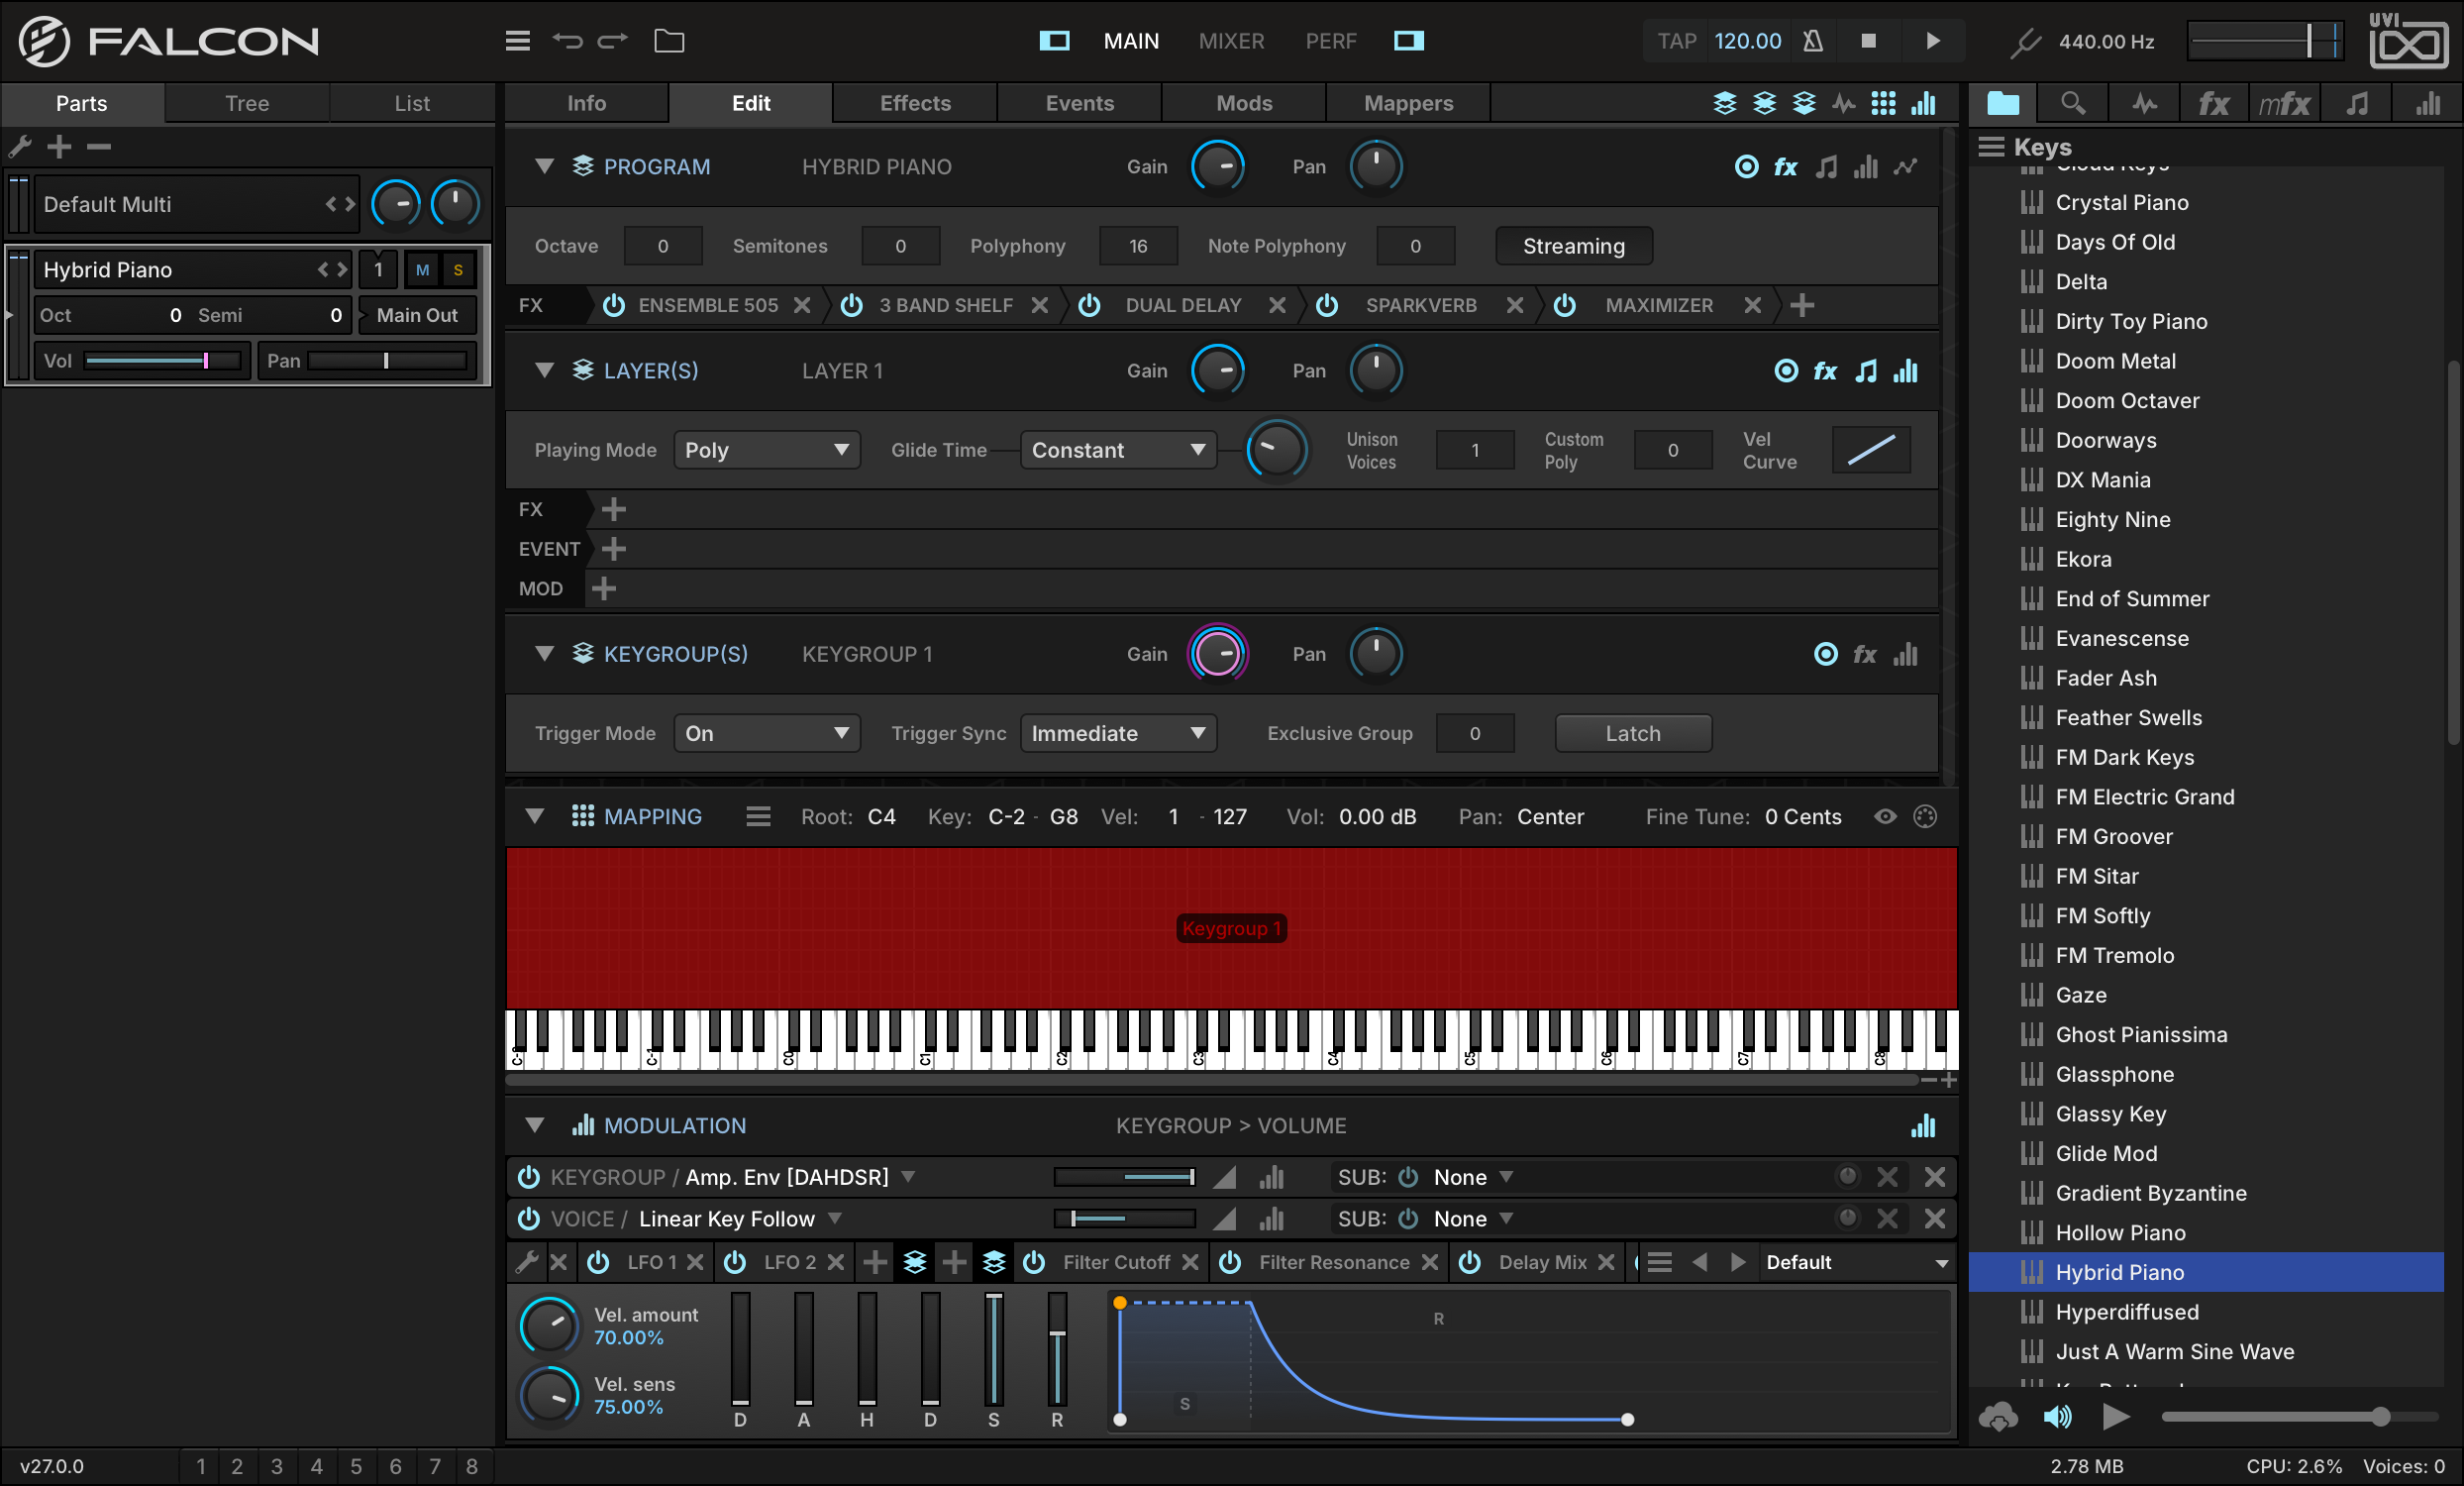
A good way to understand the Multi Envelope is to use it to modulate keygroup gain. Load KEYSHYBRID PIANO from the FALCON FACTORY REV2 Soundware.
-
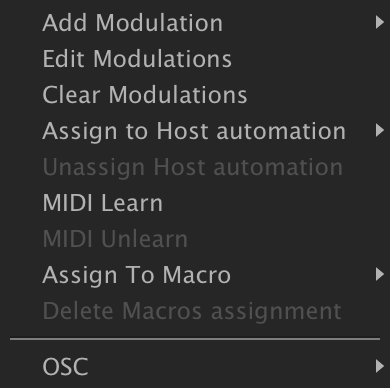
Go to the EDIT tab, right-click the keygroup GAIN knob and select EDIT MODULATIONS.
-
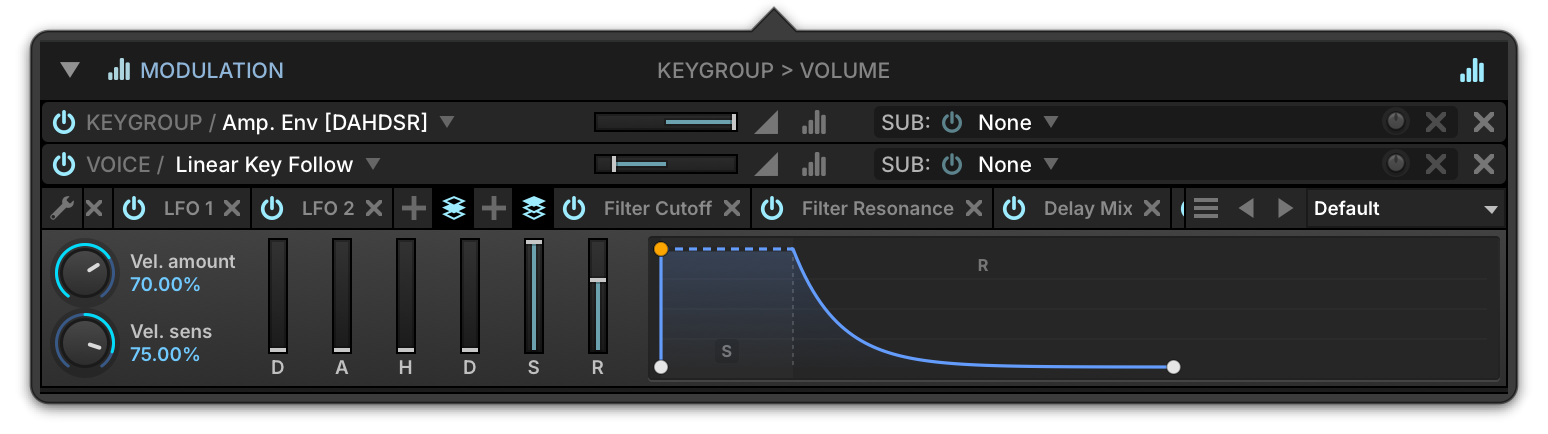
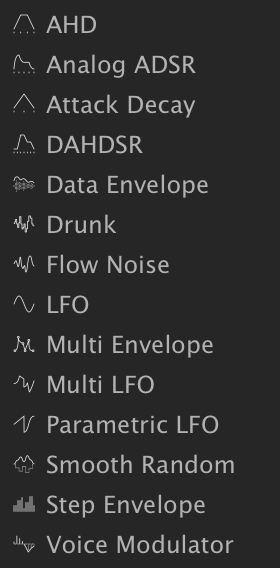
A pop-up editor will appear showing all of the modulation sources linked to the control. Right-click the AMP. ENV. name and replace it with a MULTI ENVELOPE.
-
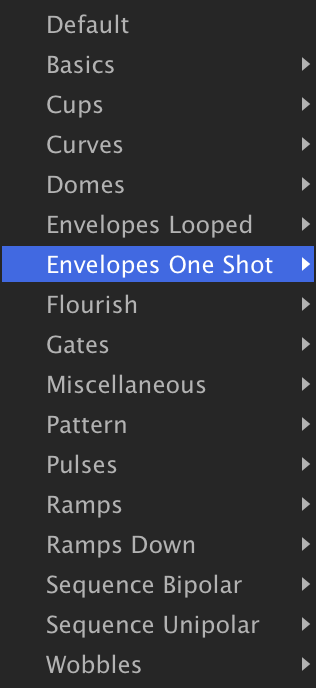
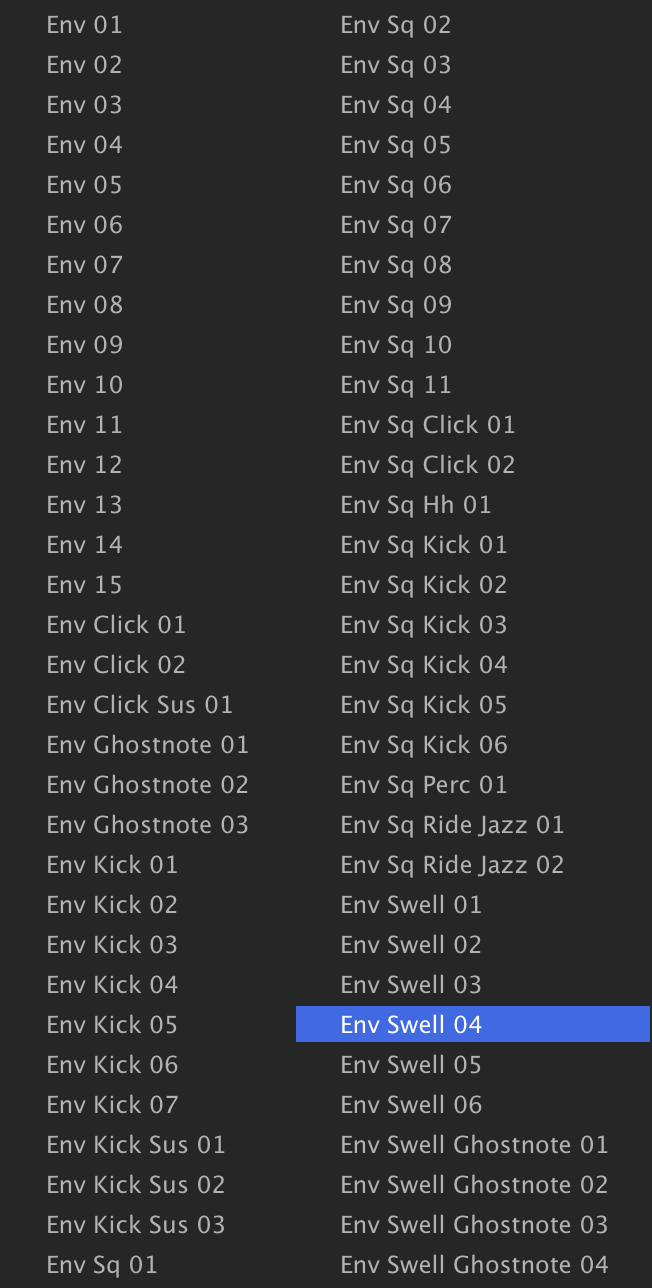
Now let’s load a Multi Envelope preset: use the PRESET MENU to select ENVELOPES ONE SHOTENV SWELL 04, and play a few notes.
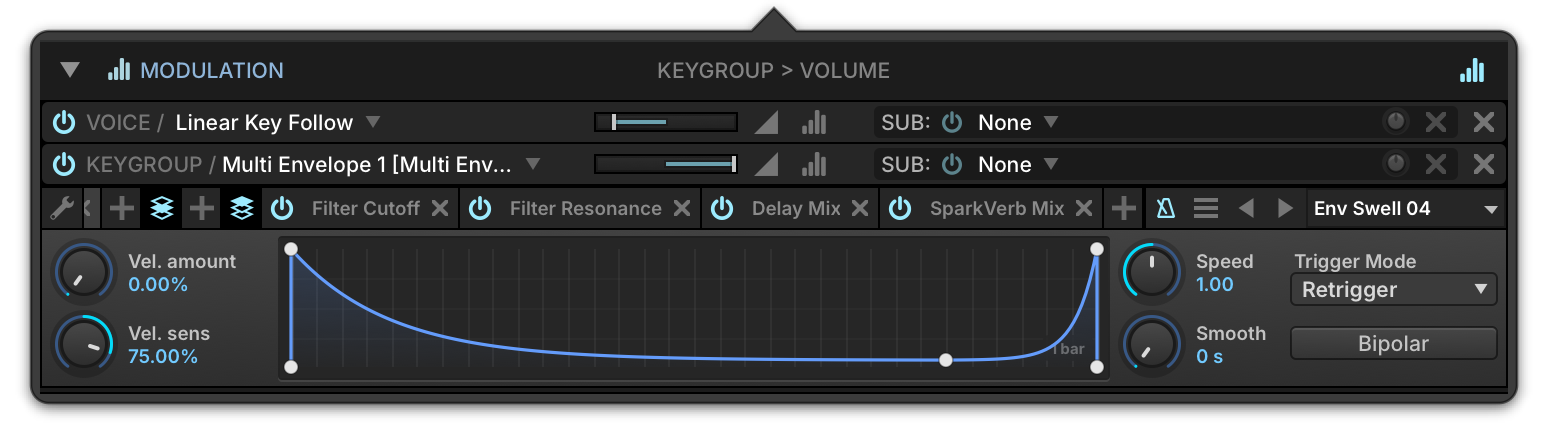
-
If you’d like a bigger canvas to work on, press the eye button next to the Preset File menu.
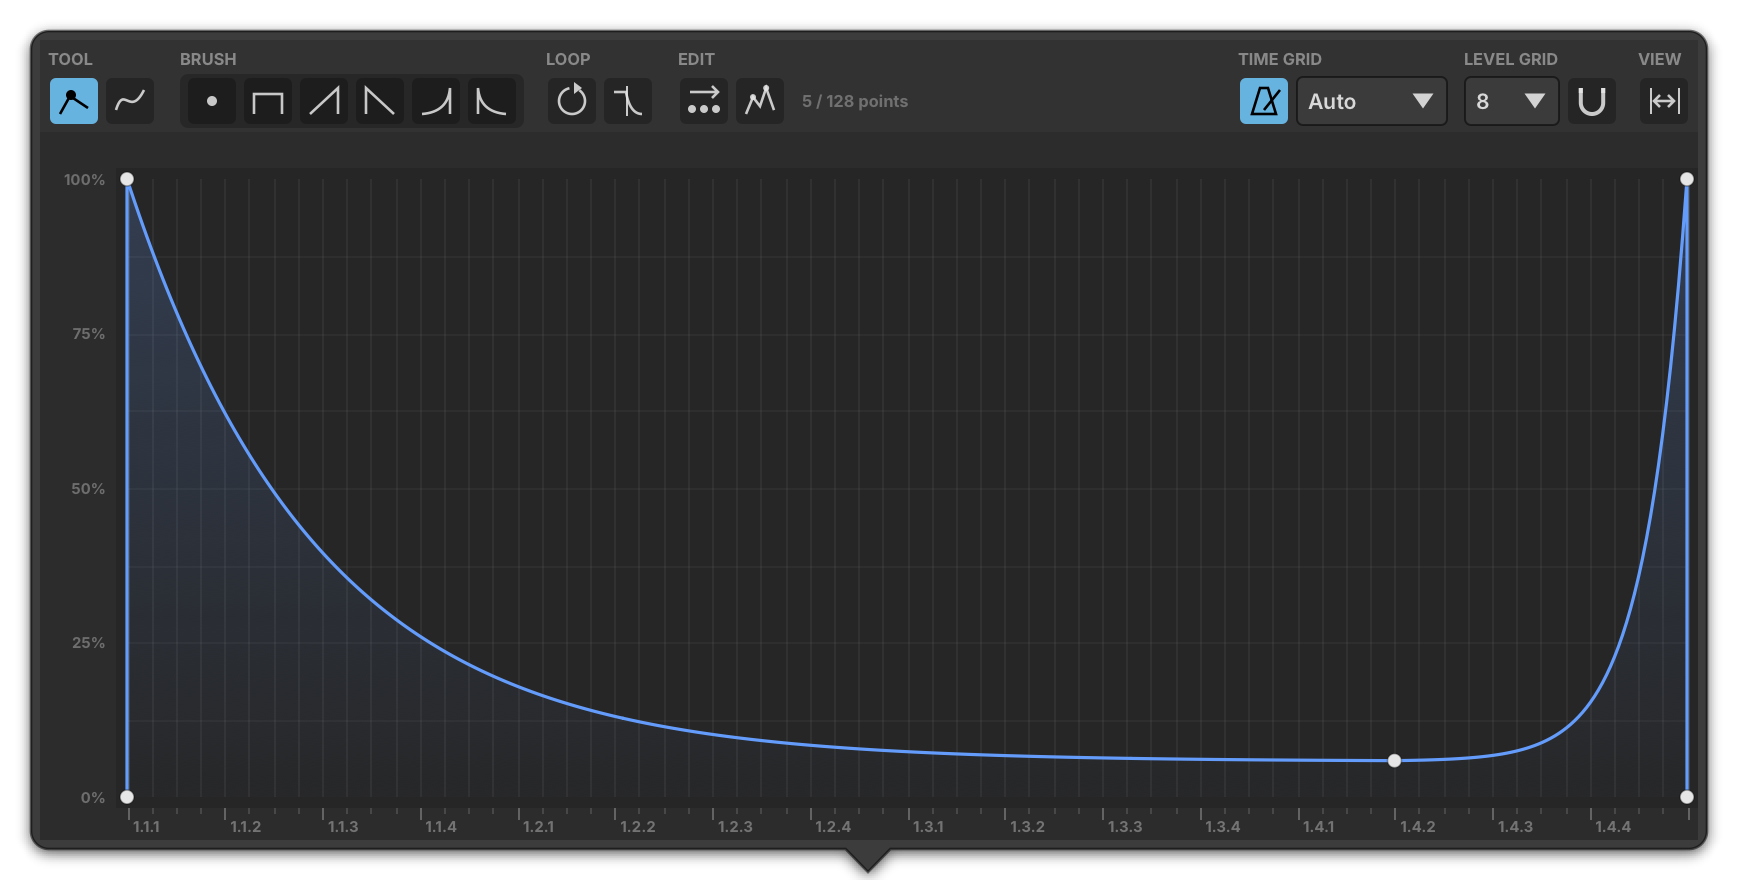
-
To loop part of the envelope, drag the L and R flags in the ruler above the curve onto two points: while the note is held, the envelope repeats between them, like an LFO. If the preset has no loop, right-click the curve and choose ADD LOOP first.
You have replaced a keygroup’s amplitude envelope with a drawn, loopable Multi Envelope; for all of its controls and loop options, see Modulators › Multi Envelope.
Using OSC
Using OSC (Open Sound Control)
Open Sound Control is a protocol used to communicate between different computers and other audio devices. OSC is commonly used for remote control of software, such as from a central sequencer that’s driving Falcon installations on multiple networked computers, or for touchscreen control from a wireless mobile device.
-
To start using OSC in Falcon the OSC server needs to be enabled. Open the Preferences window from the Main Menu, select the OSC page, and enable OPEN SOUND CONTROL SERVER. This will make Falcon discoverable on the network by other OSC-enabled applications. Falcon will automatically negotiate a unique name and port number.
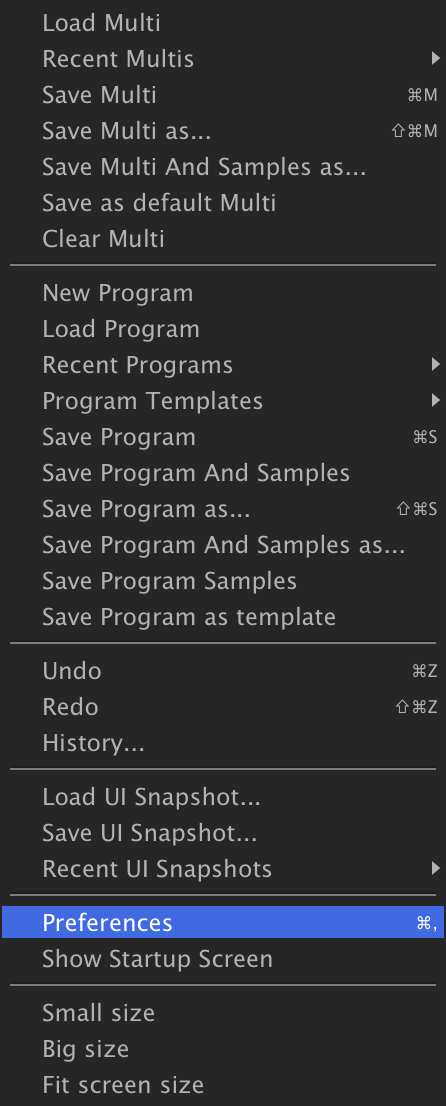
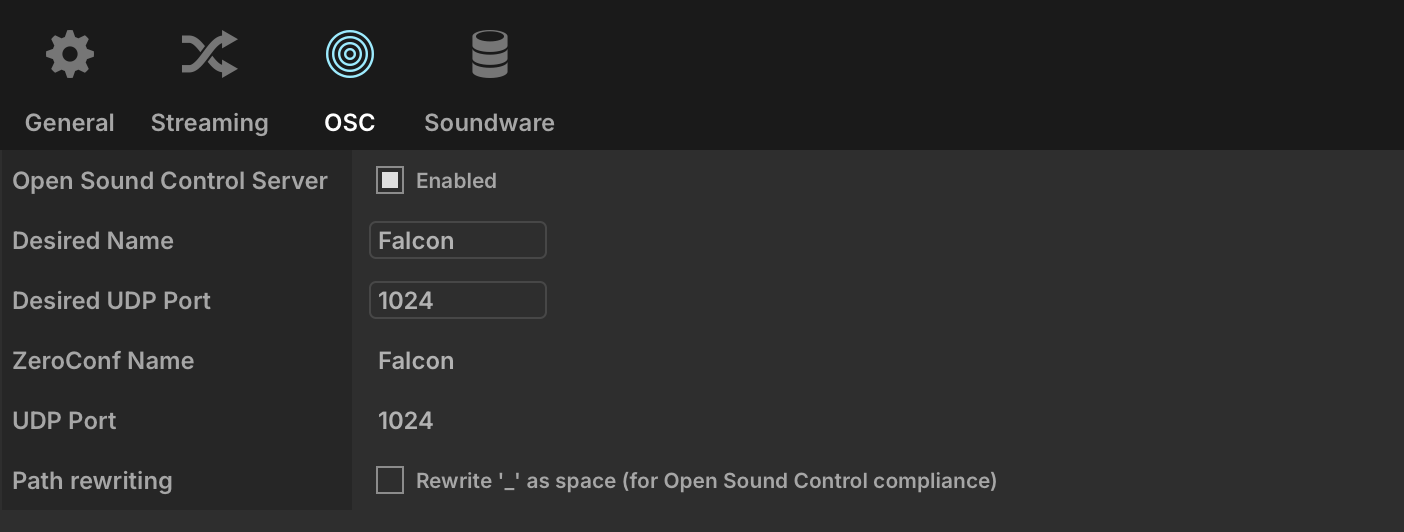
-
Each one of Falcon’s parameters that can be controlled externally has an OSC Path that uniquely identifies it, such as “/uvi/Part 3/Program/Layer 1/Gain”. When a parameter is right-clicked, the contextual menu displays the parameter’s OSC path.
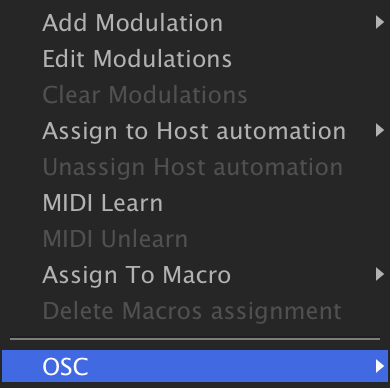
-
There is also a convenient shortcut provided for copying the parameter’s OSC path to the clipboard. You can then use that OSC path in any OSC-equipped application to control that parameter.
