Synthesis
The following section will illustrate the basics of using Falcon, from loading and saving patches to creating a number of common sounds and instrument setups from scratch. It’s a perfect place to start if you’re new to Falcon and need some quick tips to get going.
Falcon’s synthesis engine offers a wide range of tools for playing, editing, and creating instruments and samples. You can freely mix sounds created with pure synthesis and sample playback even in the same program. Each of Falcon’s oscillator types has a different speciality; only a few of the possibilities are explored here.
Before continuing, check that you have your audio and MIDI devices connected and working properly. Additionally, some of the following examples use programs and samples from UVI Soundware. It’s recommended to have the “Falcon Factory rev2.ufs” Soundware available to follow along with most of the examples.
The Falcon Factory rev2 Soundware is available through UVI Portal and the My Products page on UVI.net.
Working with Presets
Loading and Tweaking a Preset
-
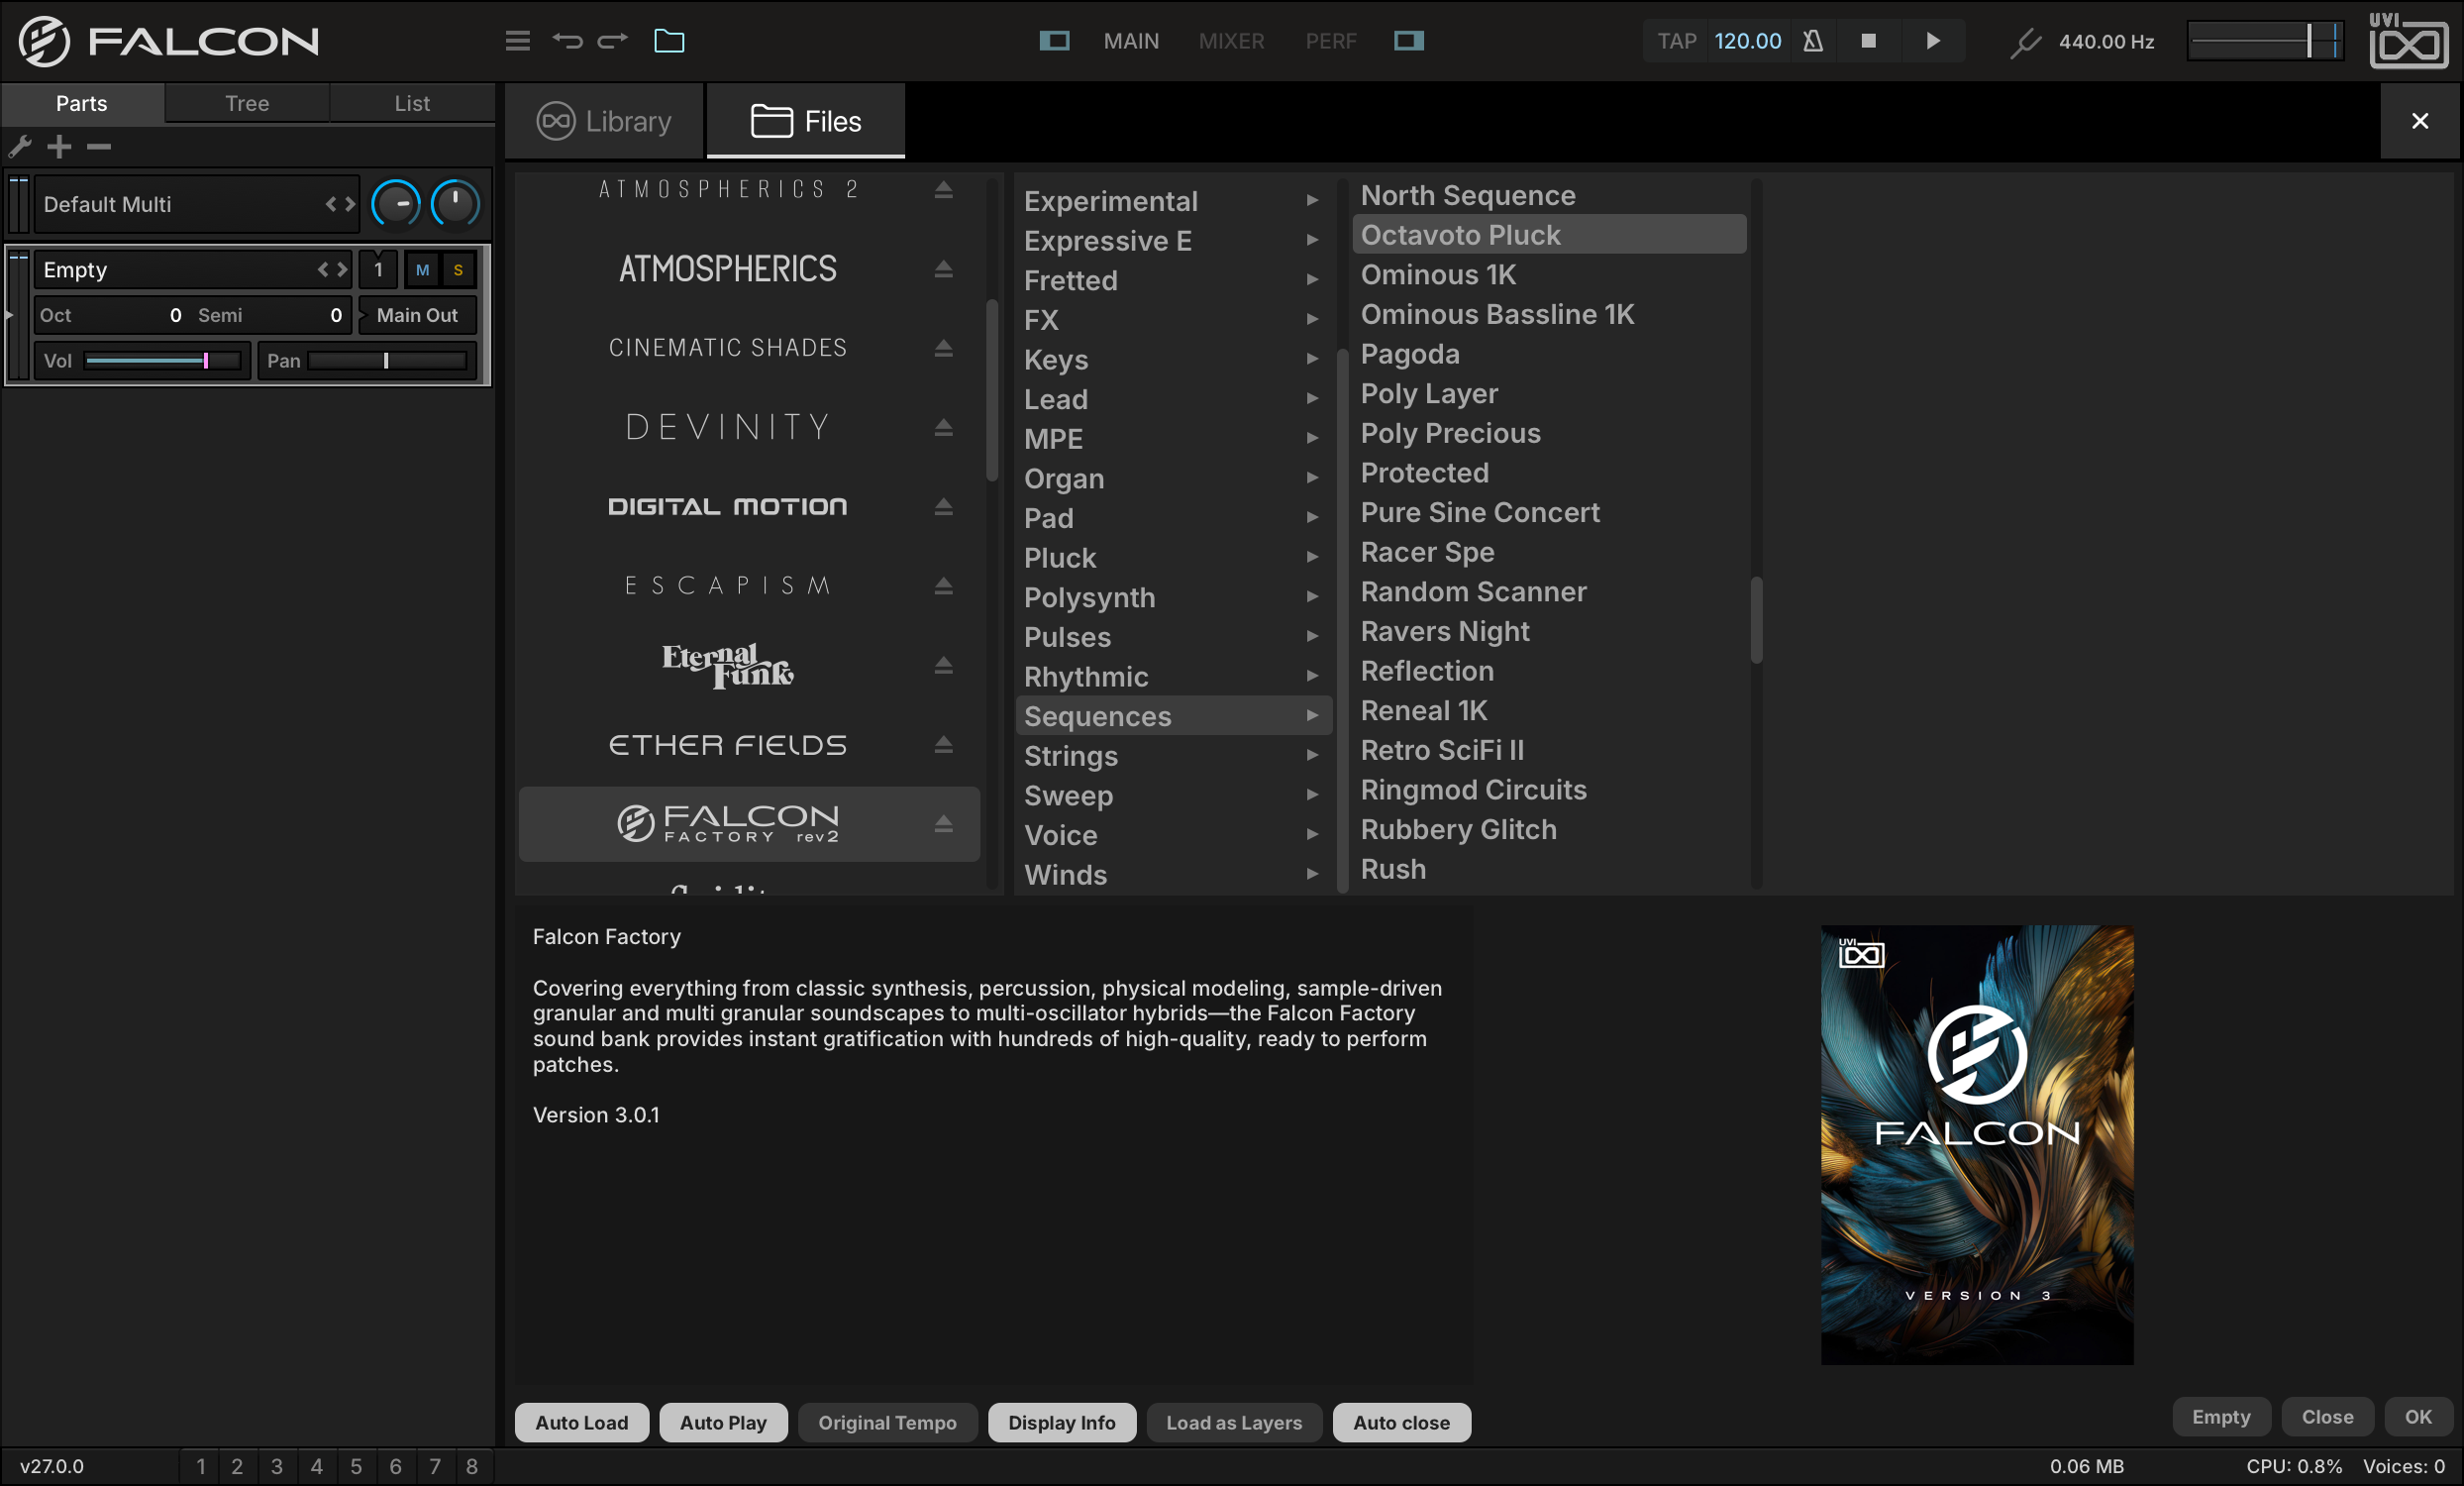
Let’s start by loading a sound from the Falcon Factory rev2. Double-click the part name (EMPTY) in the Parts List to open the Library Browser, then click its FILES tab to switch to the File Browser.
-
Falcon Factory rev2 will appear in the Soundware section of the File Browser. Select the FALCON FACTORY REV2 Soundware, then SEQUENCESOCTAVOTO PLUCK.
The lower half of the browser shows information about the selected program, sometimes with tips for playing it. Press OK or double-click the program name to load it. The Main view now displays the parameters of the loaded program. The Info tab shows the “front panel” of the program with macro controls for commonly used settings, and the Edit tab shows all of the program’s parameters.
-
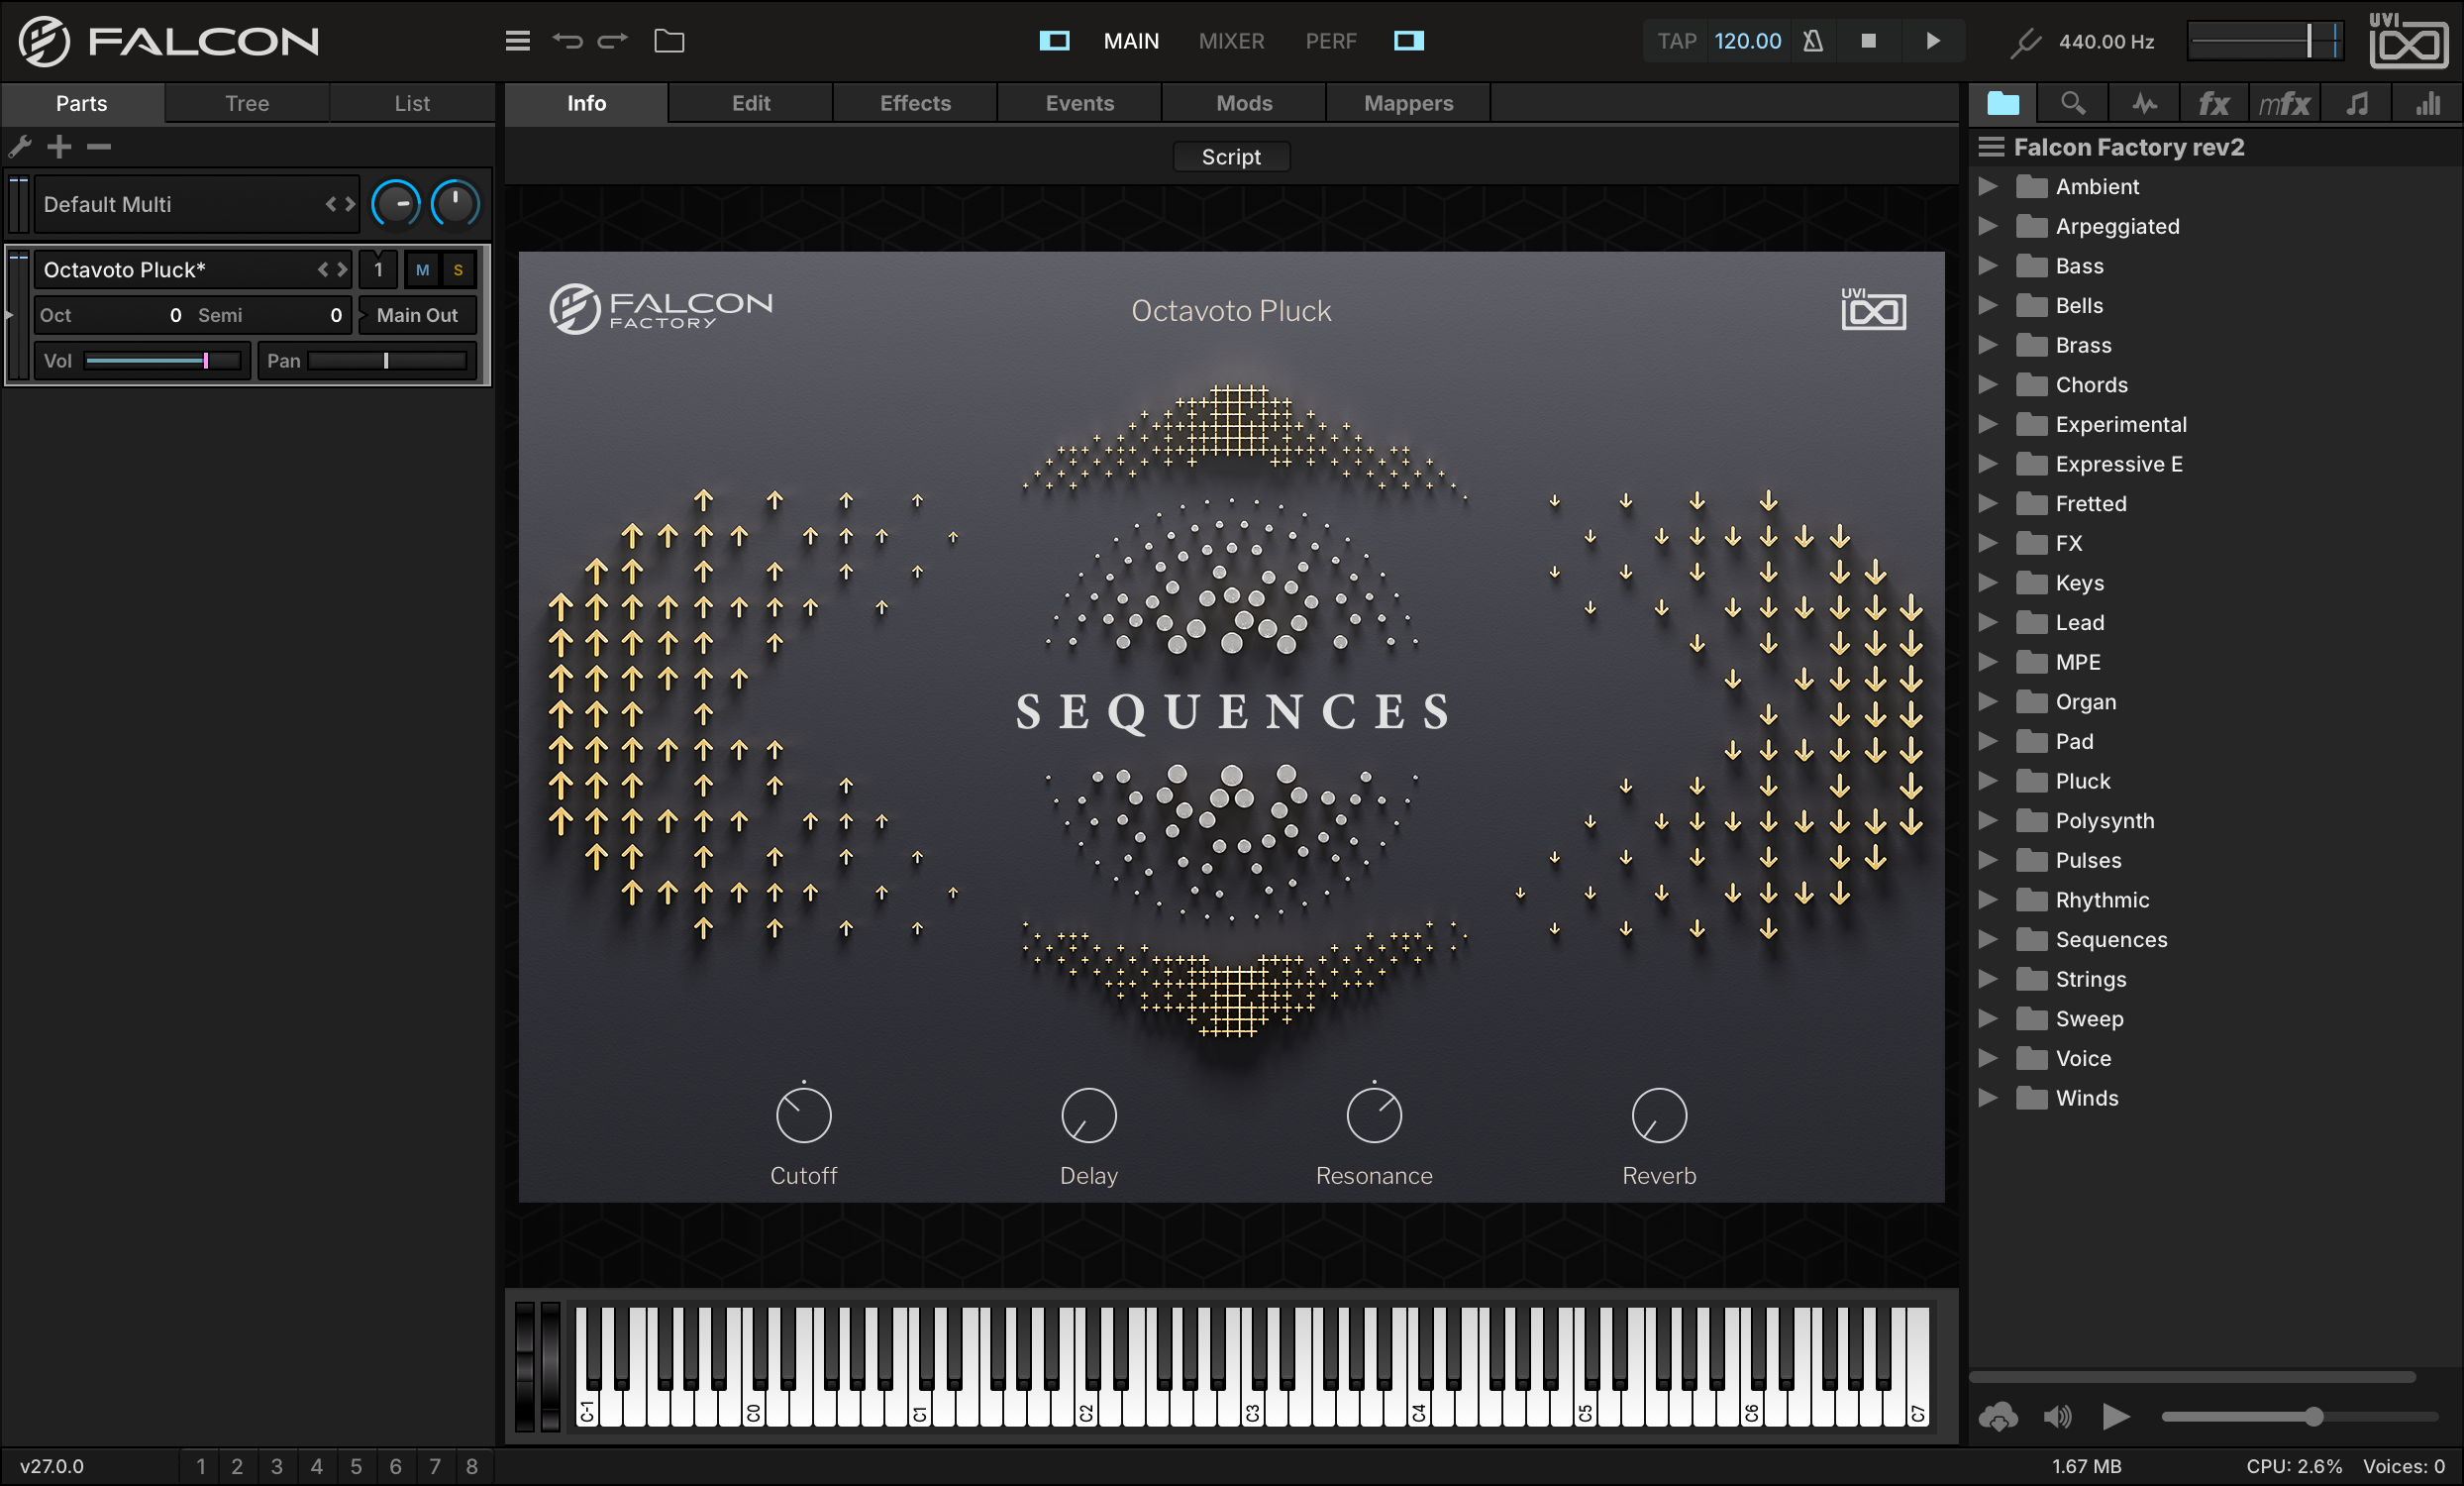
Let’s go to the INFO tab first. Here we can see the instrument’s macro controls and an on-screen keyboard. Press the keys on the keyboard to trigger a note, or play a note from your MIDI controller. You should hear the instrument now. If your MIDI controller stays silent, try the on-screen keyboard first: if it is silent too, check your audio settings; if it plays, check your MIDI settings.
Like every Falcon Factory rev2 program, Octavoto Pluck draws its own front panel with a script. To see a description of the instrument, press the SCRIPT button at the top of the Info tab to switch to the standard view, then press the Info “i” button in the upper right.
-
Let’s make some changes to the program, by adjusting the CUTOFF and RESONANCE macro controls. Click a knob and drag to adjust it. You can also hover over a control and turn your mouse’s scroll wheel, or scroll with your trackpad.
-
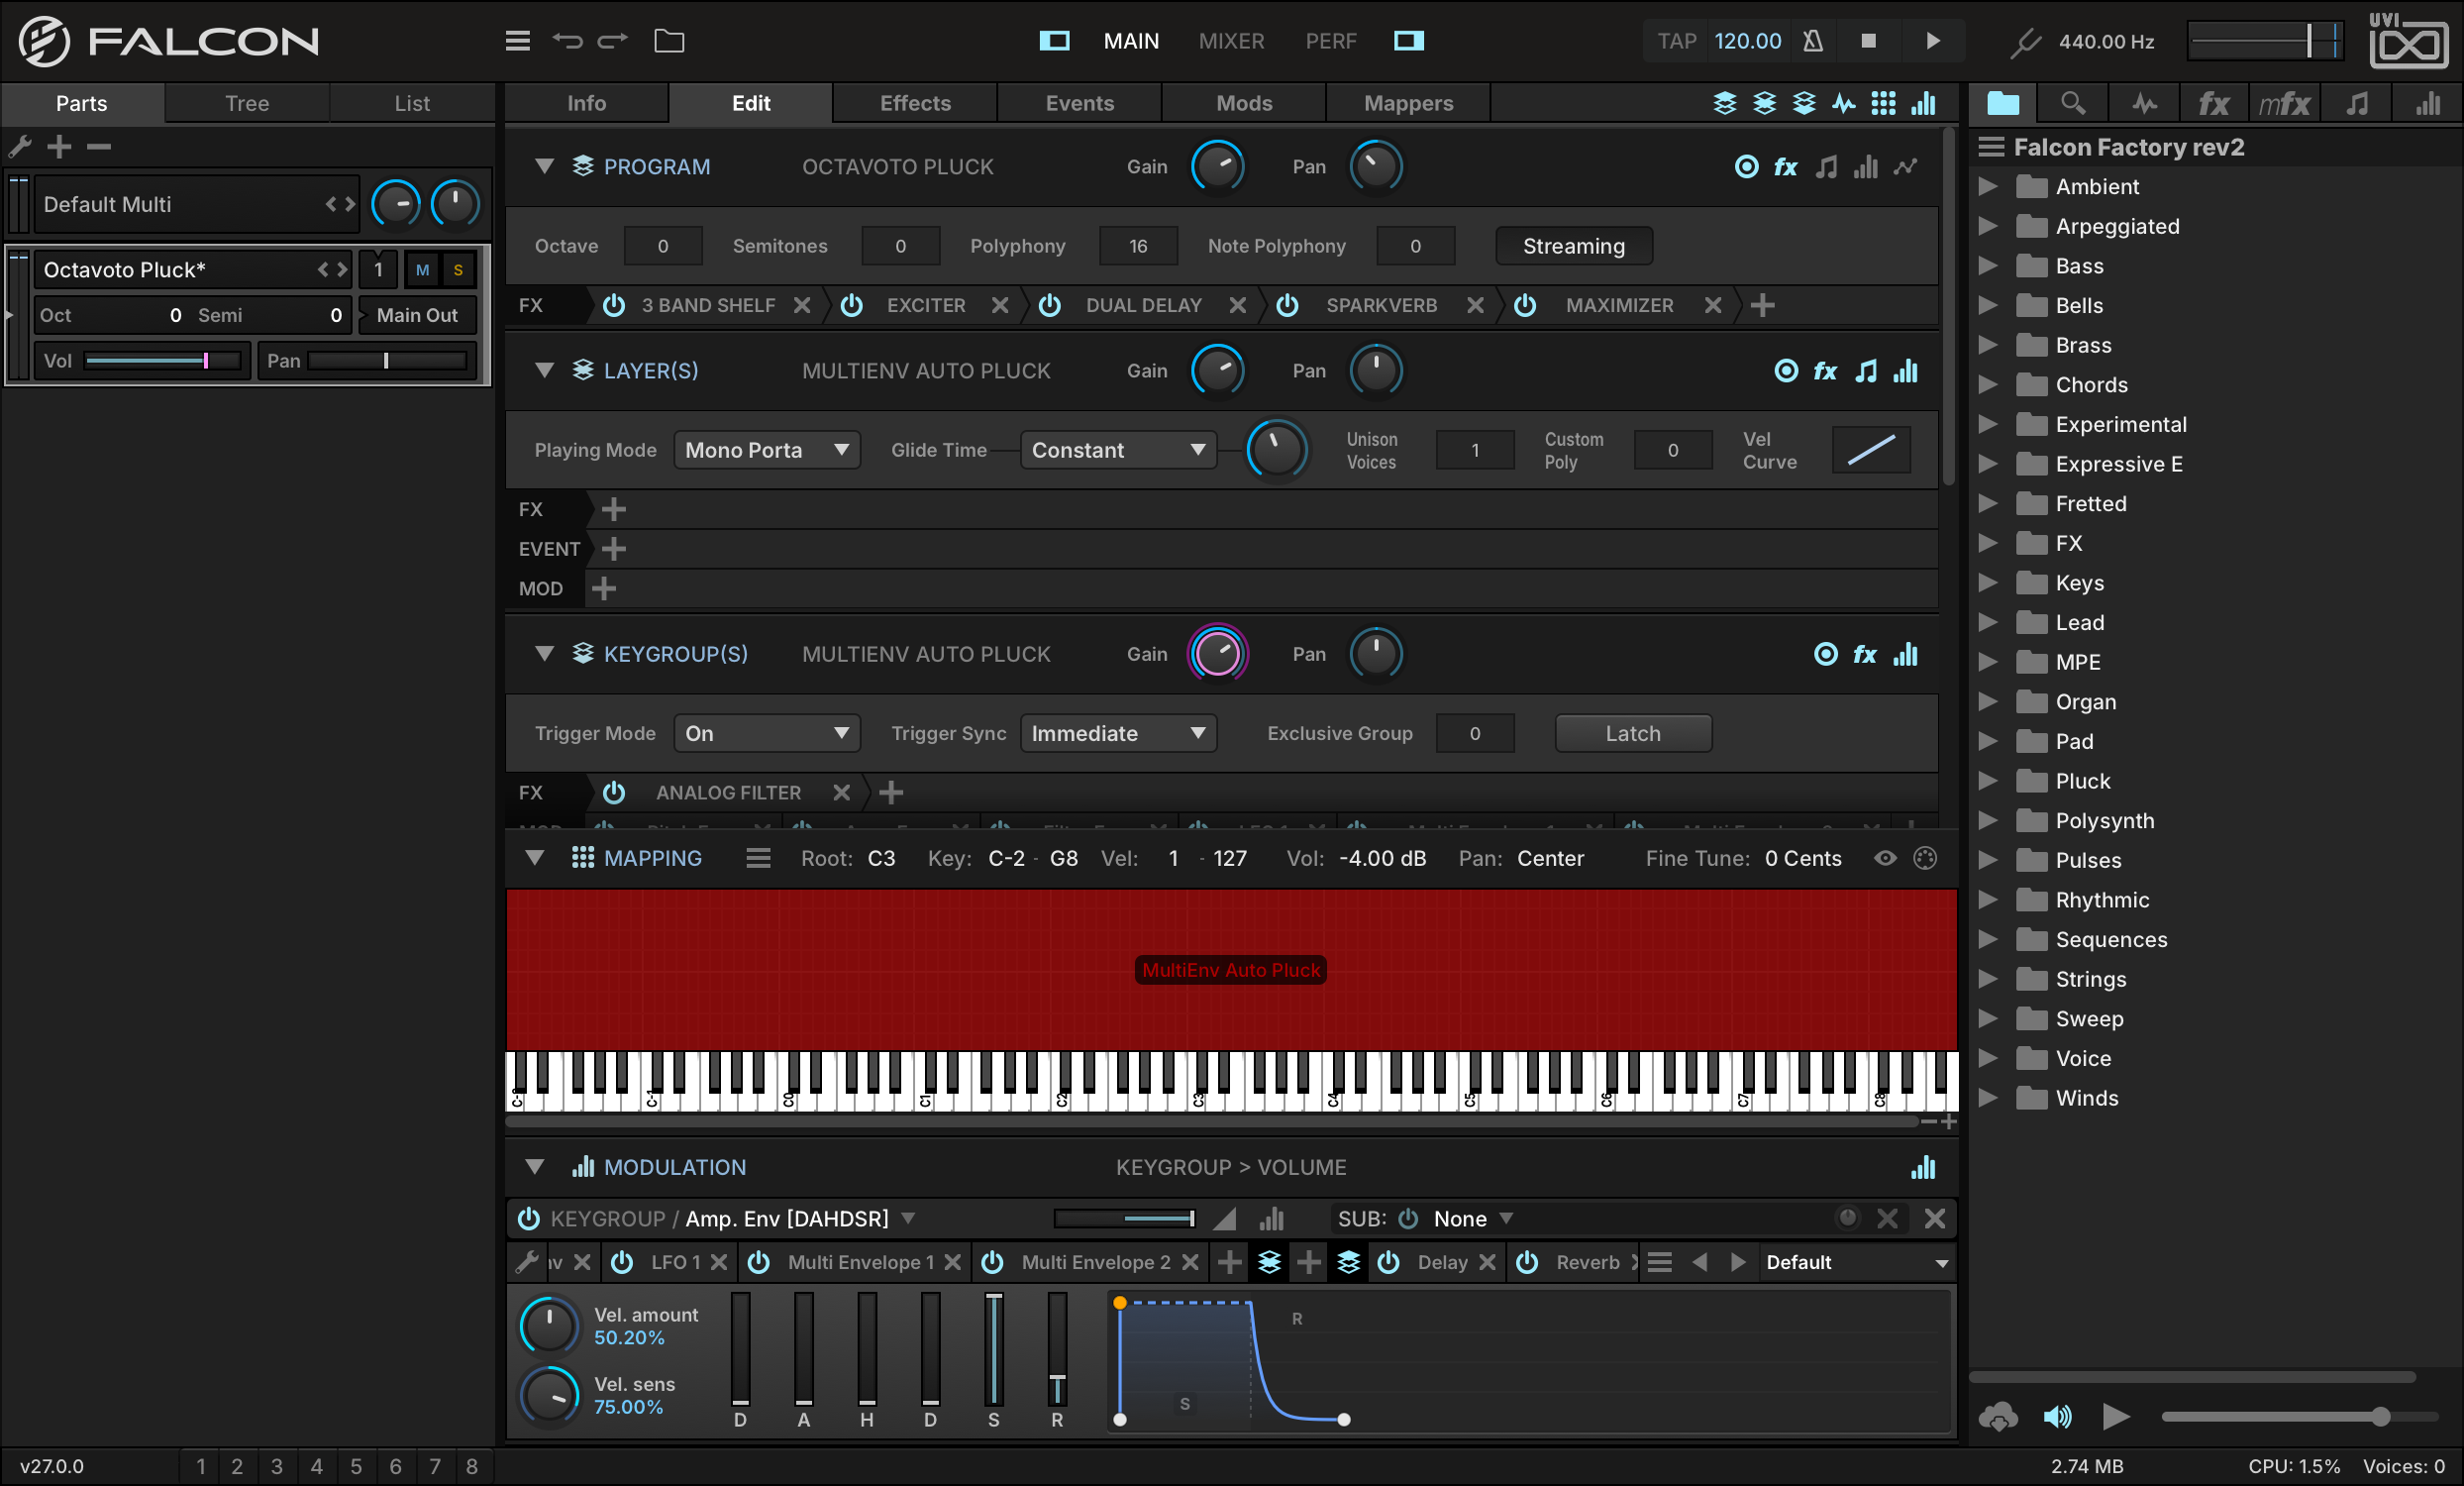
That’s a start, but to dig in a little deeper, let’s switch to the EDIT tab. Here we can see the settings for the major components of the instrument: program, layer, keygroup, and oscillator. Additionally, the Sample Editor, Mapping Editor, and Modulation Editor provide editing of sample files, the mapping of the layers and keygroups, and modulation assignments.
-
Let’s make some edits to the instrument. To change the program’s output level and panning, go to the PROGRAM section and adjust the GAIN and PAN settings.
-
Let’s also change the instrument from polyphonic to monophonic. Go to the LAYER section and change Play Mode to MONO PORTAMENTO, and adjust GLIDE TIME to change the amount of “slide” between notes.
Saving a Program
-
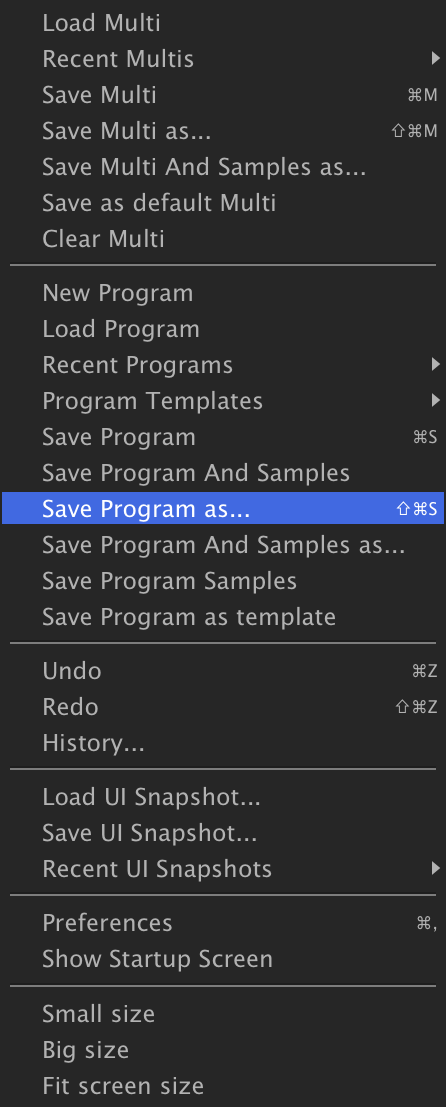
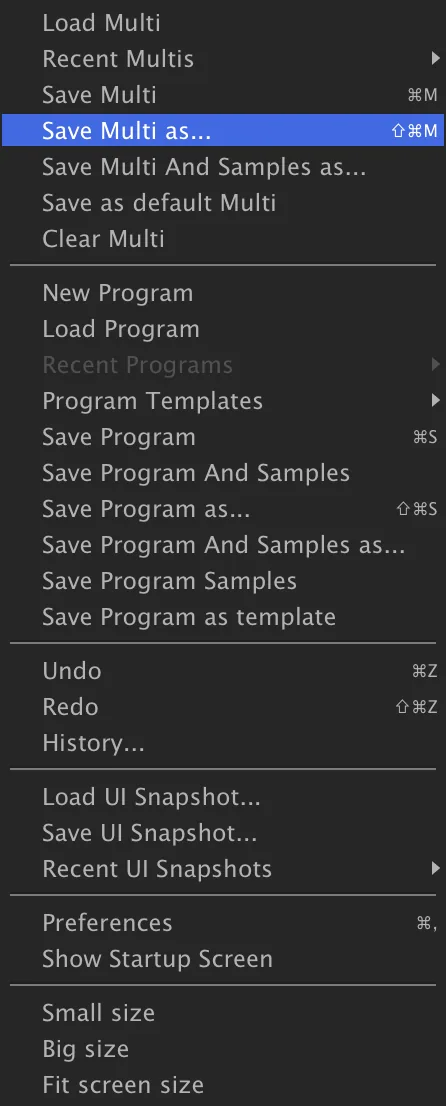
Now that we’ve made some changes to the program, let’s save our edited version. The main menu in the toolbar is a central location for many of Falcon’s save/load options. From the Main Menu, choose SAVE PROGRAM AS.
Choose the location where you’d like to save the file, enter a file name, then Save — your edited program is now saved with a new file name. The original program file is unchanged, and your edits are saved under the new program.
If you make some more edits to this program, you can save the same file again with Save Program. That will save the same file in place, and won’t prompt again for a file name.
-
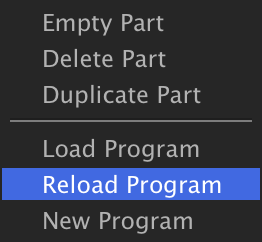
If you’d rather discard changes you’ve made since the last time you saved the file, you can instead choose to reload the program file. Right-click the part in the Parts List and choose RELOAD PROGRAM from the context menu to undo all of those changes.
Saving a Multi
-
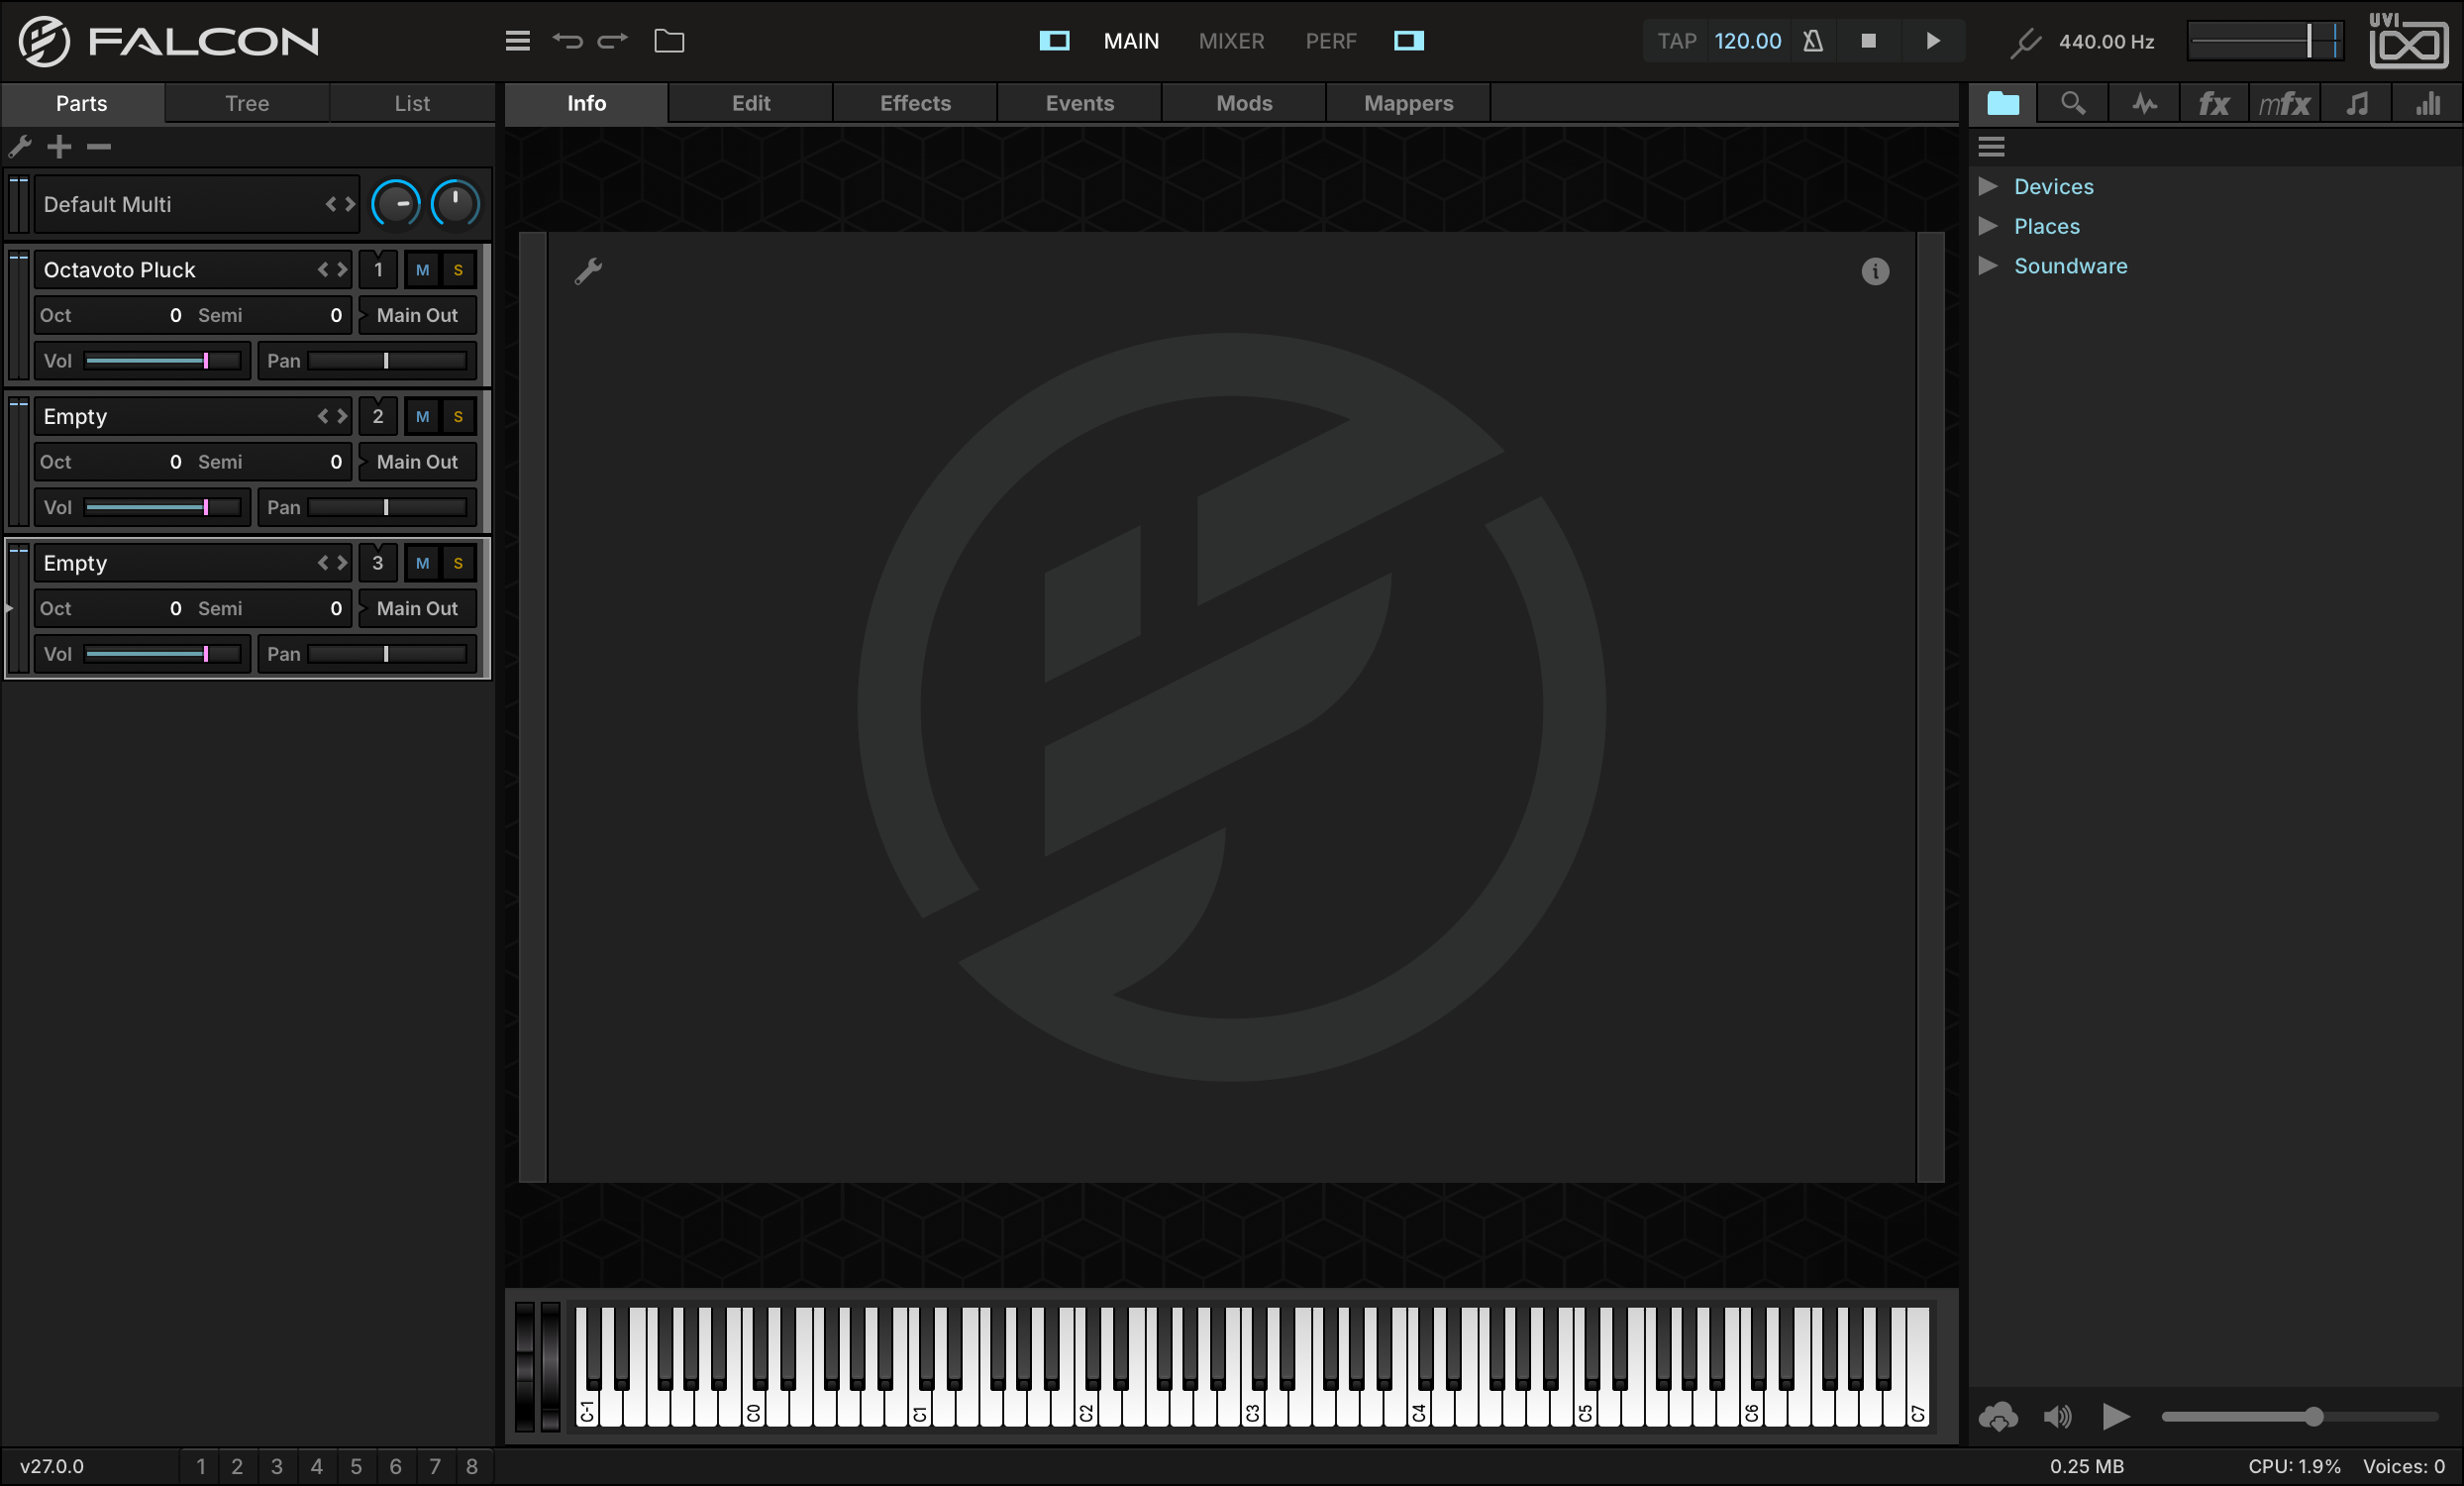
Now that we have one instrument loaded and edited to our liking, let’s load some additional sounds. In the Parts List, press the + button to add a few more parts.
-
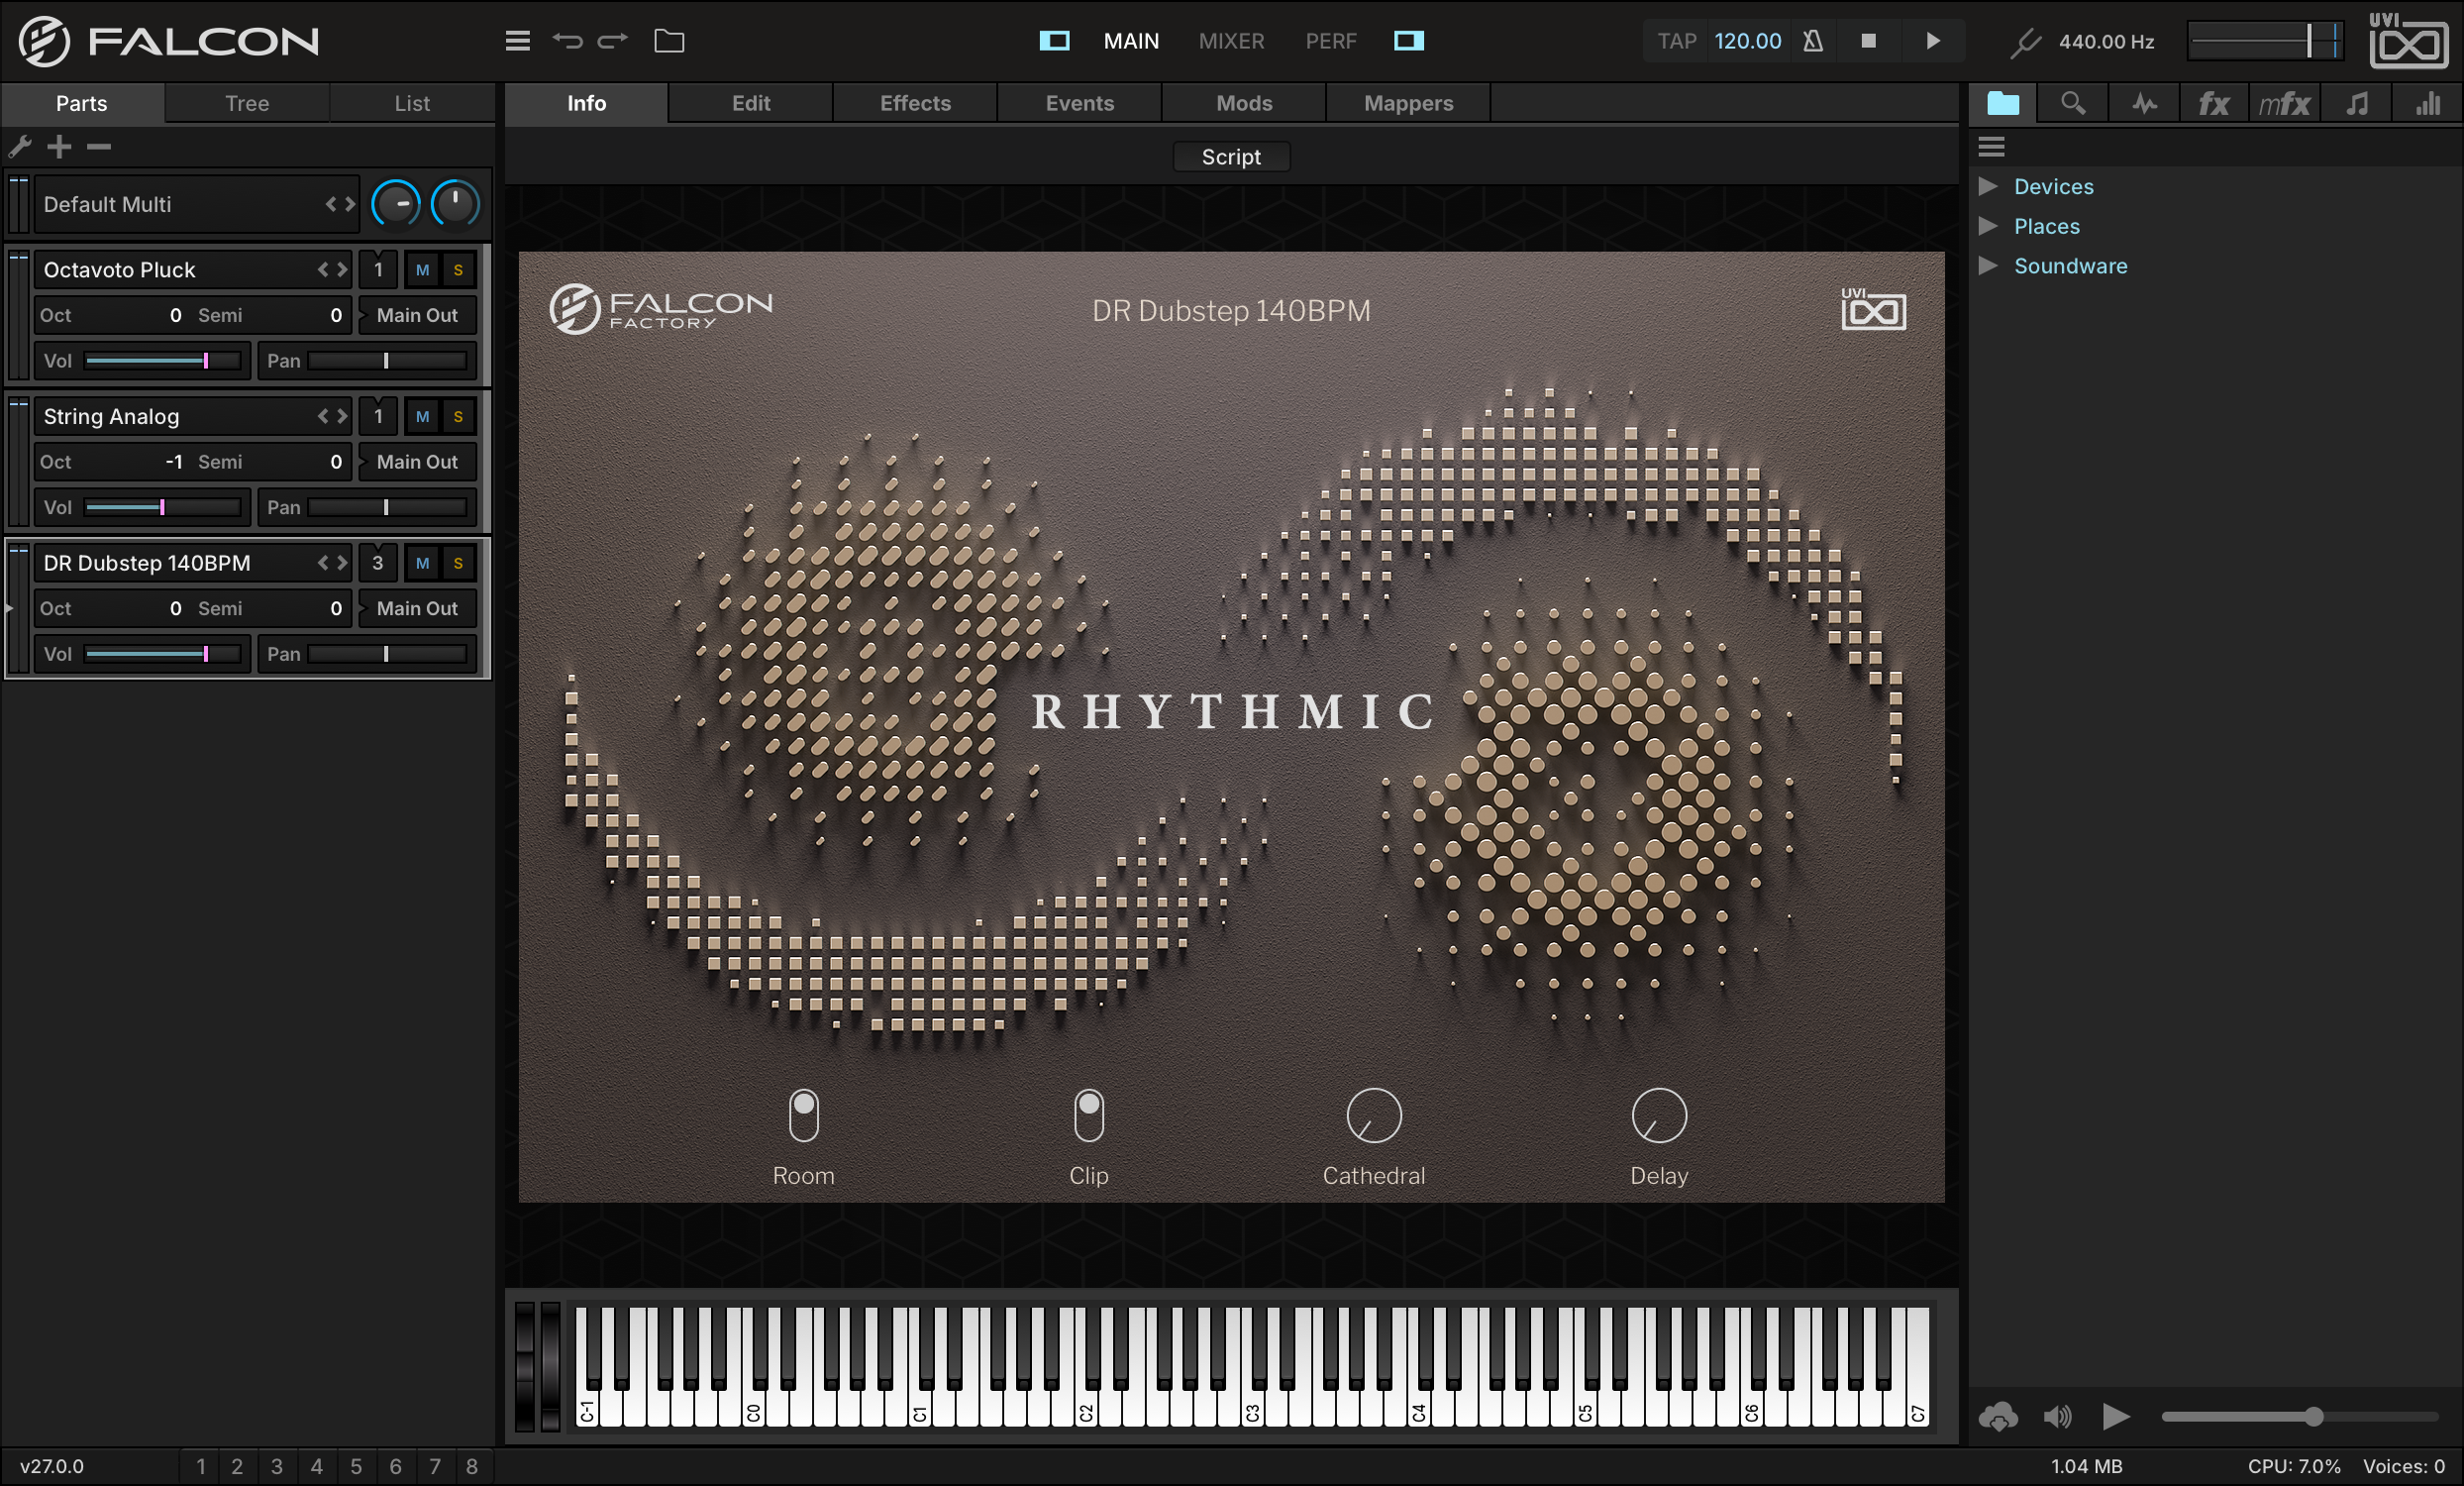
Let’s load a few more sounds from the Falcon Factory rev2 Soundware, such as the PADSTRING ANALOG instrument and RHYTHMICDR DUBSTEP 140BPM, or choose a slice drum loop file from other UVI Soundware or from your own library and start building a multi-timbral multi.
-
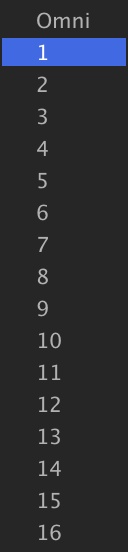
To stack parts 1 and 2, set the MIDI input of parts 1 and 2 to channel 1. Play a few notes from your MIDI controller — you should now hear both parts trigger at the same time. (The on-screen keyboard only ever plays the selected part, so it cannot play both.)
-
Now let’s adjust the parts relative to each other: reduce the volume of part 2 to −12 dB, and transpose part 2 by setting OCT to −1.
-
On part 3, just press any note to play the rhythm. If you load your own drum loop, press PLAY on Falcon’s toolbar and you will hear the drum loop auto-play, synced to Falcon’s tempo. Edit Falcon’s tempo, and the rhythm automatically stays in sync.
-
Now with our multi taking shape, let’s save it. From the Main Menu in the toolbar, choose SAVE MULTI AS.
All of the details about this instance of Falcon are saved in the multi, and can be recalled with this single file.
Make a Simple Synth
-
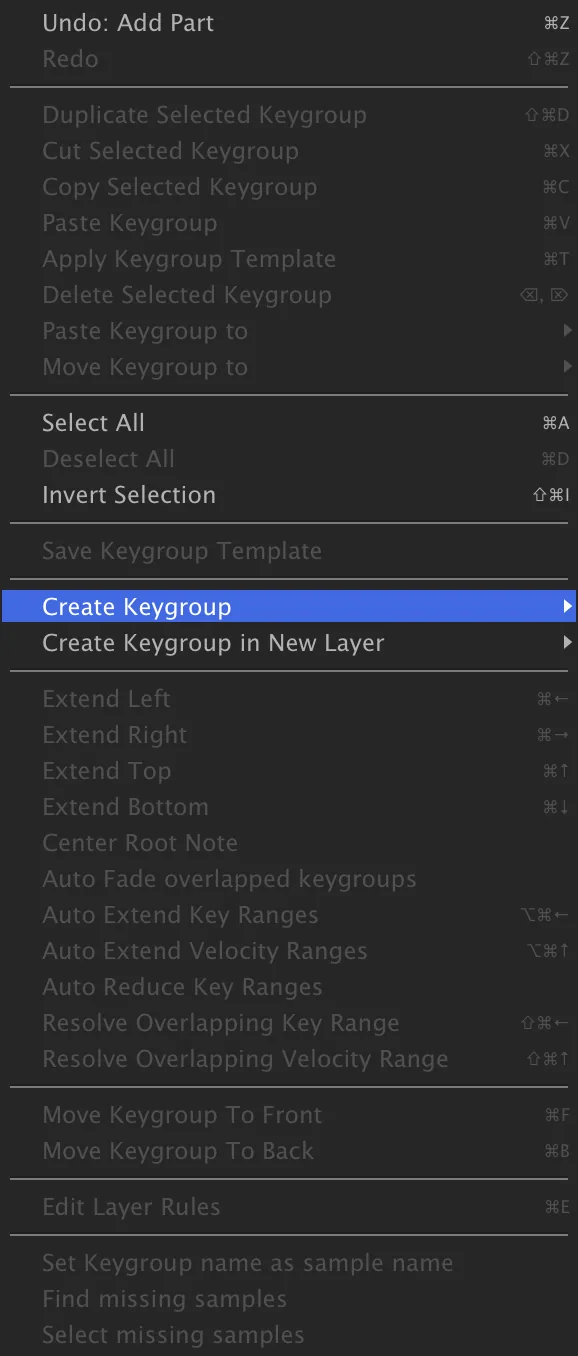
Now that we’ve looked at editing existing sounds, let’s start creating some new ones from scratch. In an empty part, go to the EDIT tab. In the MAPPING EDITOR, right-click and choose CREATE KEYGROUPSYNTH TEMPLATE.
-
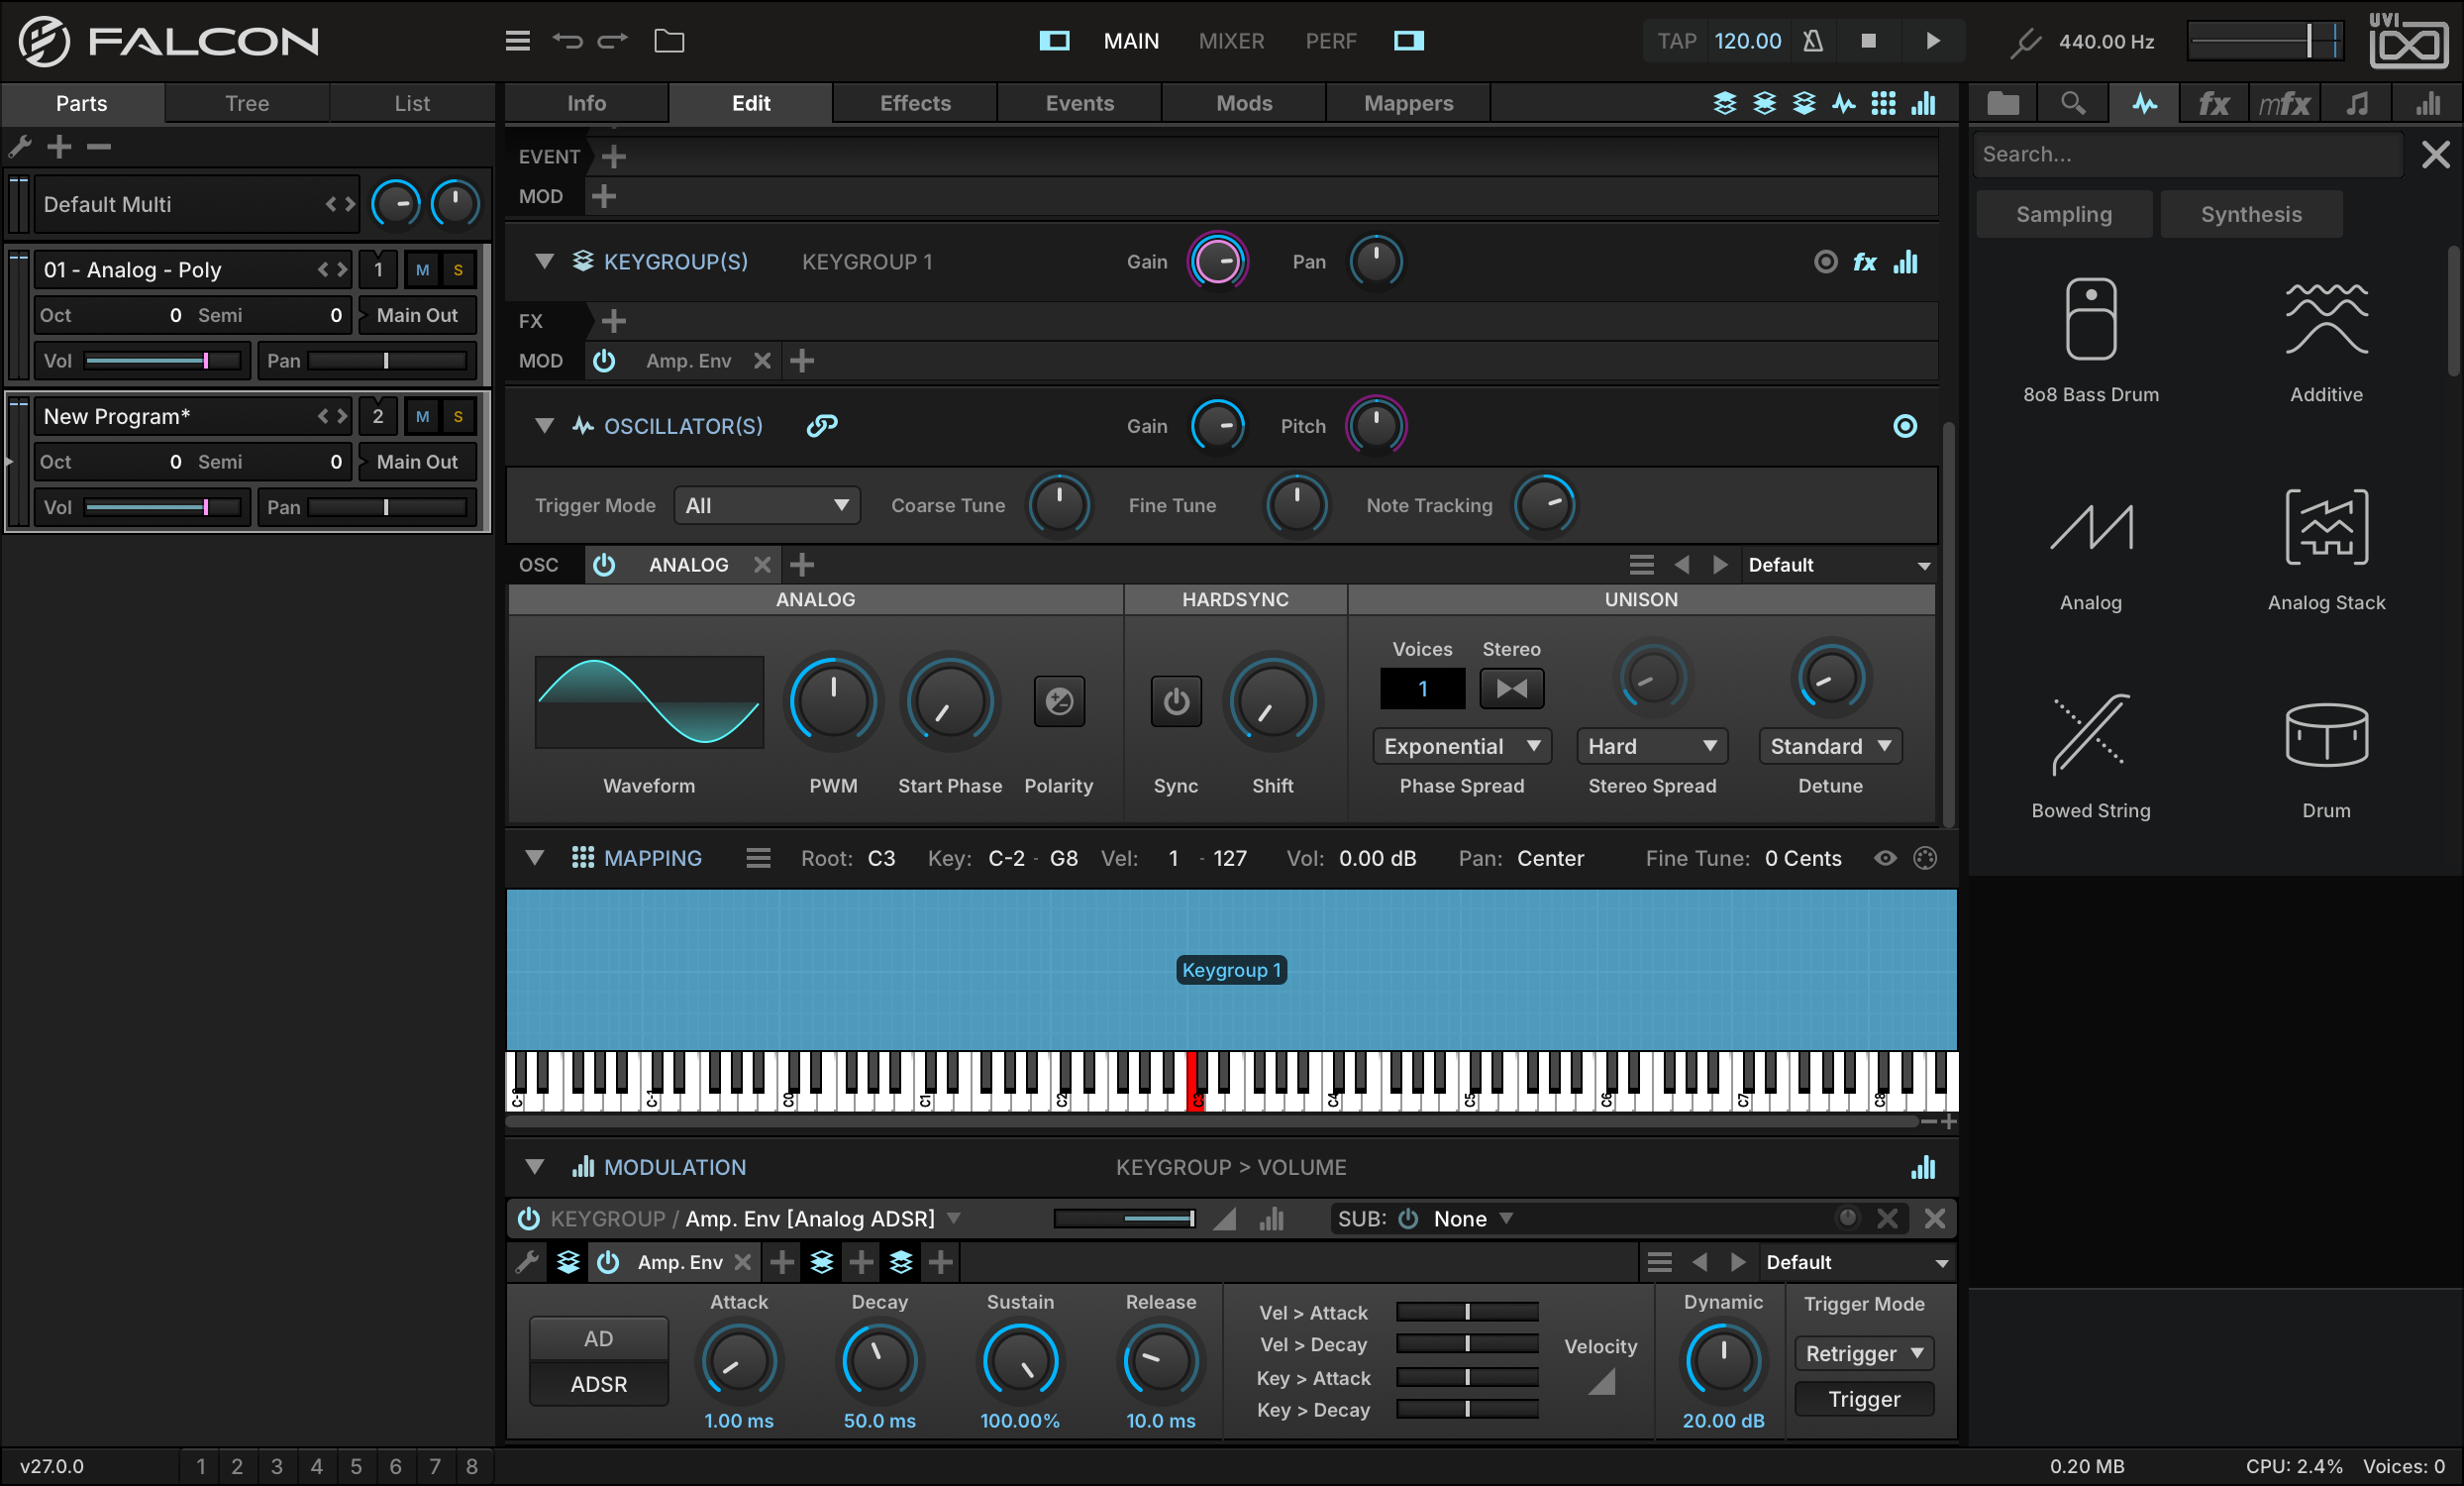
A new keygroup has been created, mapped to the full key and velocity range.
-
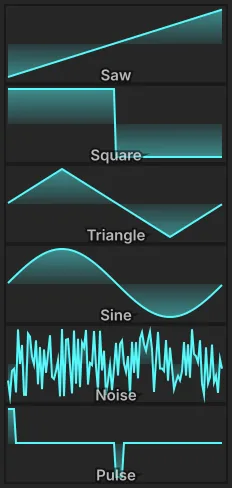
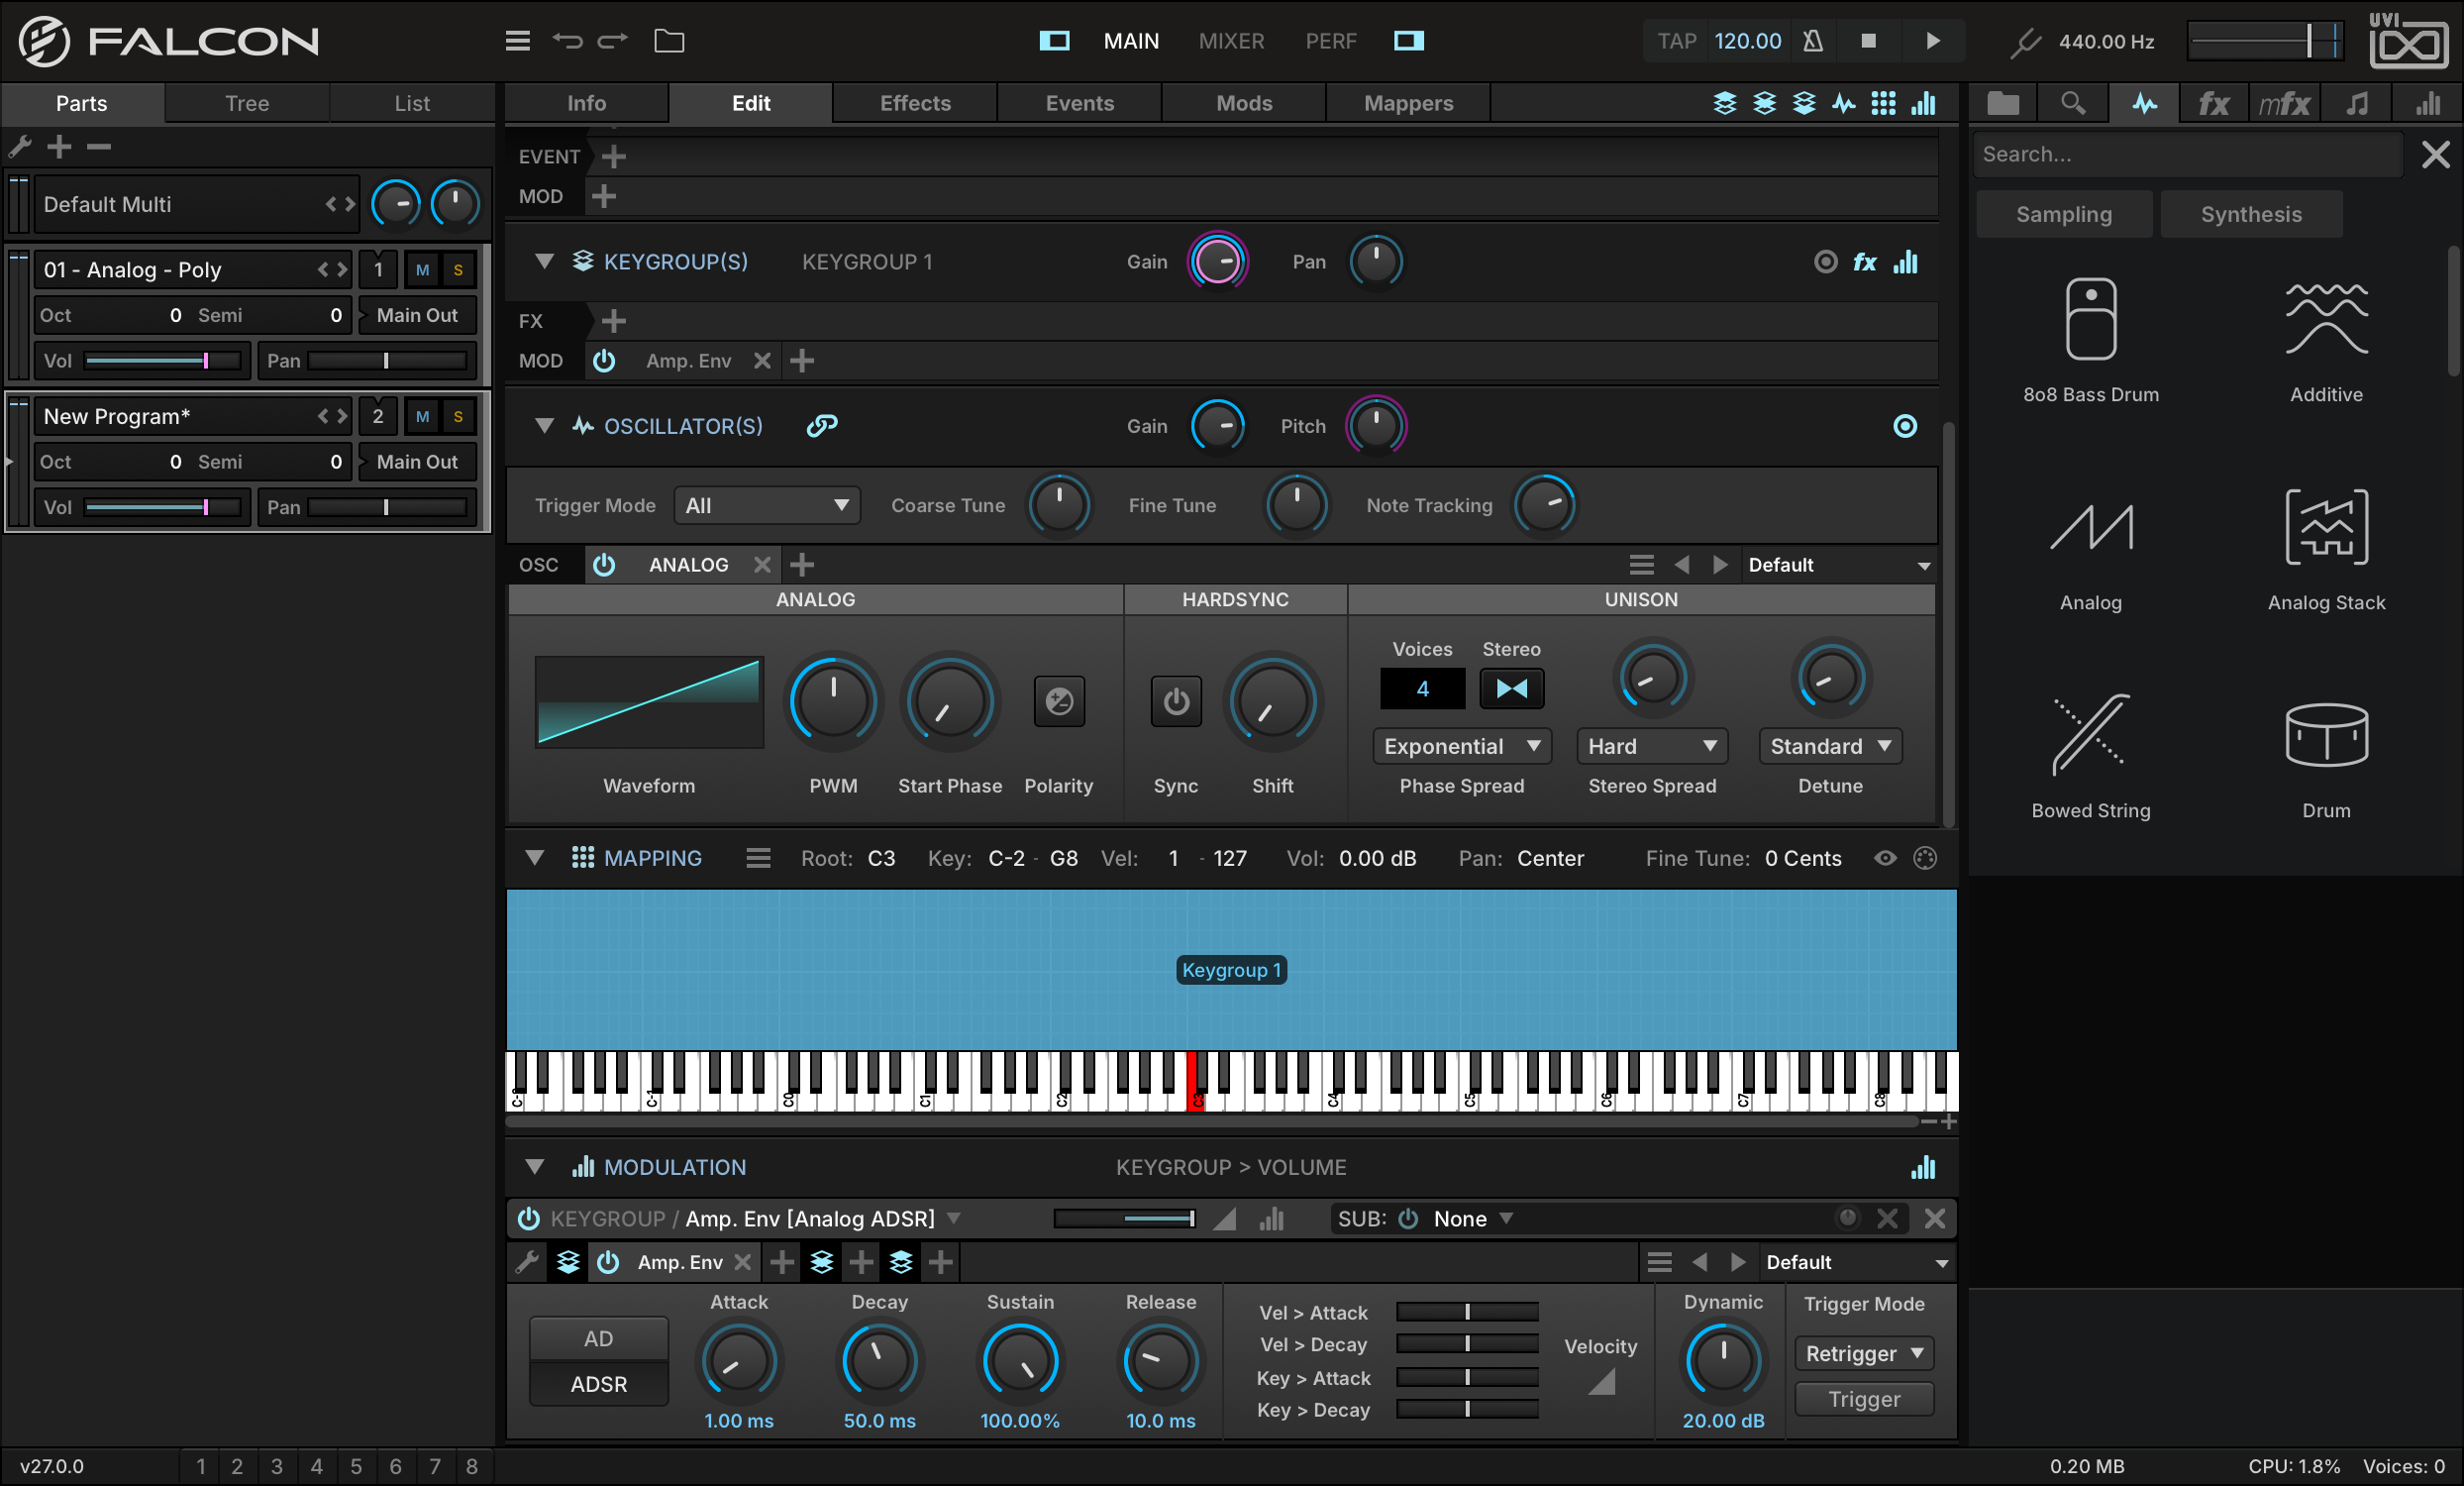
Play a few notes, and you’ll hear the Synth Template’s Analog oscillator playing a simple sine wave. Let’s change that to a sawtooth wave, by clicking the WAVEFORM and choosing SAWTOOTH from the menu.
-
We can continue building our sound by editing the other synth engine parameters, such as enabling Stereo mode and adding additional voices.
-
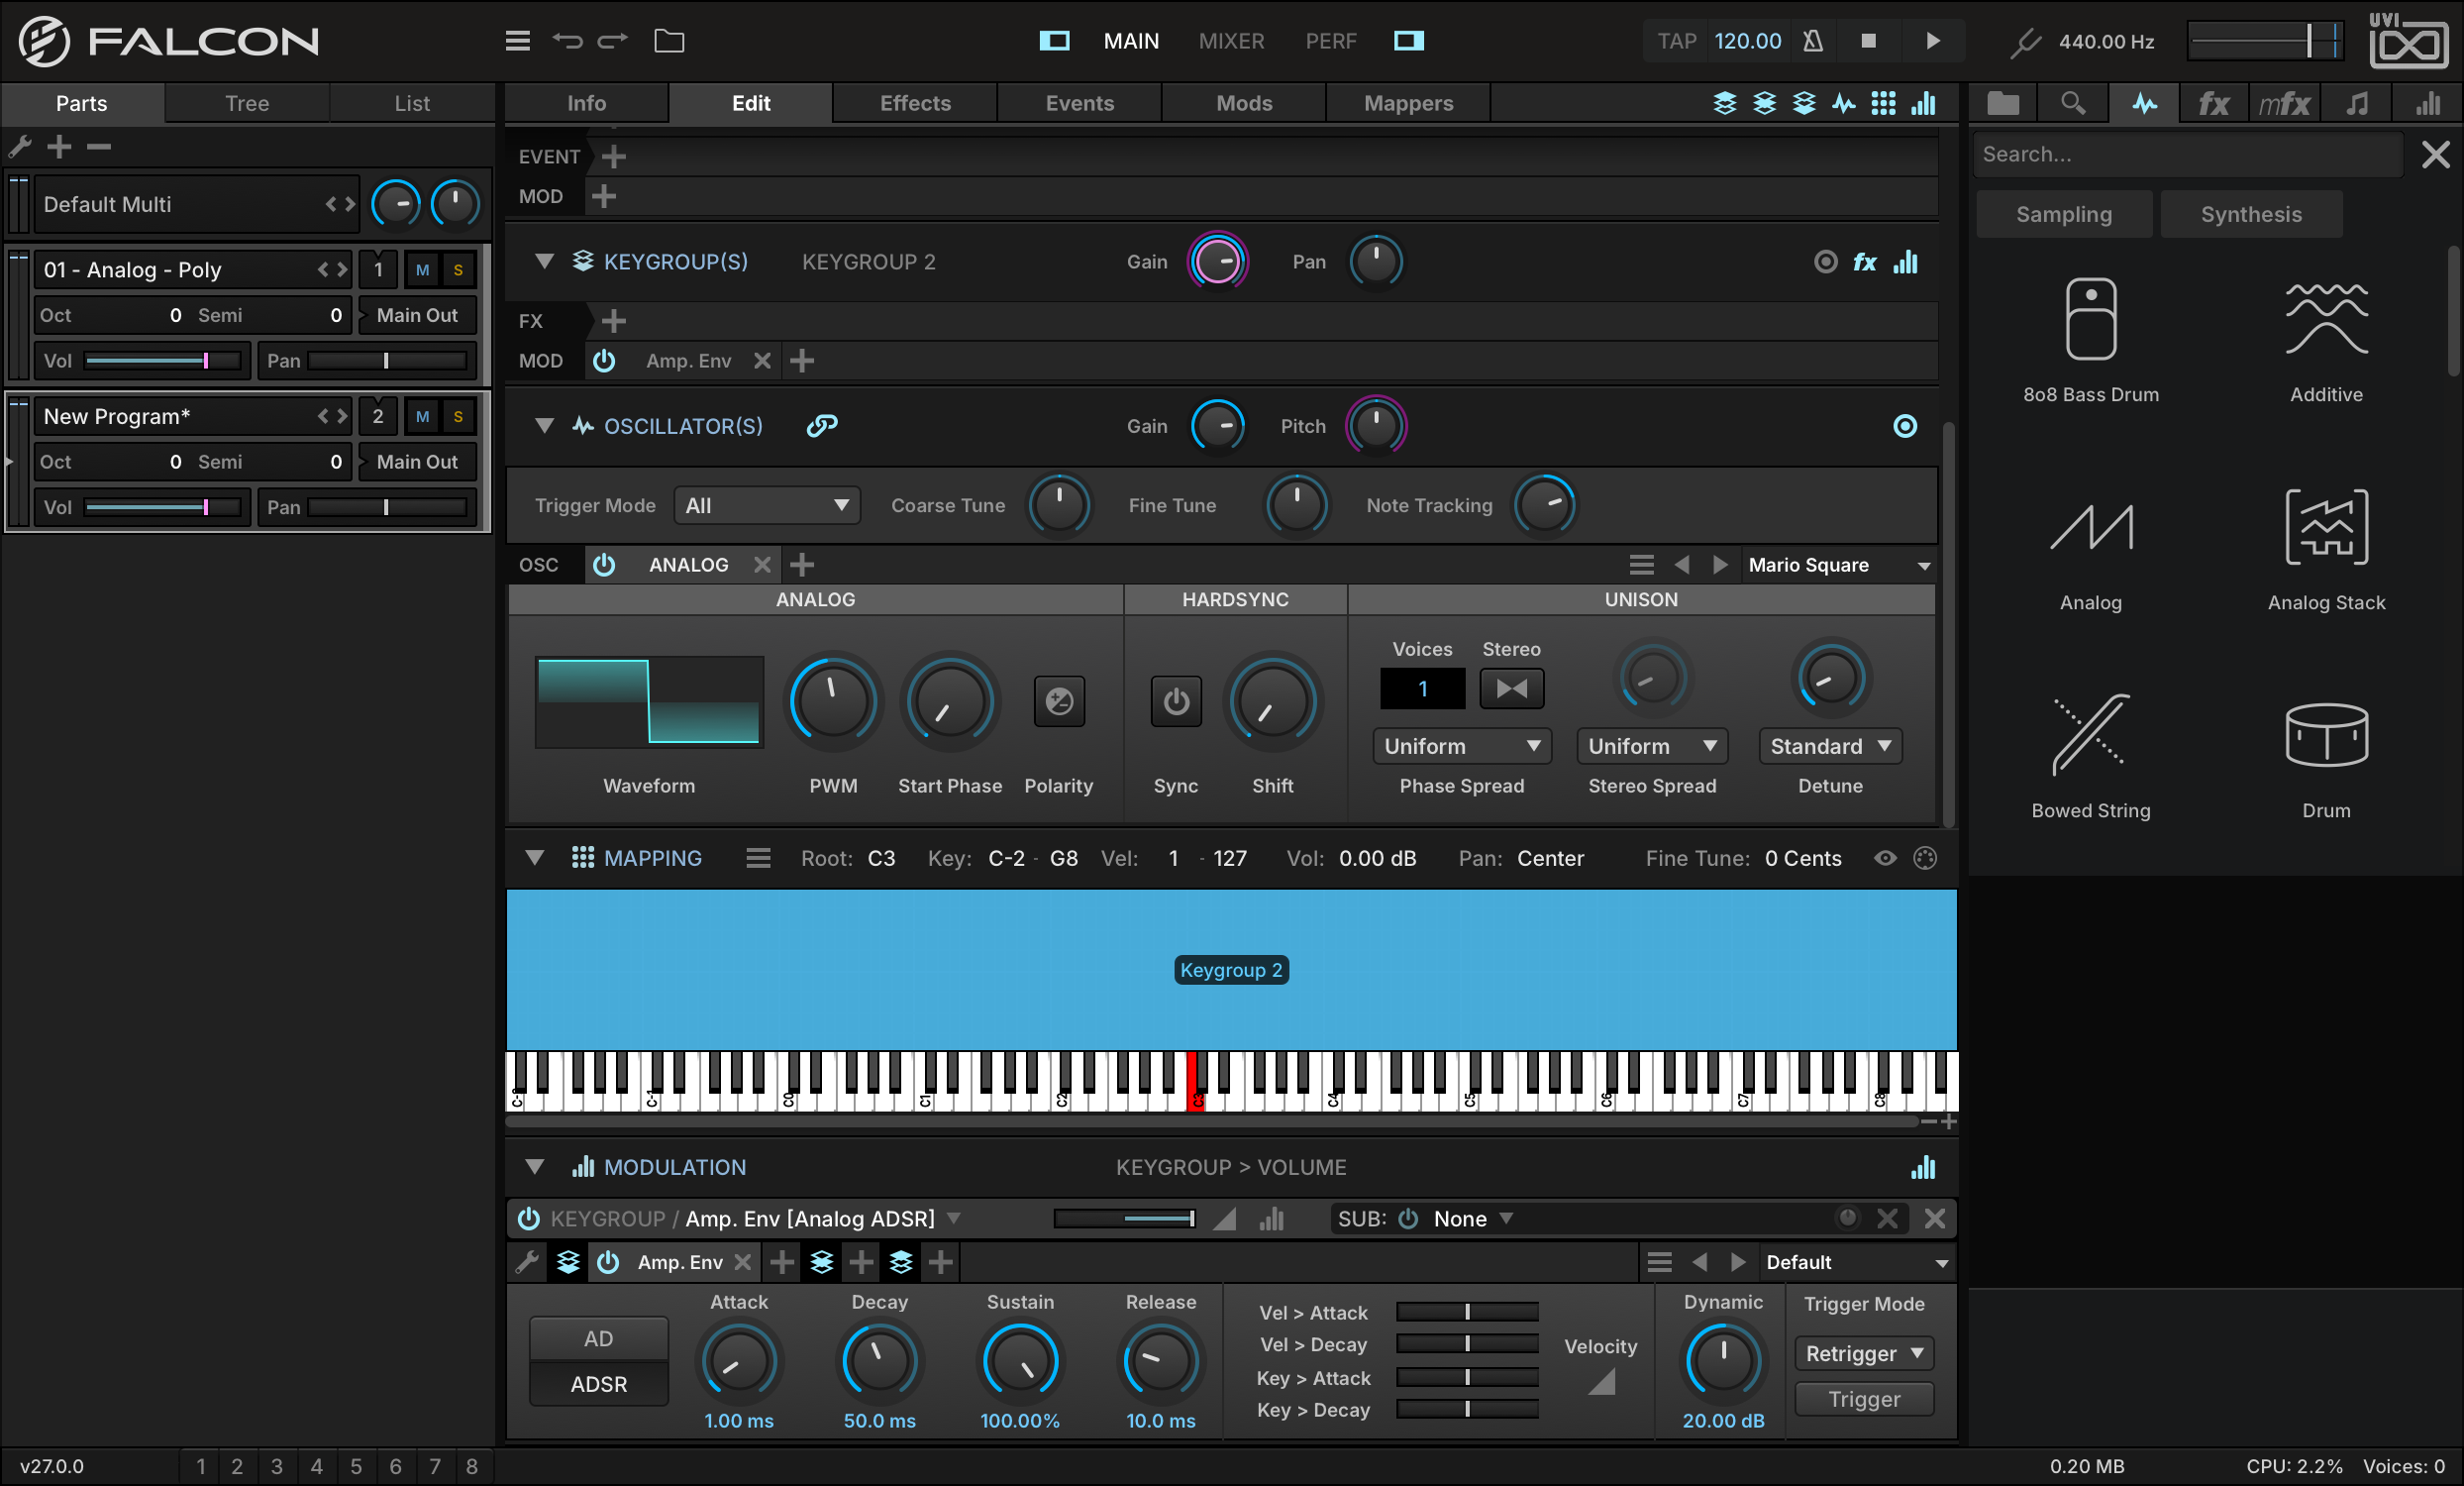
To stack multiple synth sounds, we can add a second synth keygroup. Let’s choose CREATE KEYGROUPSYNTH TEMPLATE a second time, and another keygroup will be stacked on top of the first. For this keygroup, let’s choose one of the oscillator’s factory presets, such as MARIO SQUARE.
-
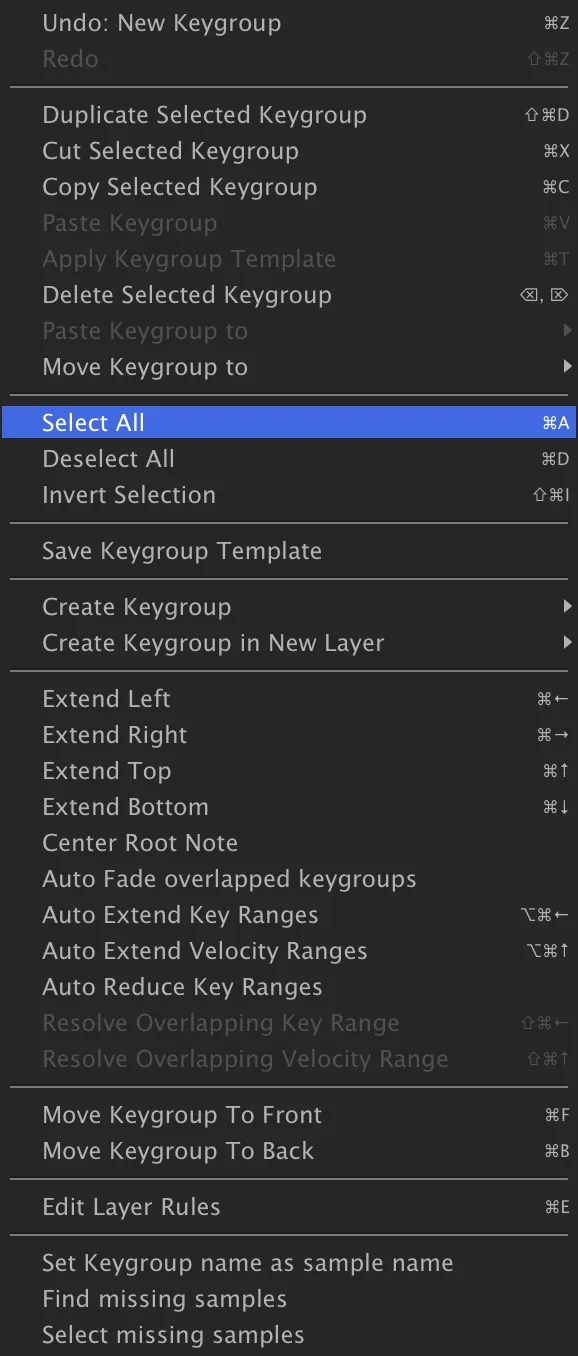
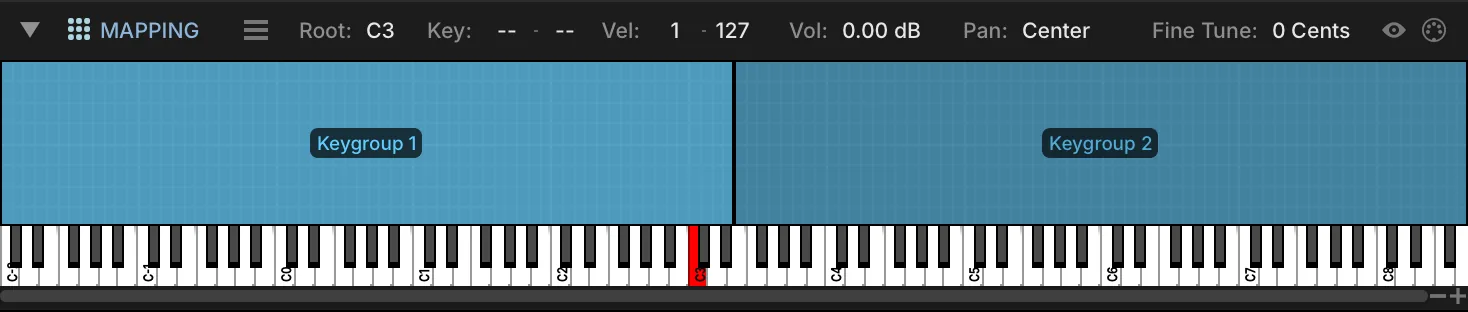
Perhaps instead of stacking these sounds, this could be a split program instead, with one sound for the left hand and another for the right hand. To do that, we’ll need to adjust the key ranges of the keygroups so they don’t overlap. Right-click in the Mapping Editor and choose SELECT ALL, then choose RESOLVE OVERLAPPING KEY RANGE.

-
Make an Arpeggiated Synth
Falcon has numerous synthesis options in addition to the classic virtual analog oscillator we’ve already seen. Let’s explore the FM (frequency modulation) synth oscillator, using one of the factory presets as a starting point.
-
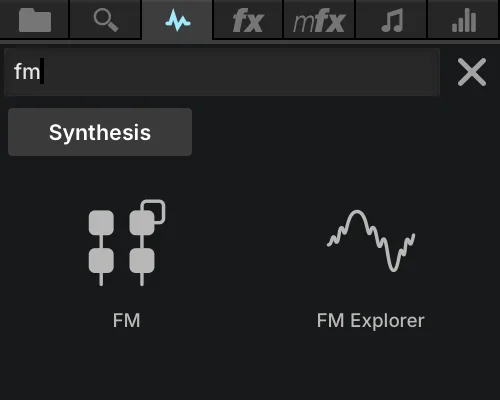
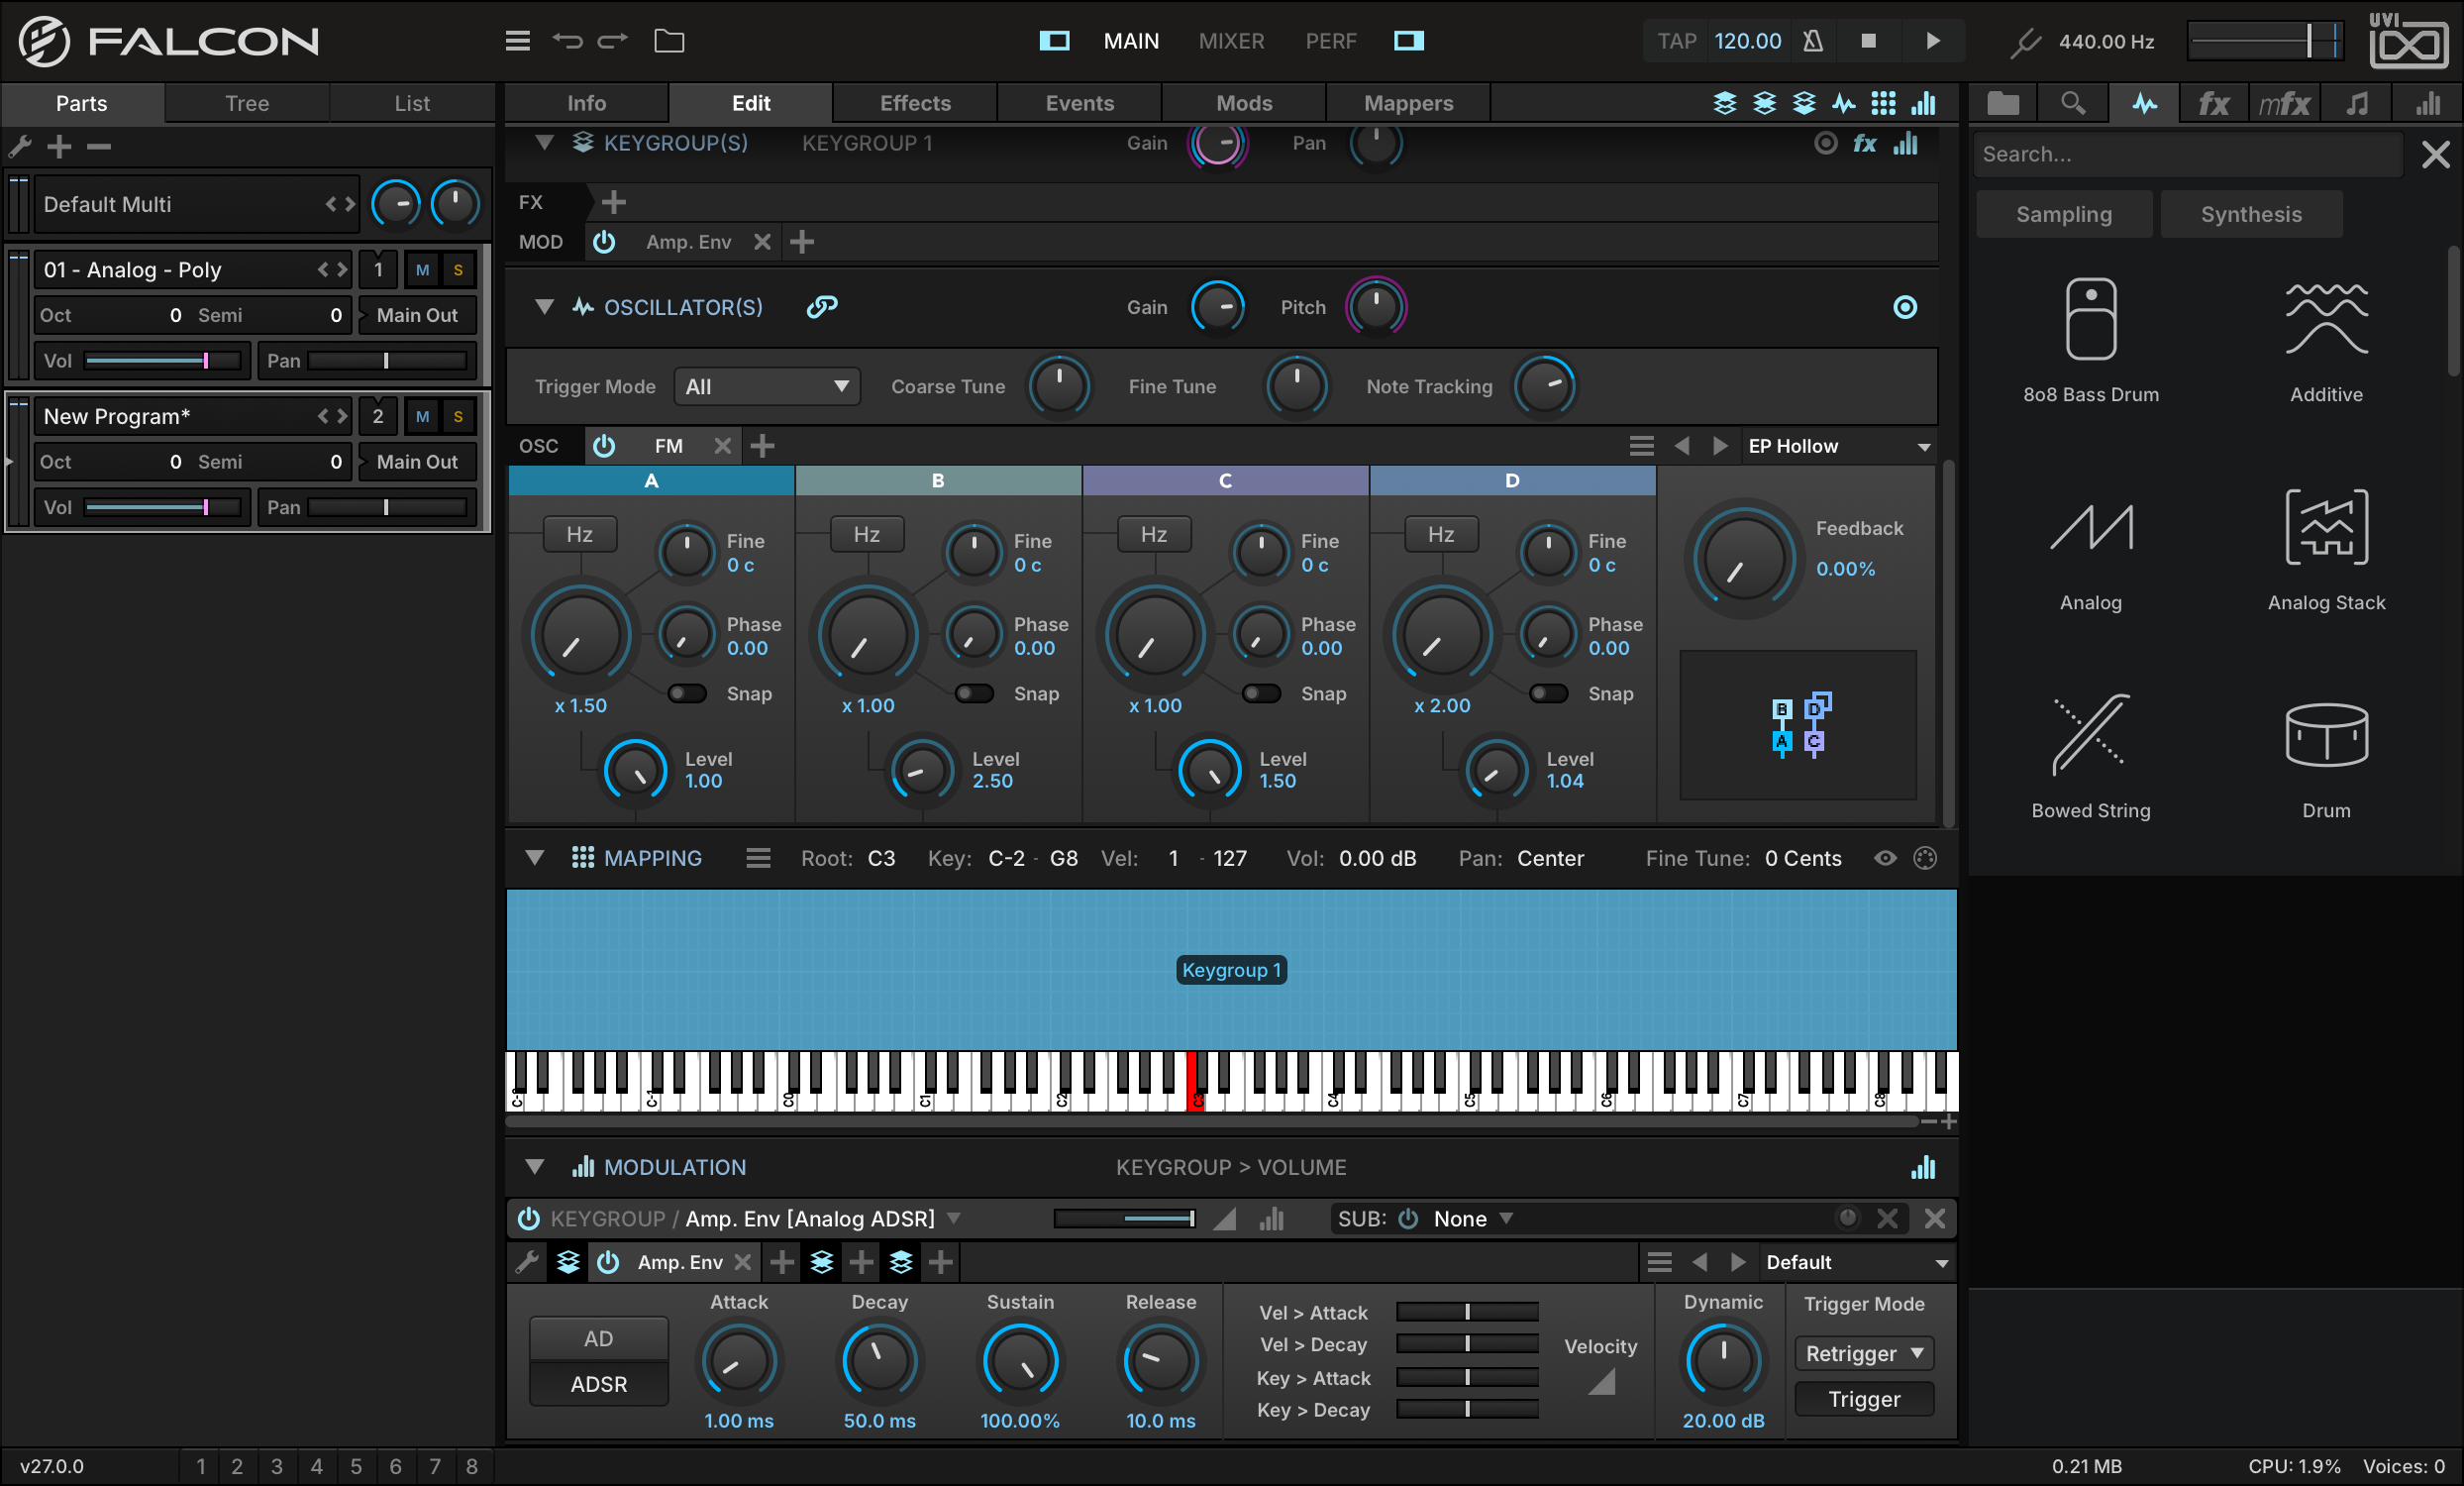
Open the right-hand sidebar and choose the OSC tab. Press SYNTHESIS, or type a name in the search field, then drag the FM oscillator to the MAPPING EDITOR.
-
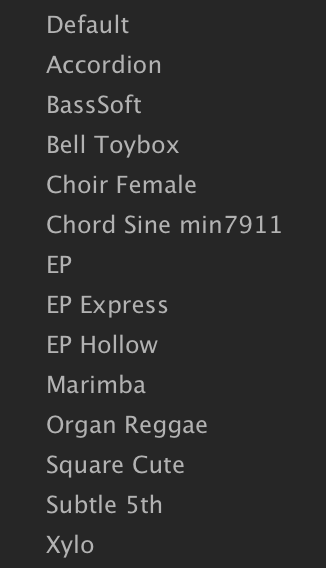
While playing a few notes, press the next or previous buttons in the oscillator module to browse the presets. Let’s choose the EP HOLLOW preset and build from there.
-
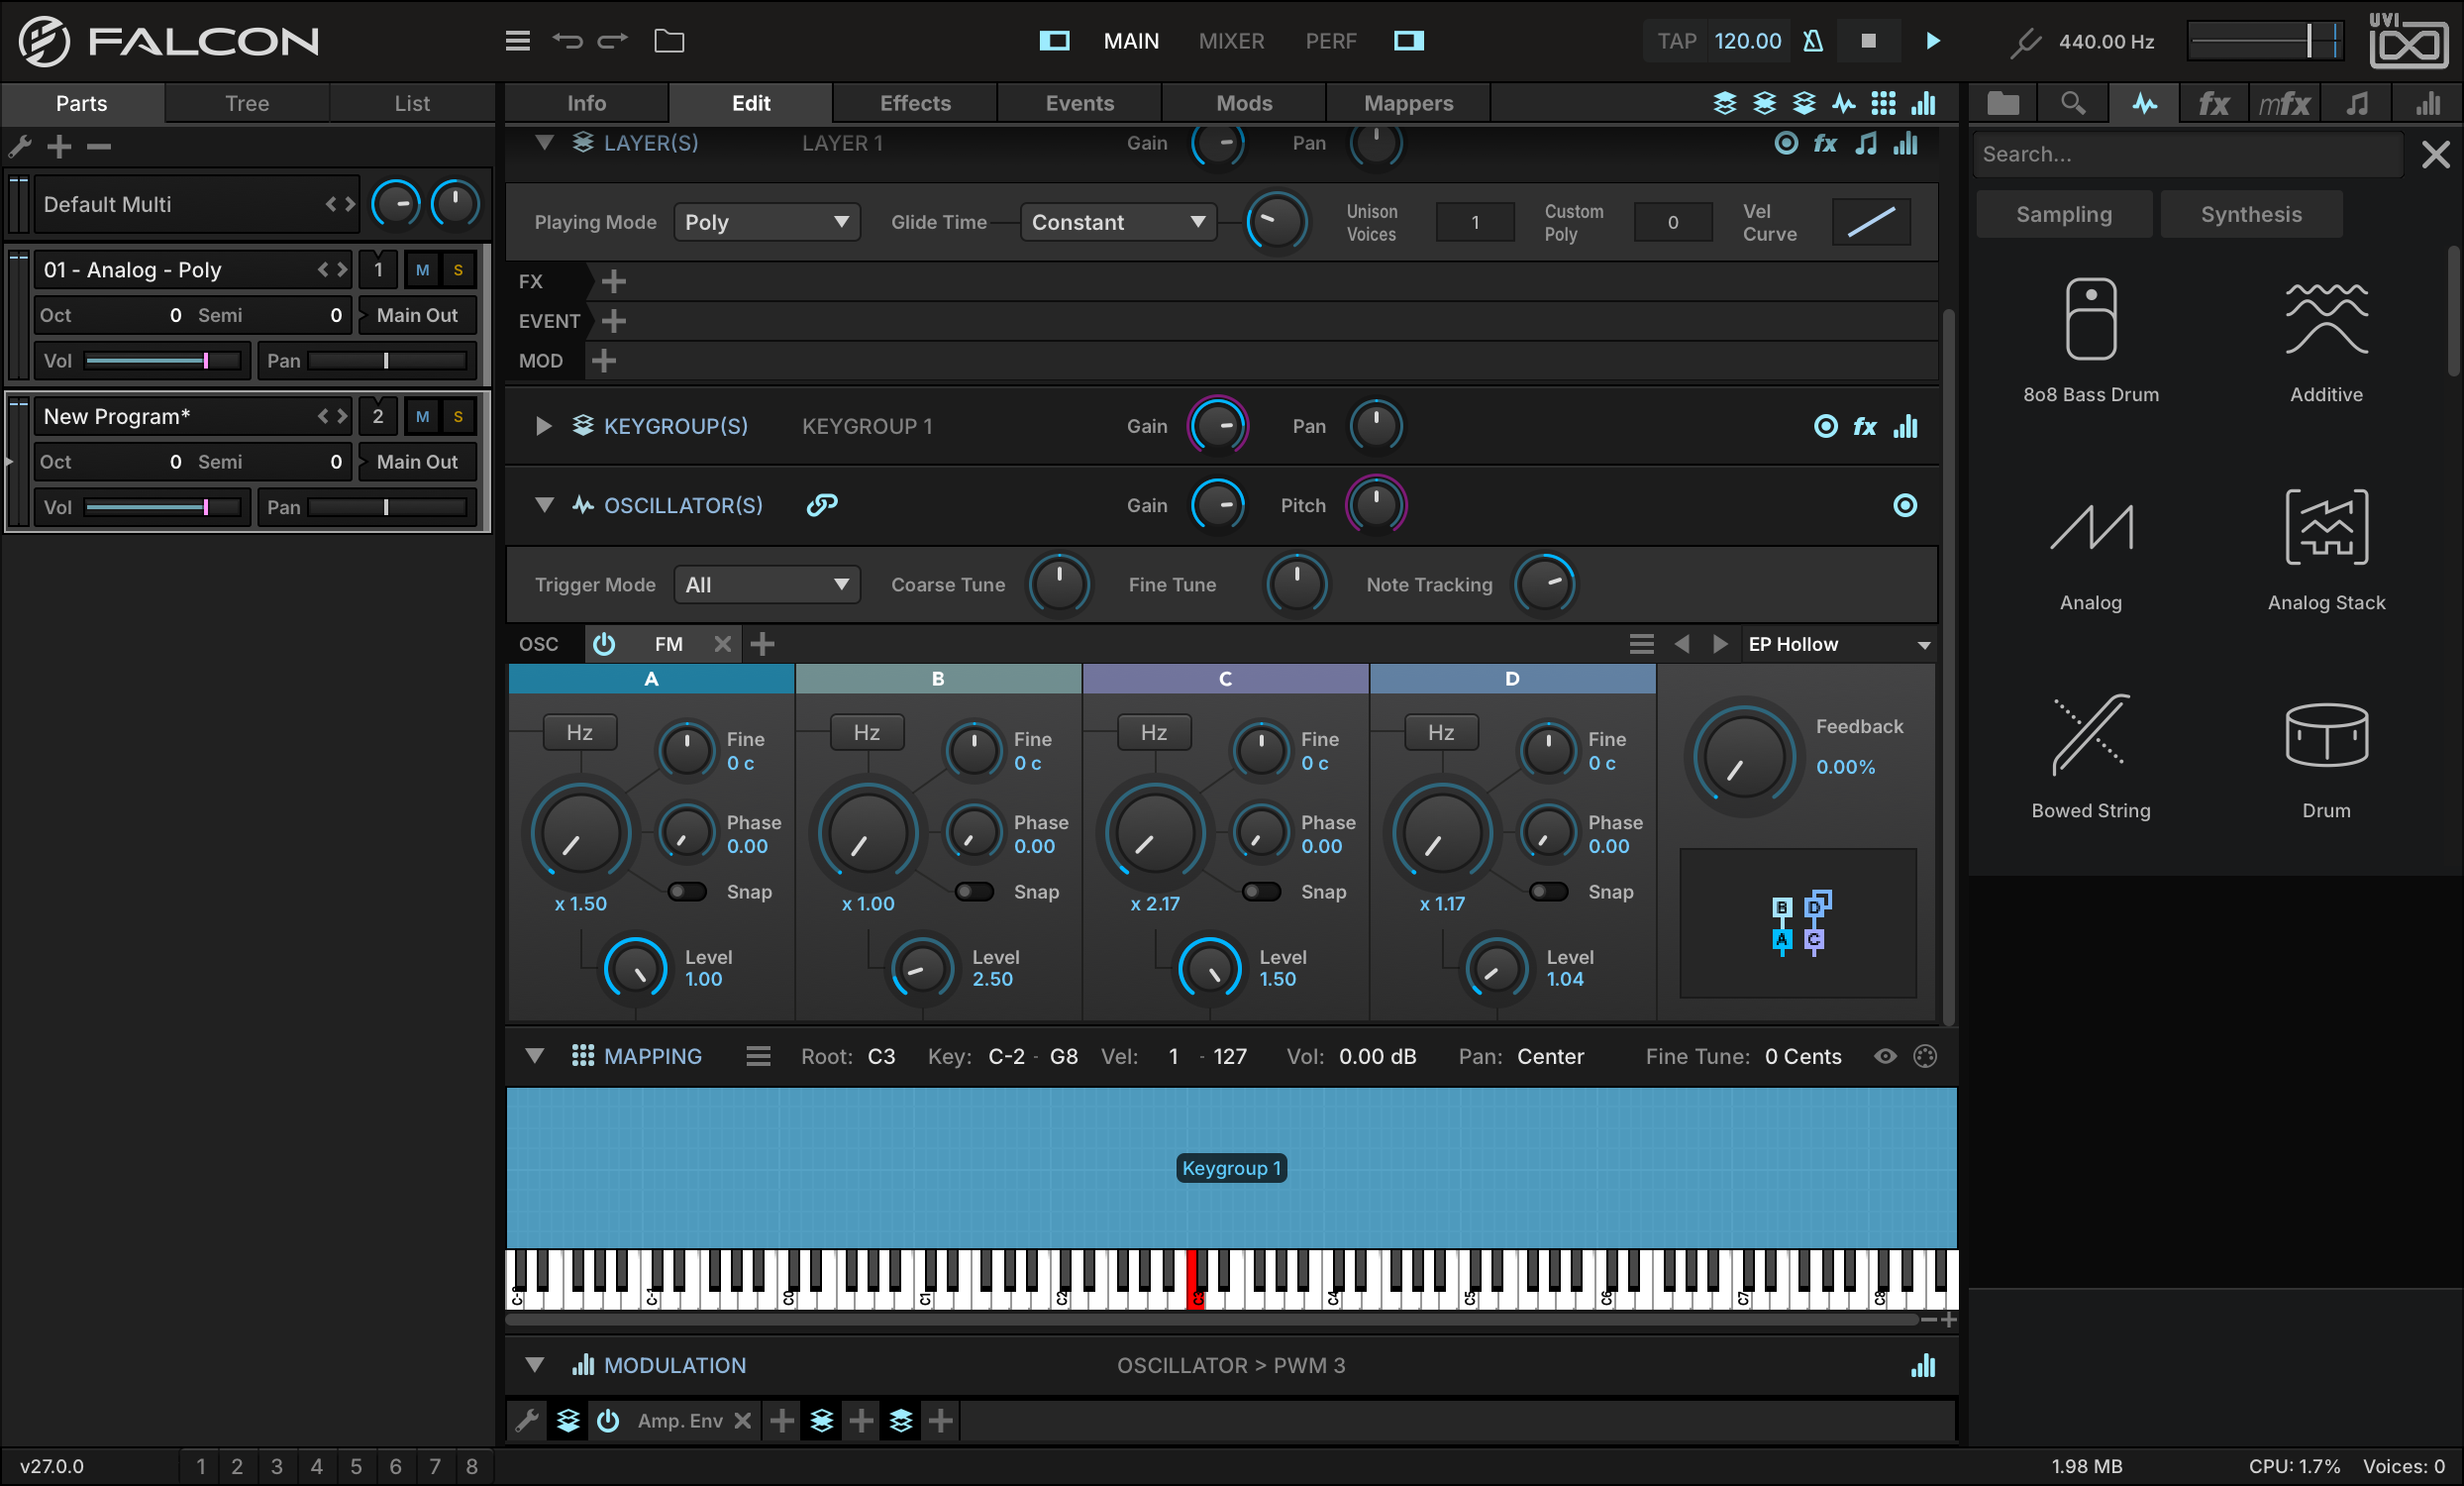
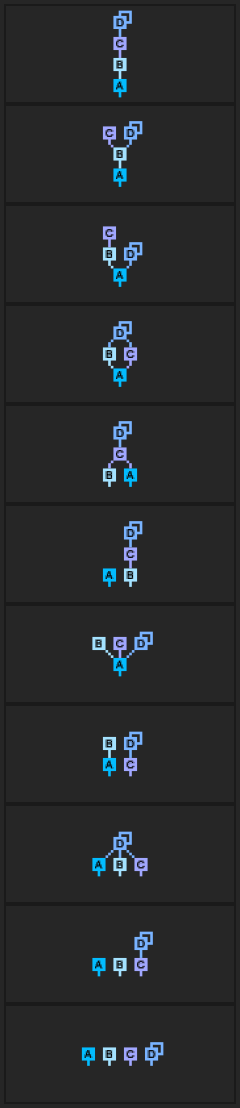
The FM oscillator has four operators (A, B, C, and D), and each operator’s frequency is a ratio to the base note. For example, a ratio of 2.0 means the frequency is doubled, or one octave up from the base note. Integers and simple ratios (3/2, 4/3, etc.) create some of the more obvious harmonic relationships, but the ratios are fully adjustable and small changes can create interesting and unexpected results. Let’s set the RATIO of operator C to 2.17 and that of operator D to 1.17, and hear the difference.
-
The operators can also be arranged in a variety of topologies. Using the same ratios, different topologies can change the sound drastically. To change the topology, press on the topology diagram in the lower right and choose a topology from the menu. For example, change the TOPOLOGY from #8 to #7.
Now that we’ve customized the sound source, let’s make it more dynamic by adding an arpeggiator.
-
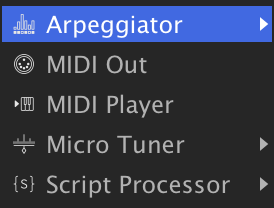
Switch to the EVENTS tab, press the + button, and choose ARPEGGIATOR.
-
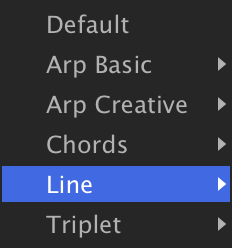
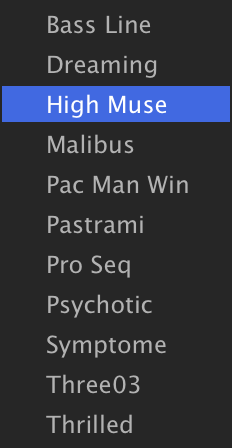
To load one of the factory presets, press on the PRESET MENU and choose one from the menu. Let’s choose one of the sequenced pitch presets, such as ARPEGGIATORLINEHIGH MUSE.
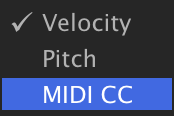
Press and hold a few keys to hear the arpeggiated sequence. There are actually three layers to the arpeggiator: note velocity, pitch, and MIDI CC. To view the different layers, right-click the step grid and choose the layer from the menu.
-
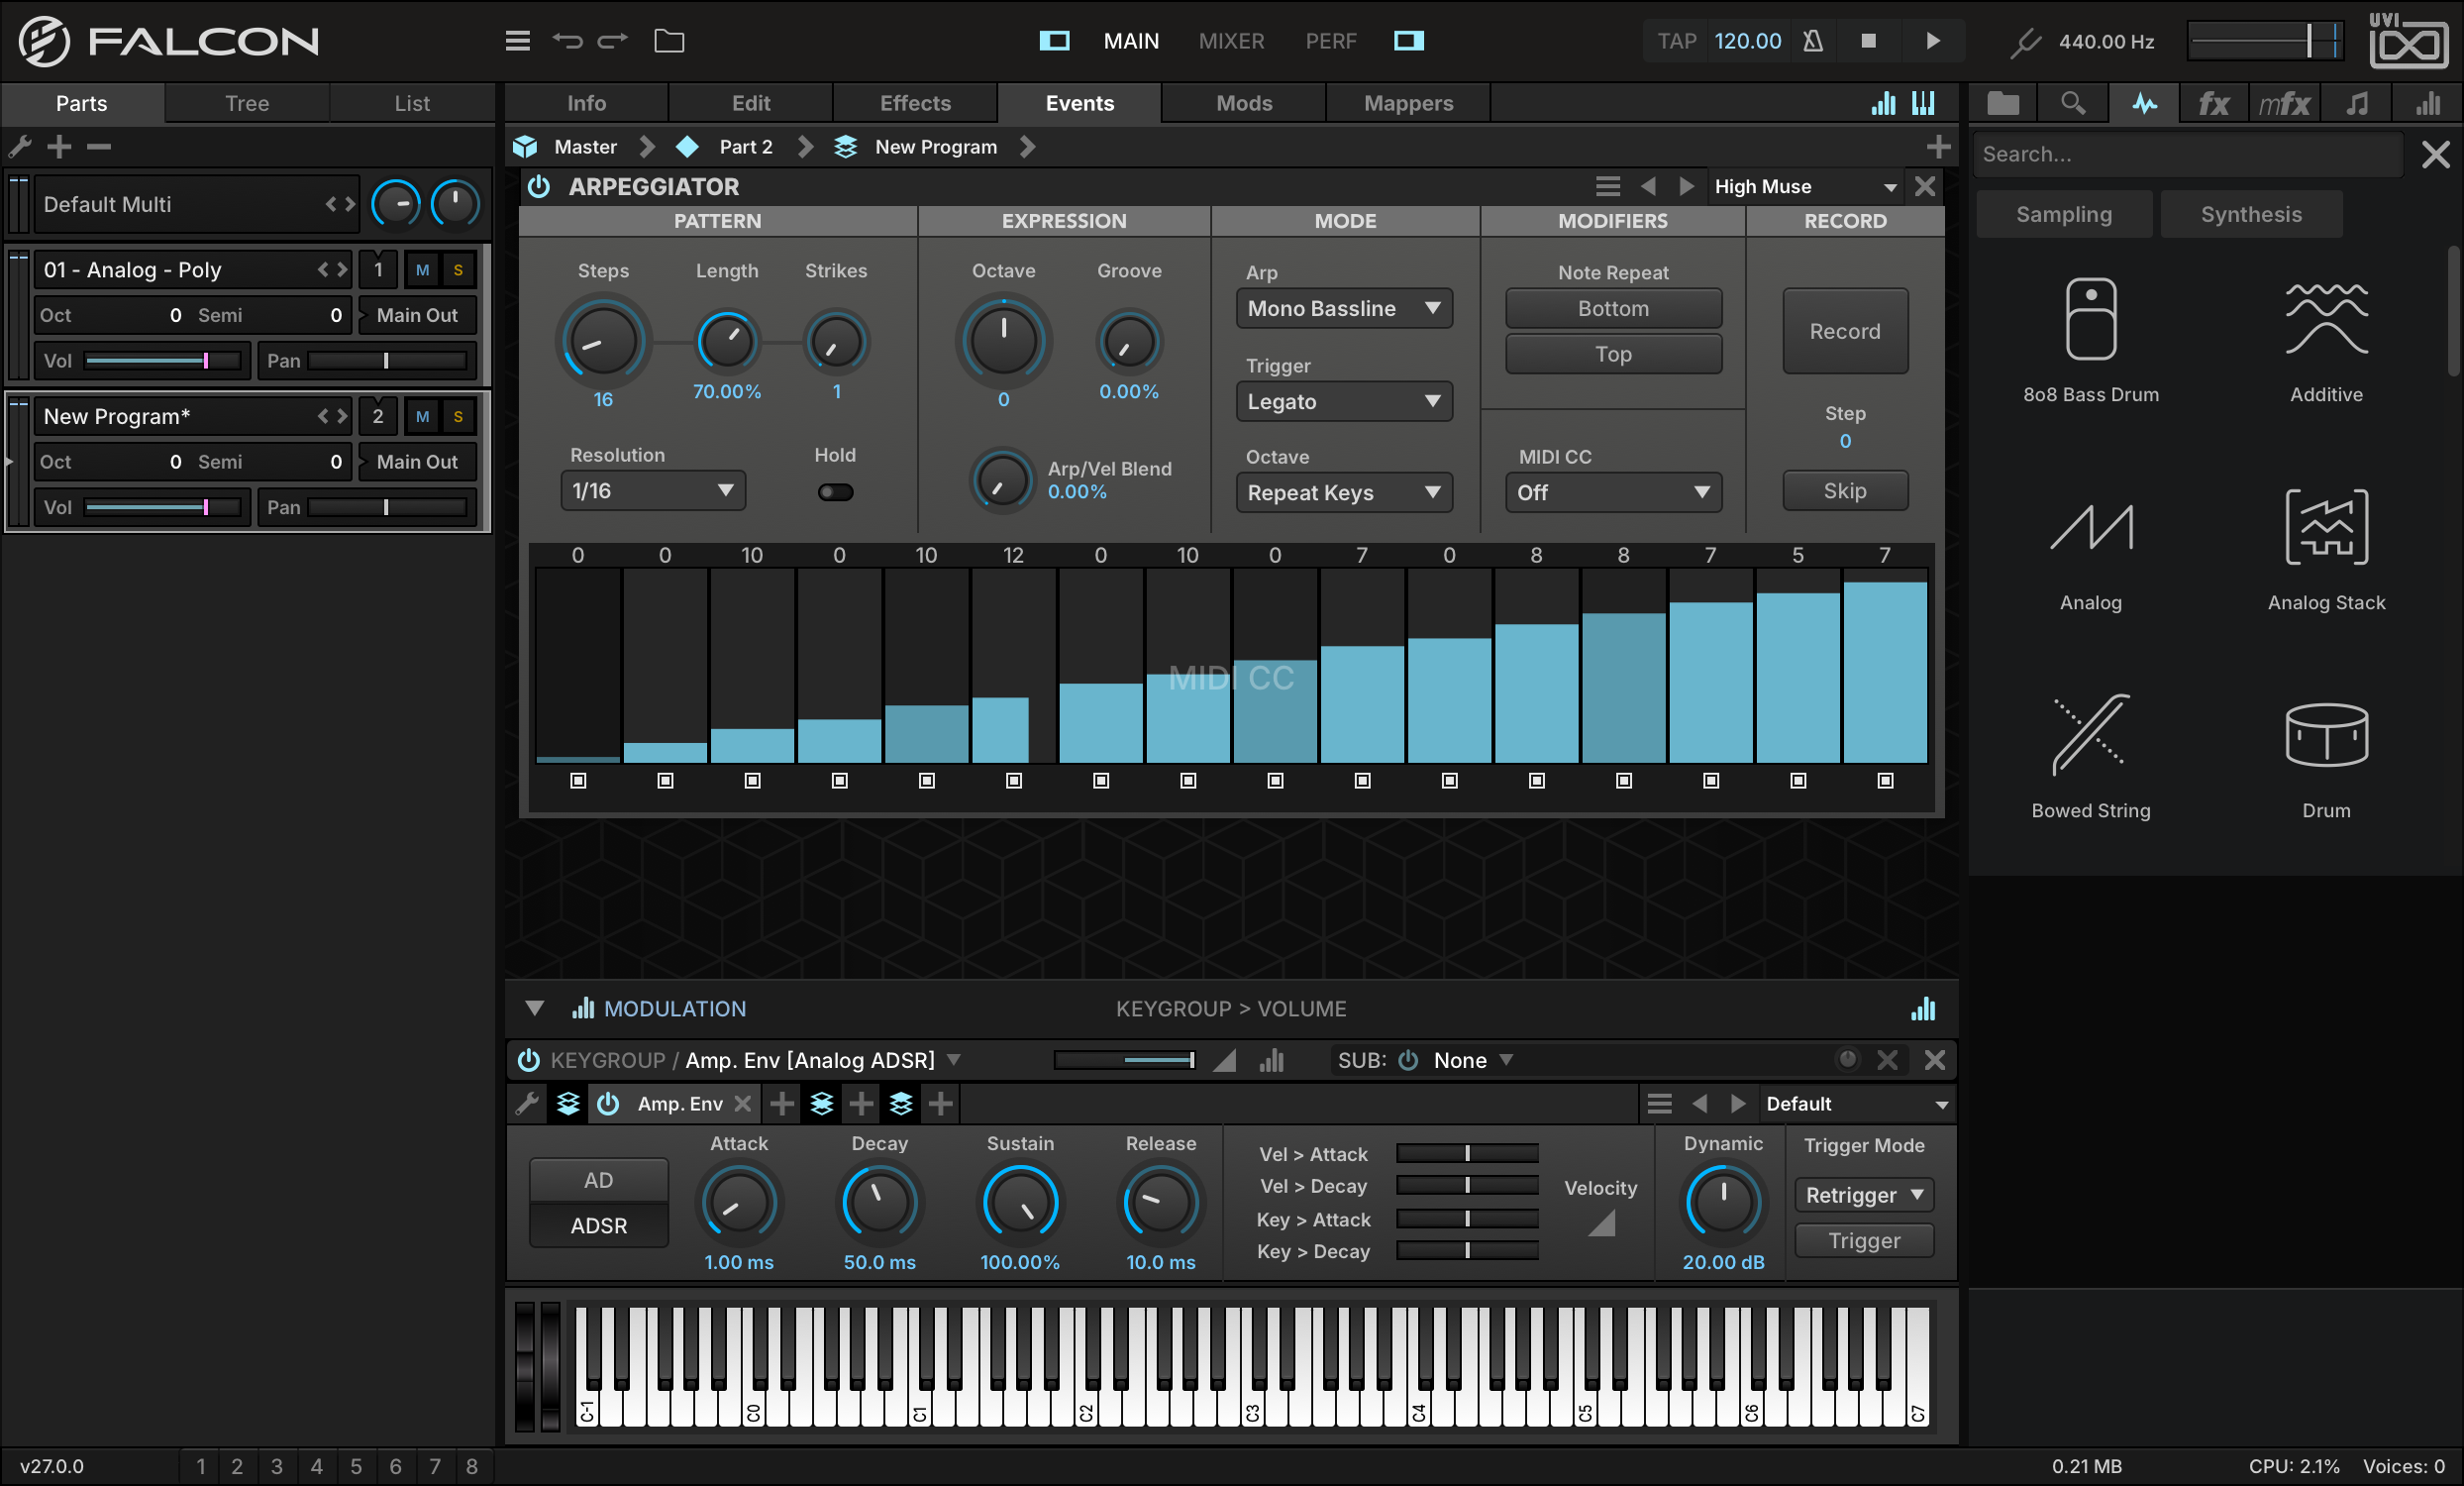
Let’s use the MIDI CC layer to generate a control source for modulating the FM operators. Switch to the MIDI CC layer, then press and drag across the step grid to enter step values.
-
Then choose a MIDI CC for the arpeggiator to output; a general-purpose MIDI CC such as 16 is a good choice.
-
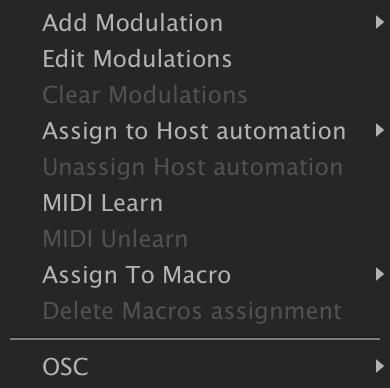
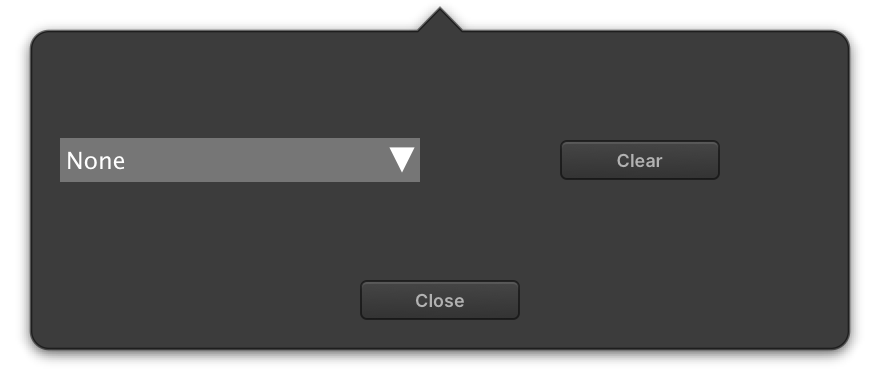
Switch back to the EDIT tab, right-click the FEEDBACK knob, and choose MIDI LEARN. In the pop-up, choose MIDI CC 16 from the menu, then close the window.
Press and hold a note, and you’ll see the value automating in sync with the arpeggiator sequence. Let’s also slow the tempo down just a bit: double-click the tempo in the toolbar, type a new value and press Return. Since the arpeggiator is tempo-synced, it will automatically adjust when Falcon’s tempo changes.
Make an Evolving Pad
Now let’s build a pad sound, one that evolves over time by using modulation to create movement.
-
In an empty part, create a new synth keygroup.
-
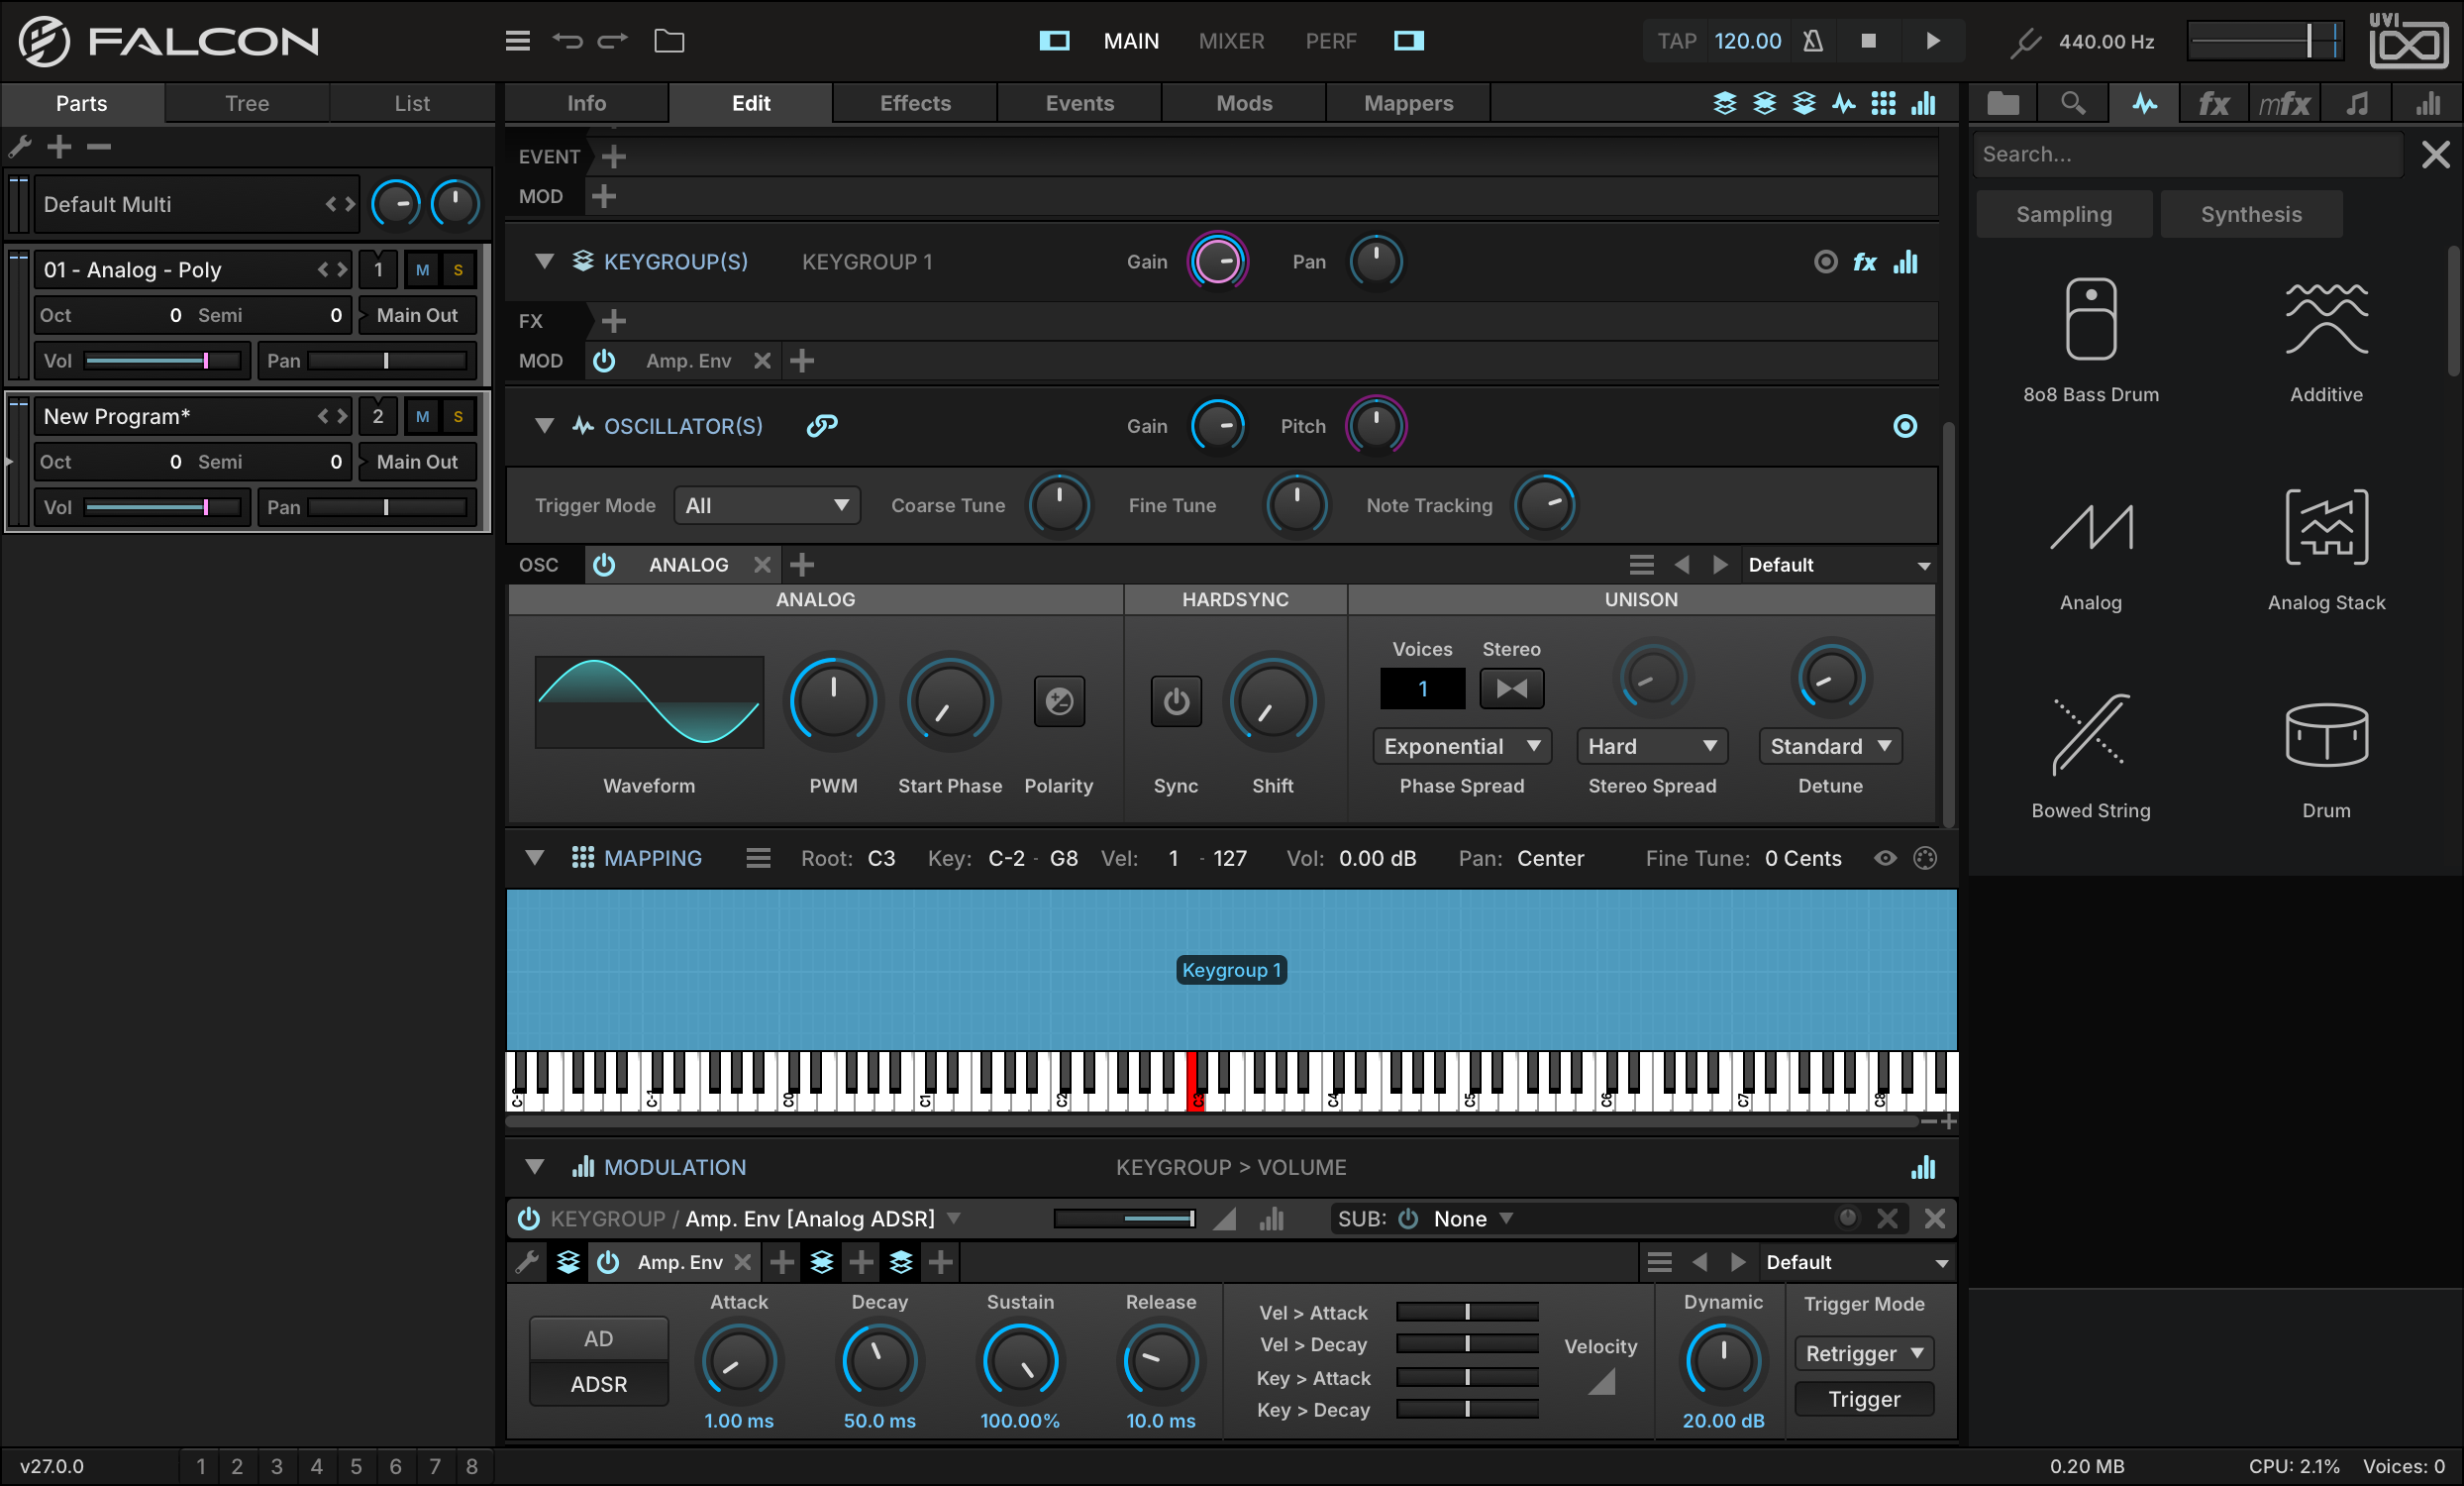
This time, let’s use the Analog Stack synth; right-click the oscillator name to open the oscillator chooser, and pick ANALOG STACK from it.
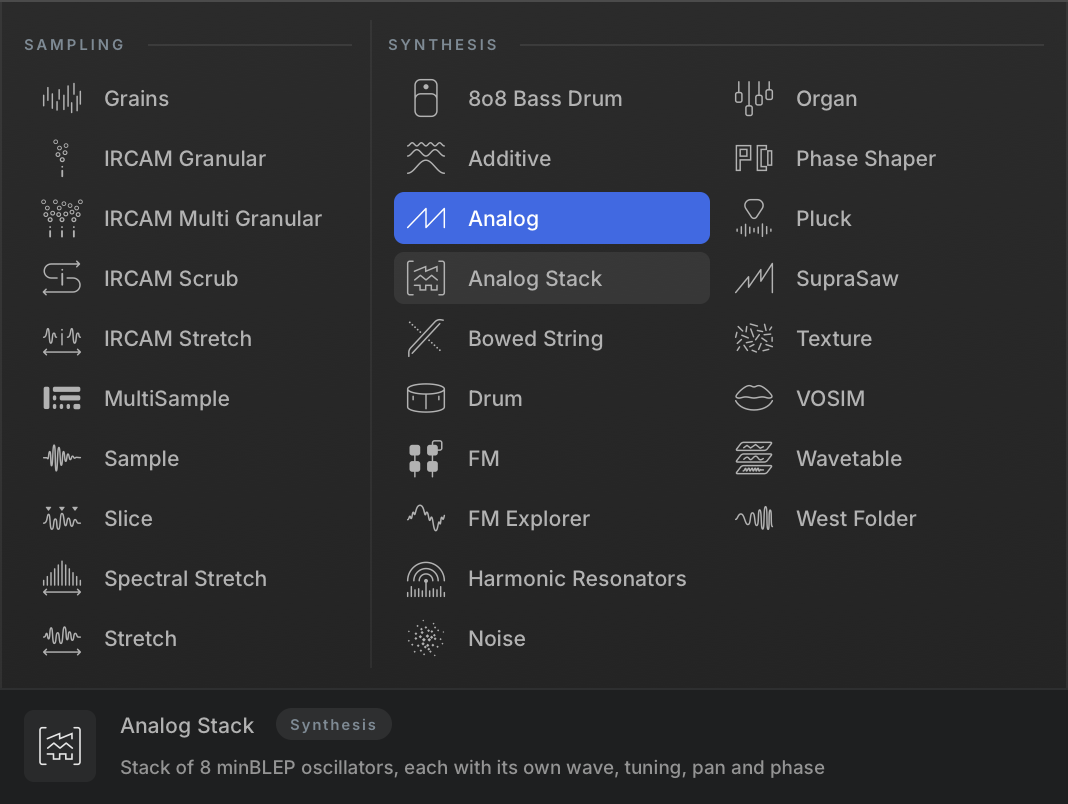
The Analog Stack starts with the same basic options as the Analog oscillator type, but offers a unified bank of eight oscillators for quickly creating stacked sounds.
-
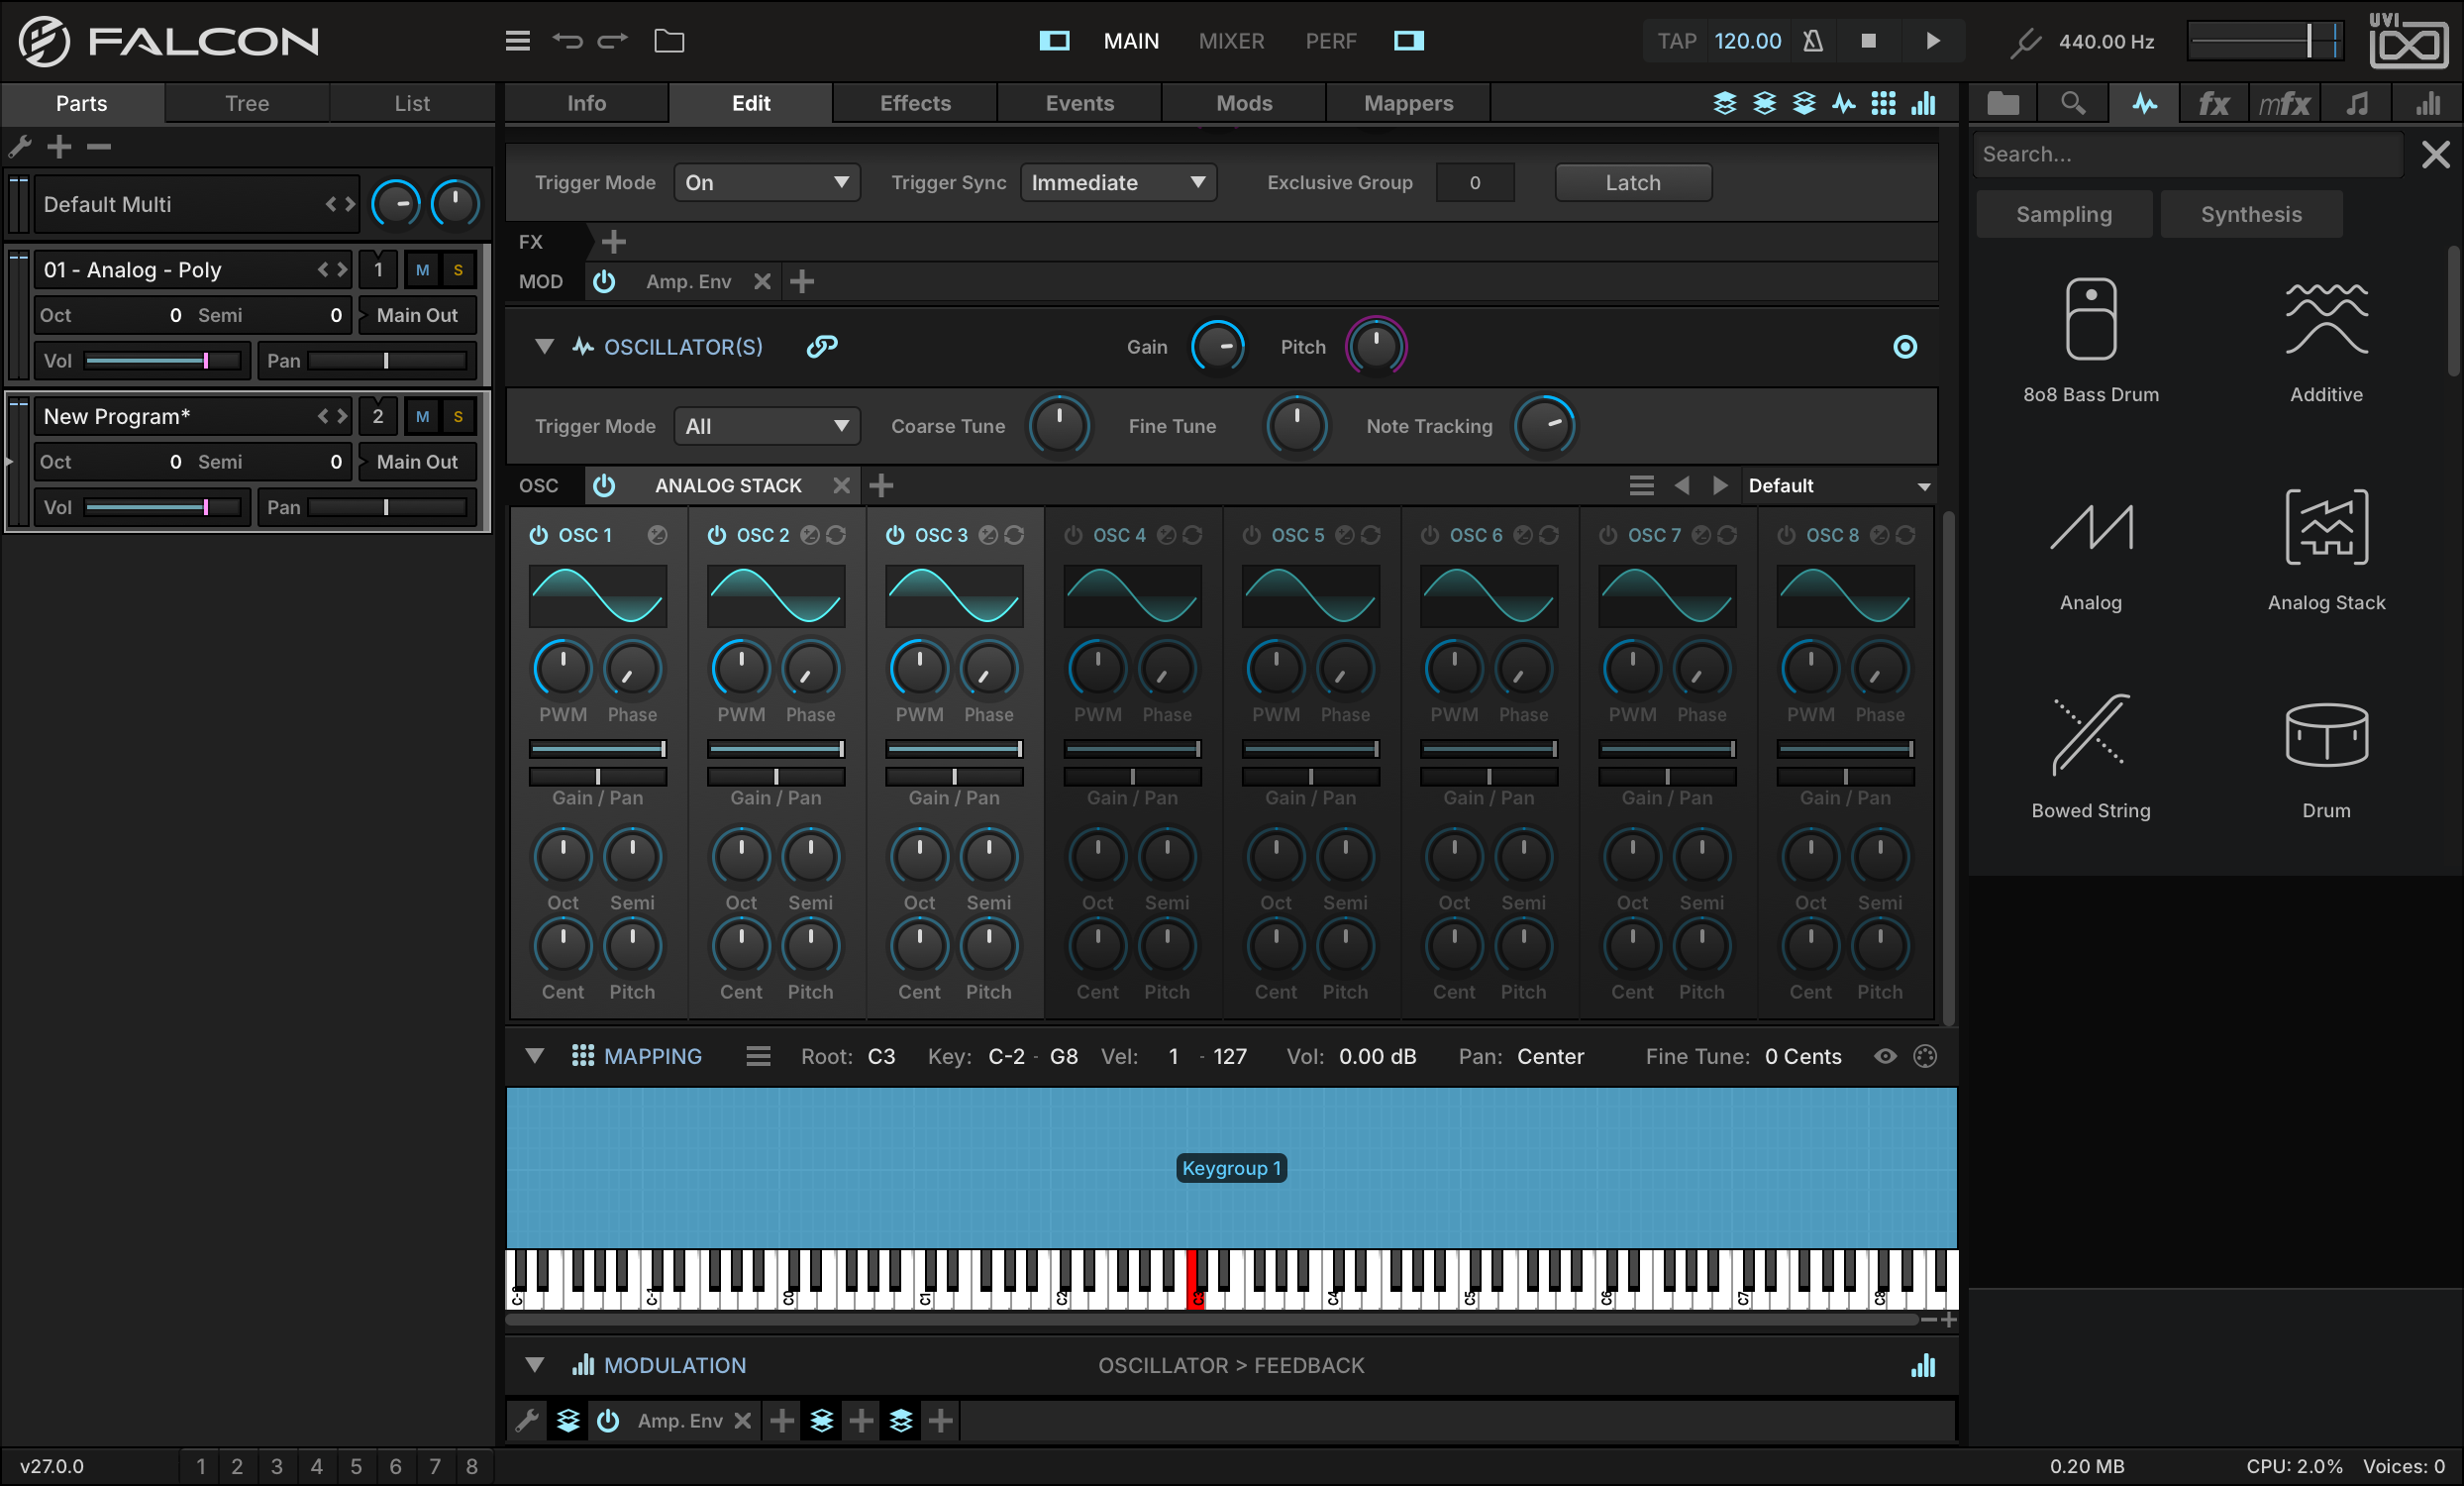
Press the POWER button on oscillators 2 and 3 to enable them. Each oscillator has independent controls for its waveform shape, gain, pan, pitch offset, and so on.
-
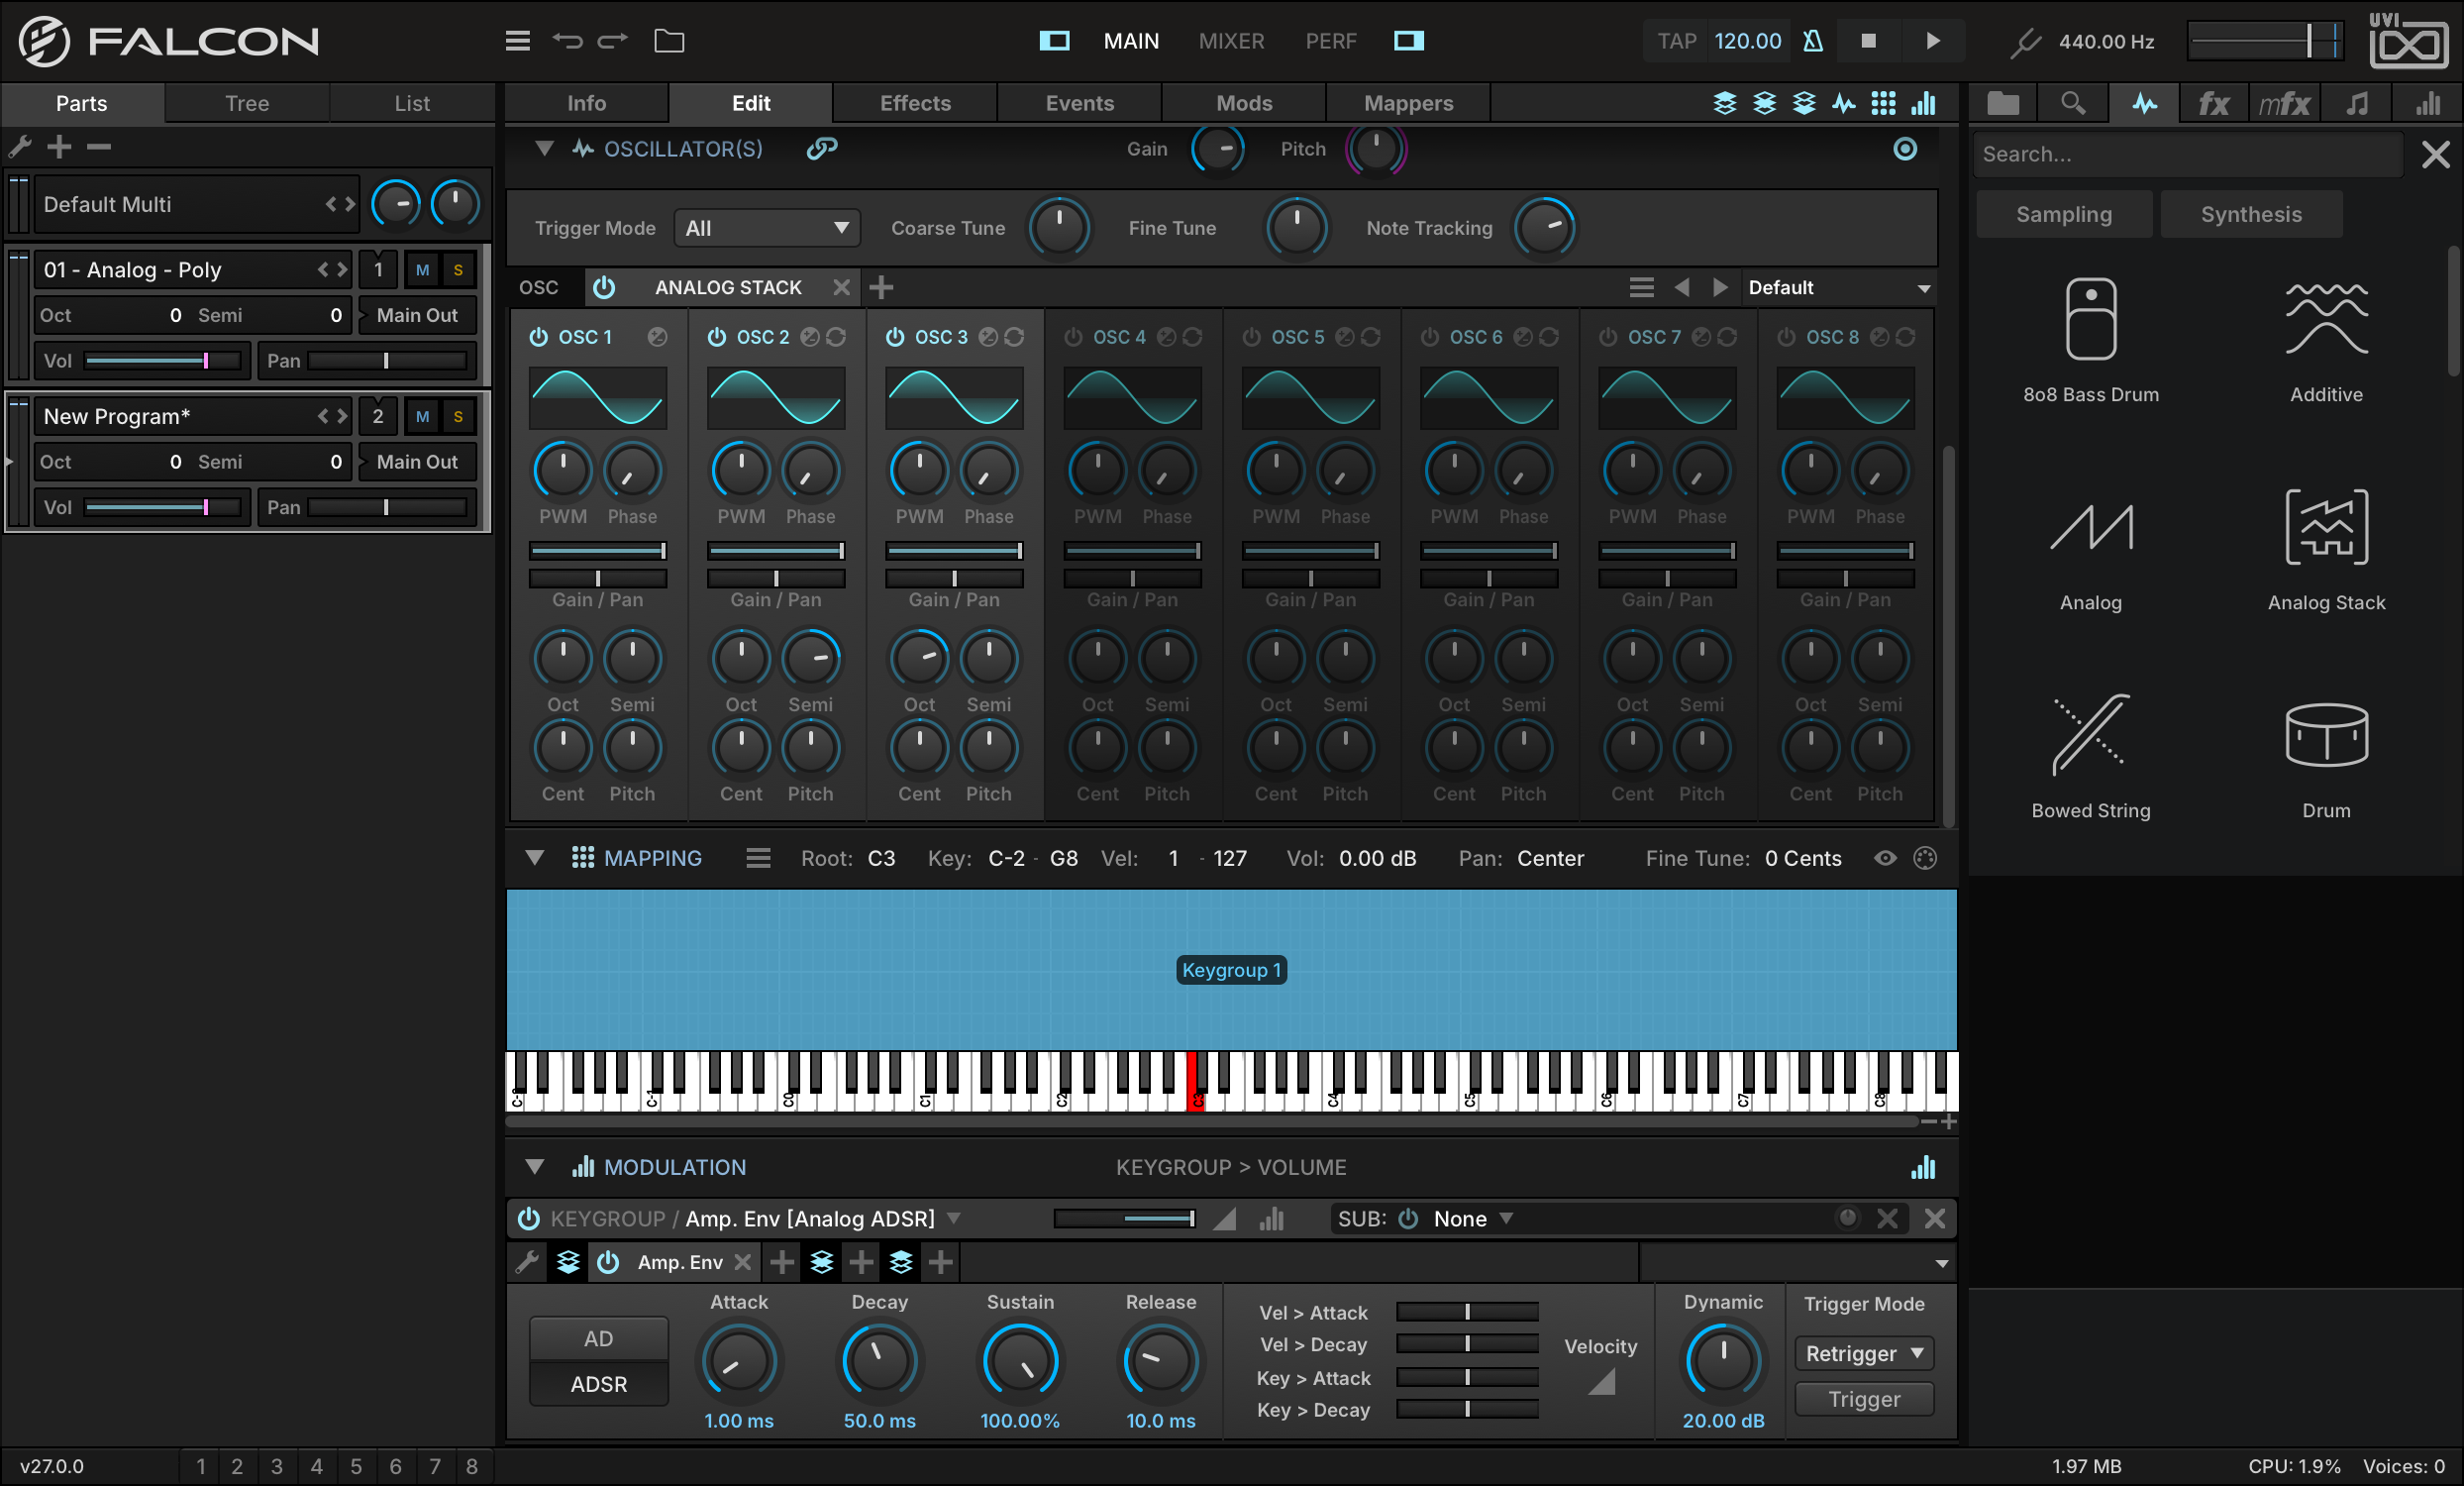
Let’s set oscillator 2’s pitch offset to +7 semitones from oscillator 1, and oscillator 3 to +1 octave.
-
We can also modulate each oscillator independently. To add a new modulation source for oscillator 2’s pulse width modulation, right-click its PWM knob and choose ADD MODULATION.
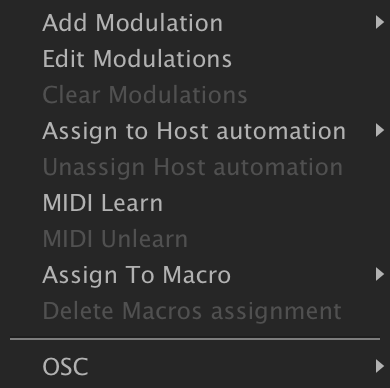
-
We want to modulate this per voice, so let’s create a keygroup modulation source by choosing INTERNALKEYGROUPNEW LFO.
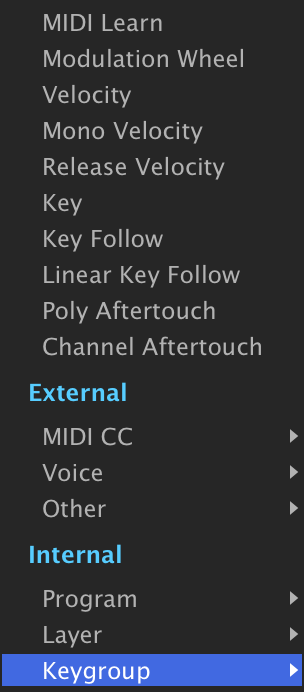
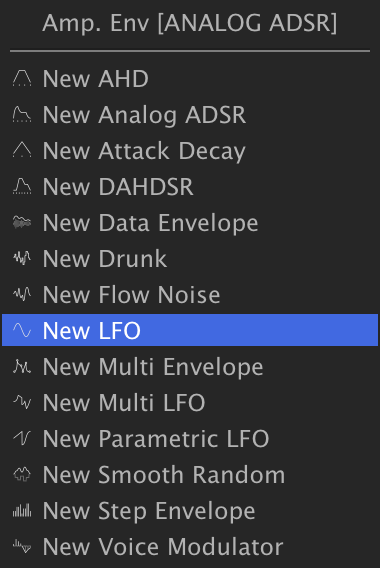
-
The new modulation source now appears in the MODULATION EDITOR. If you don’t see the Modulation Editor, make sure that its toggle button is enabled at the top of the Edit tab, and that it’s expanded with the arrow next to its name.
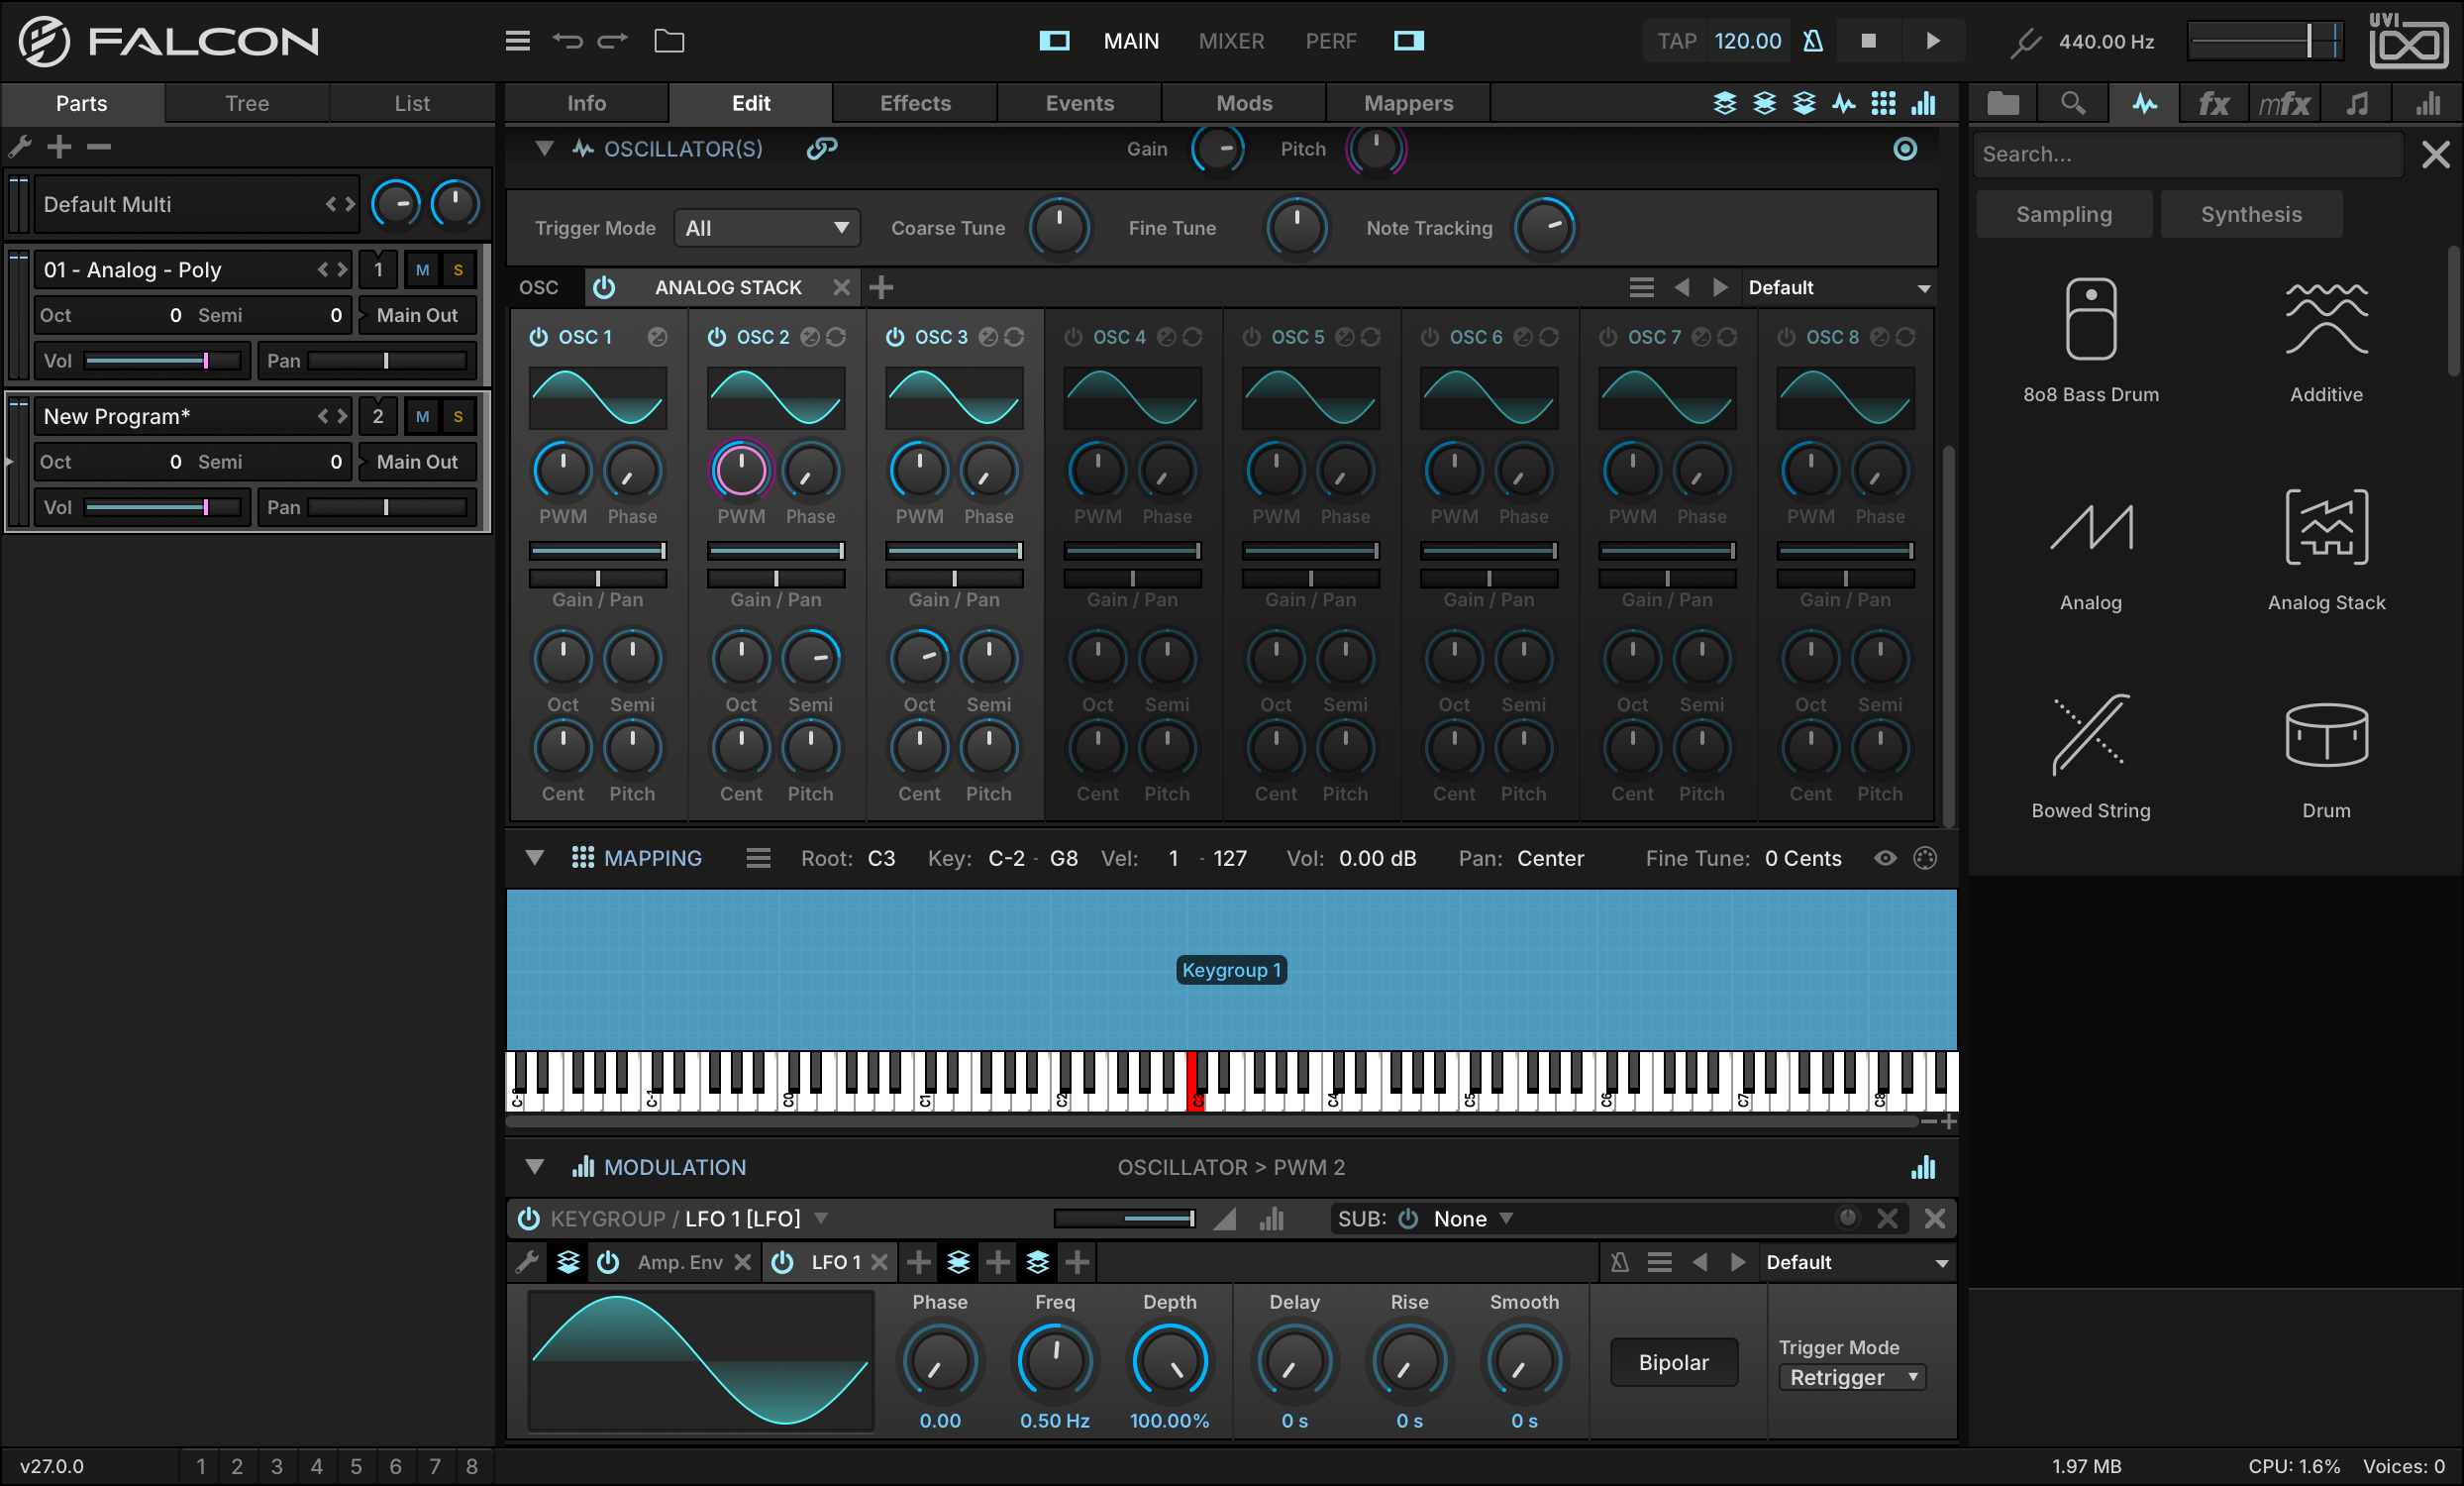
-
Play a note and you’ll hear the LFO modulating PWM; this LFO is modulating it too drastically, though, so let’s edit it.
-
Set the RATIO to 0.25, play a note again, and you’ll hear that its intensity has been reduced.

-
We can also slow the LFO down by setting its FREQ to 0.15 Hz. Let’s do the same with oscillator 3 PWM, but with a different LFO.
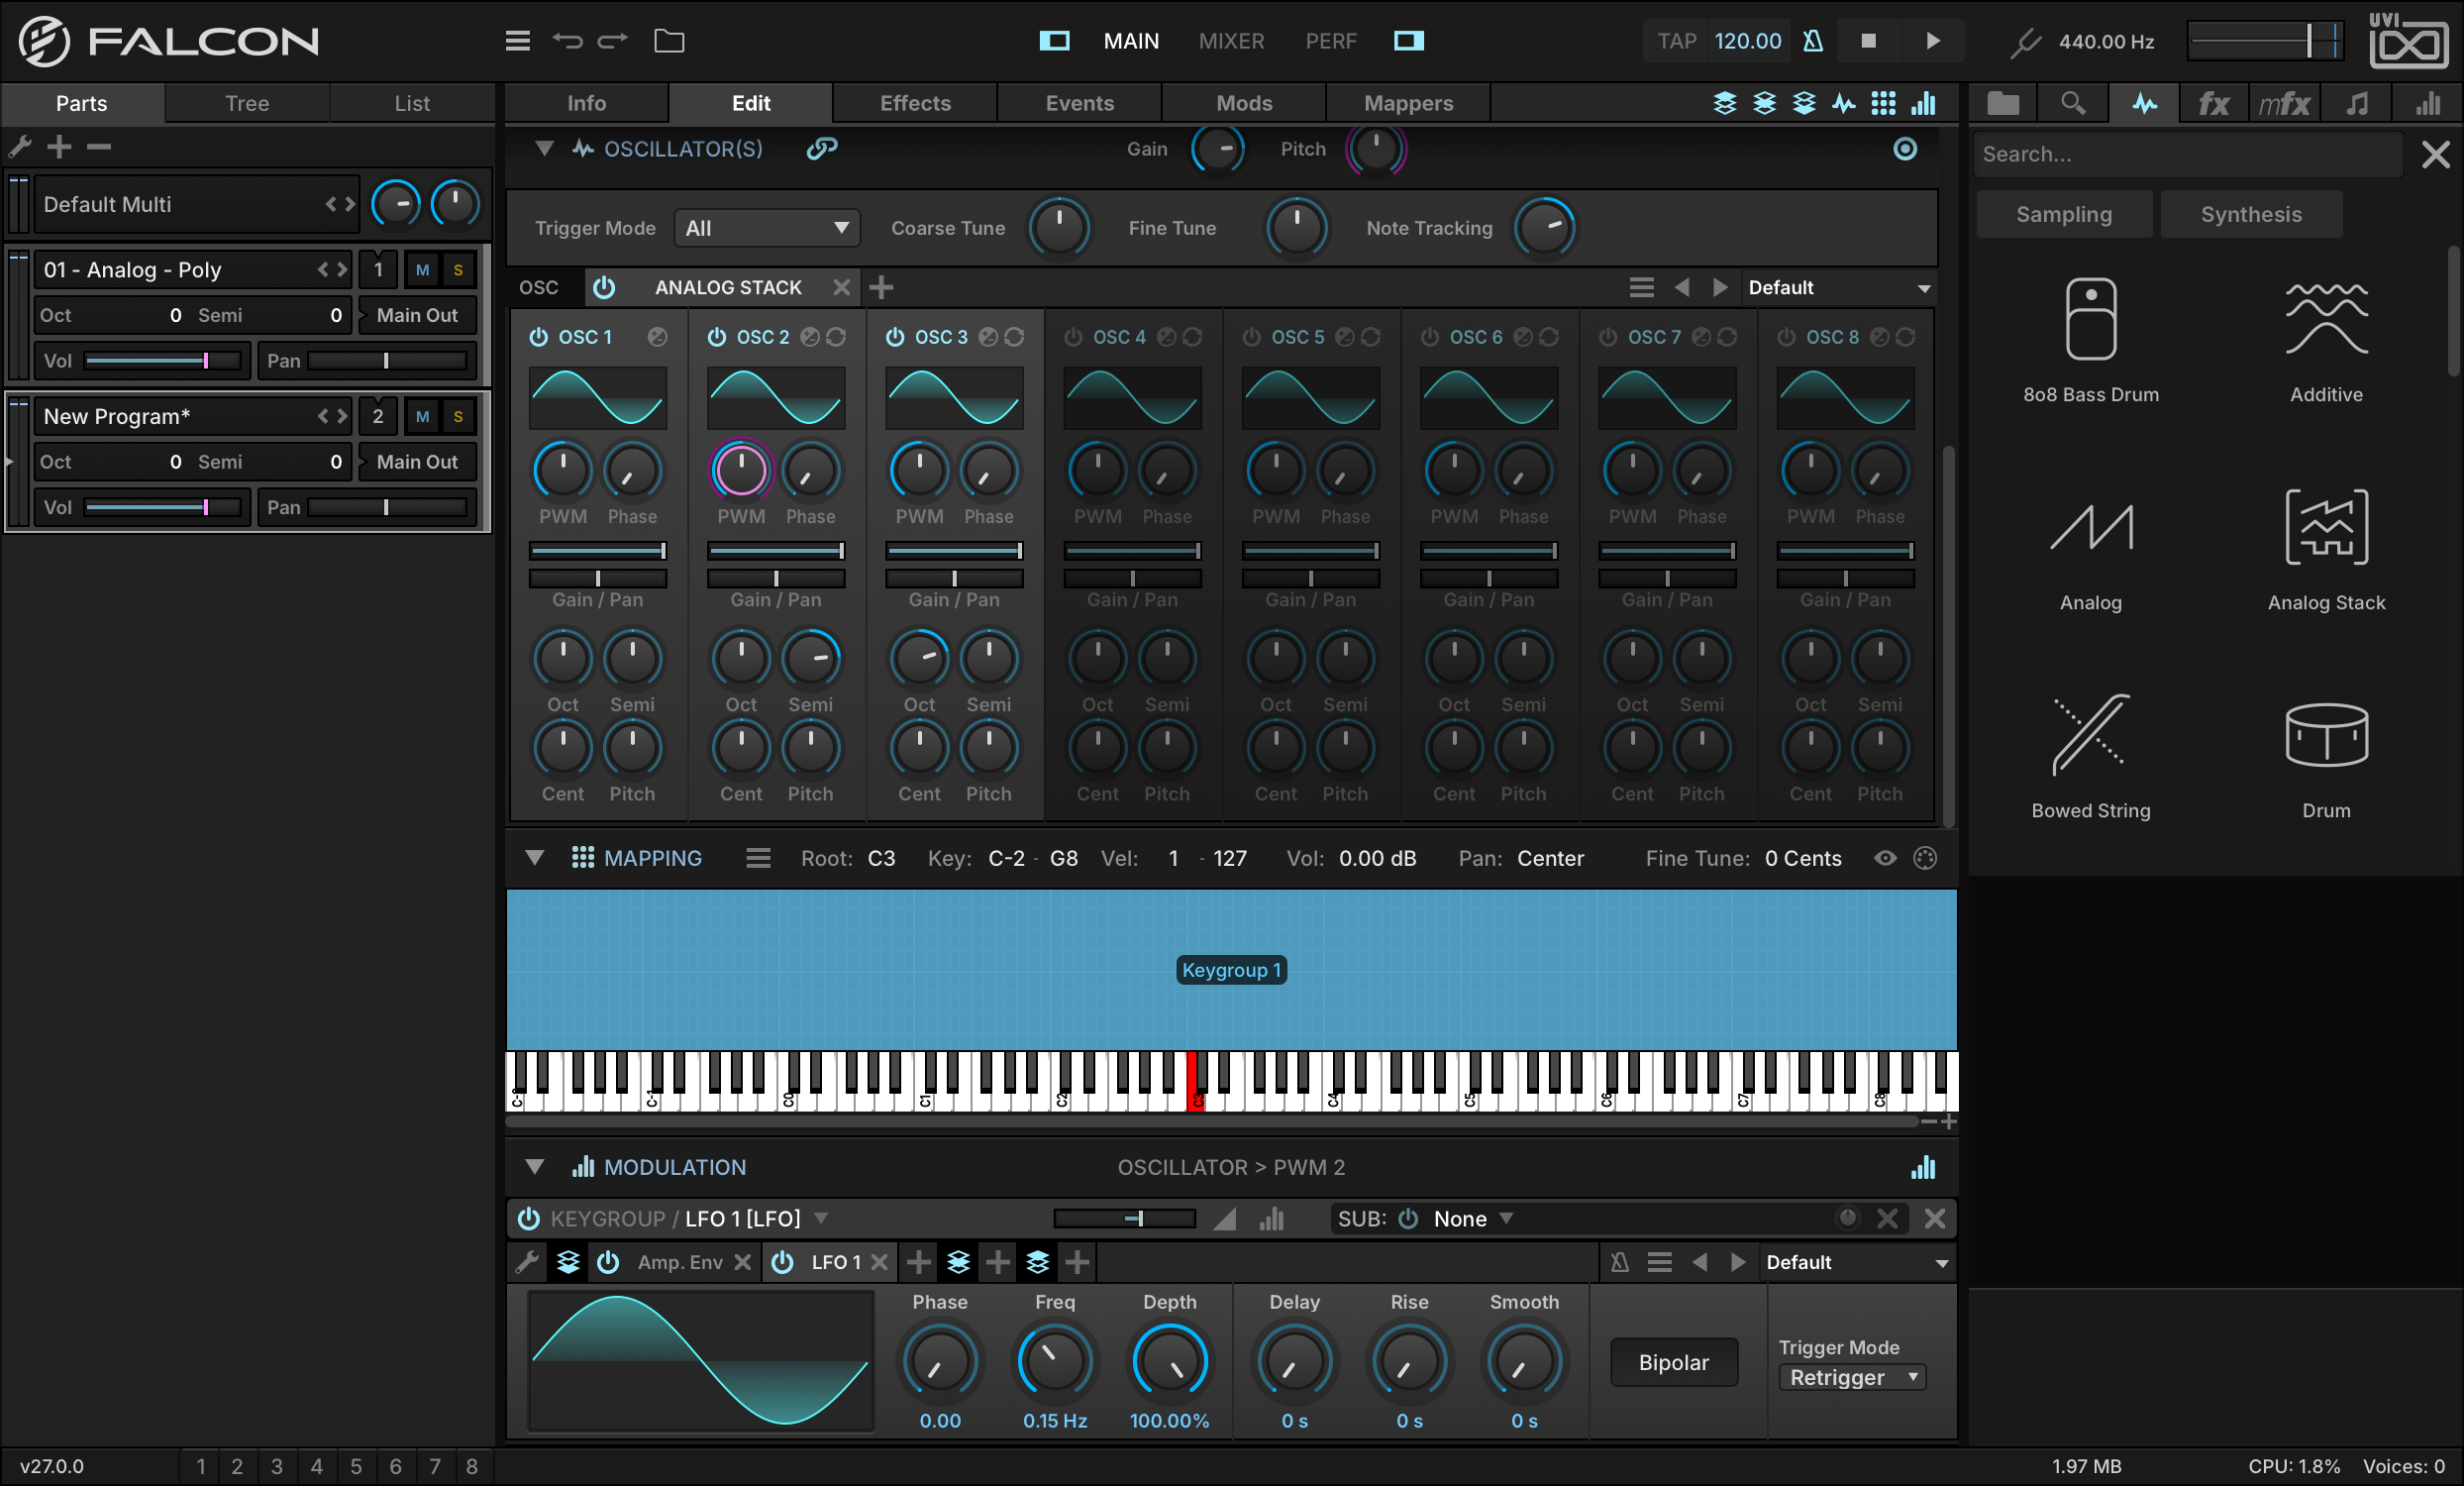
-
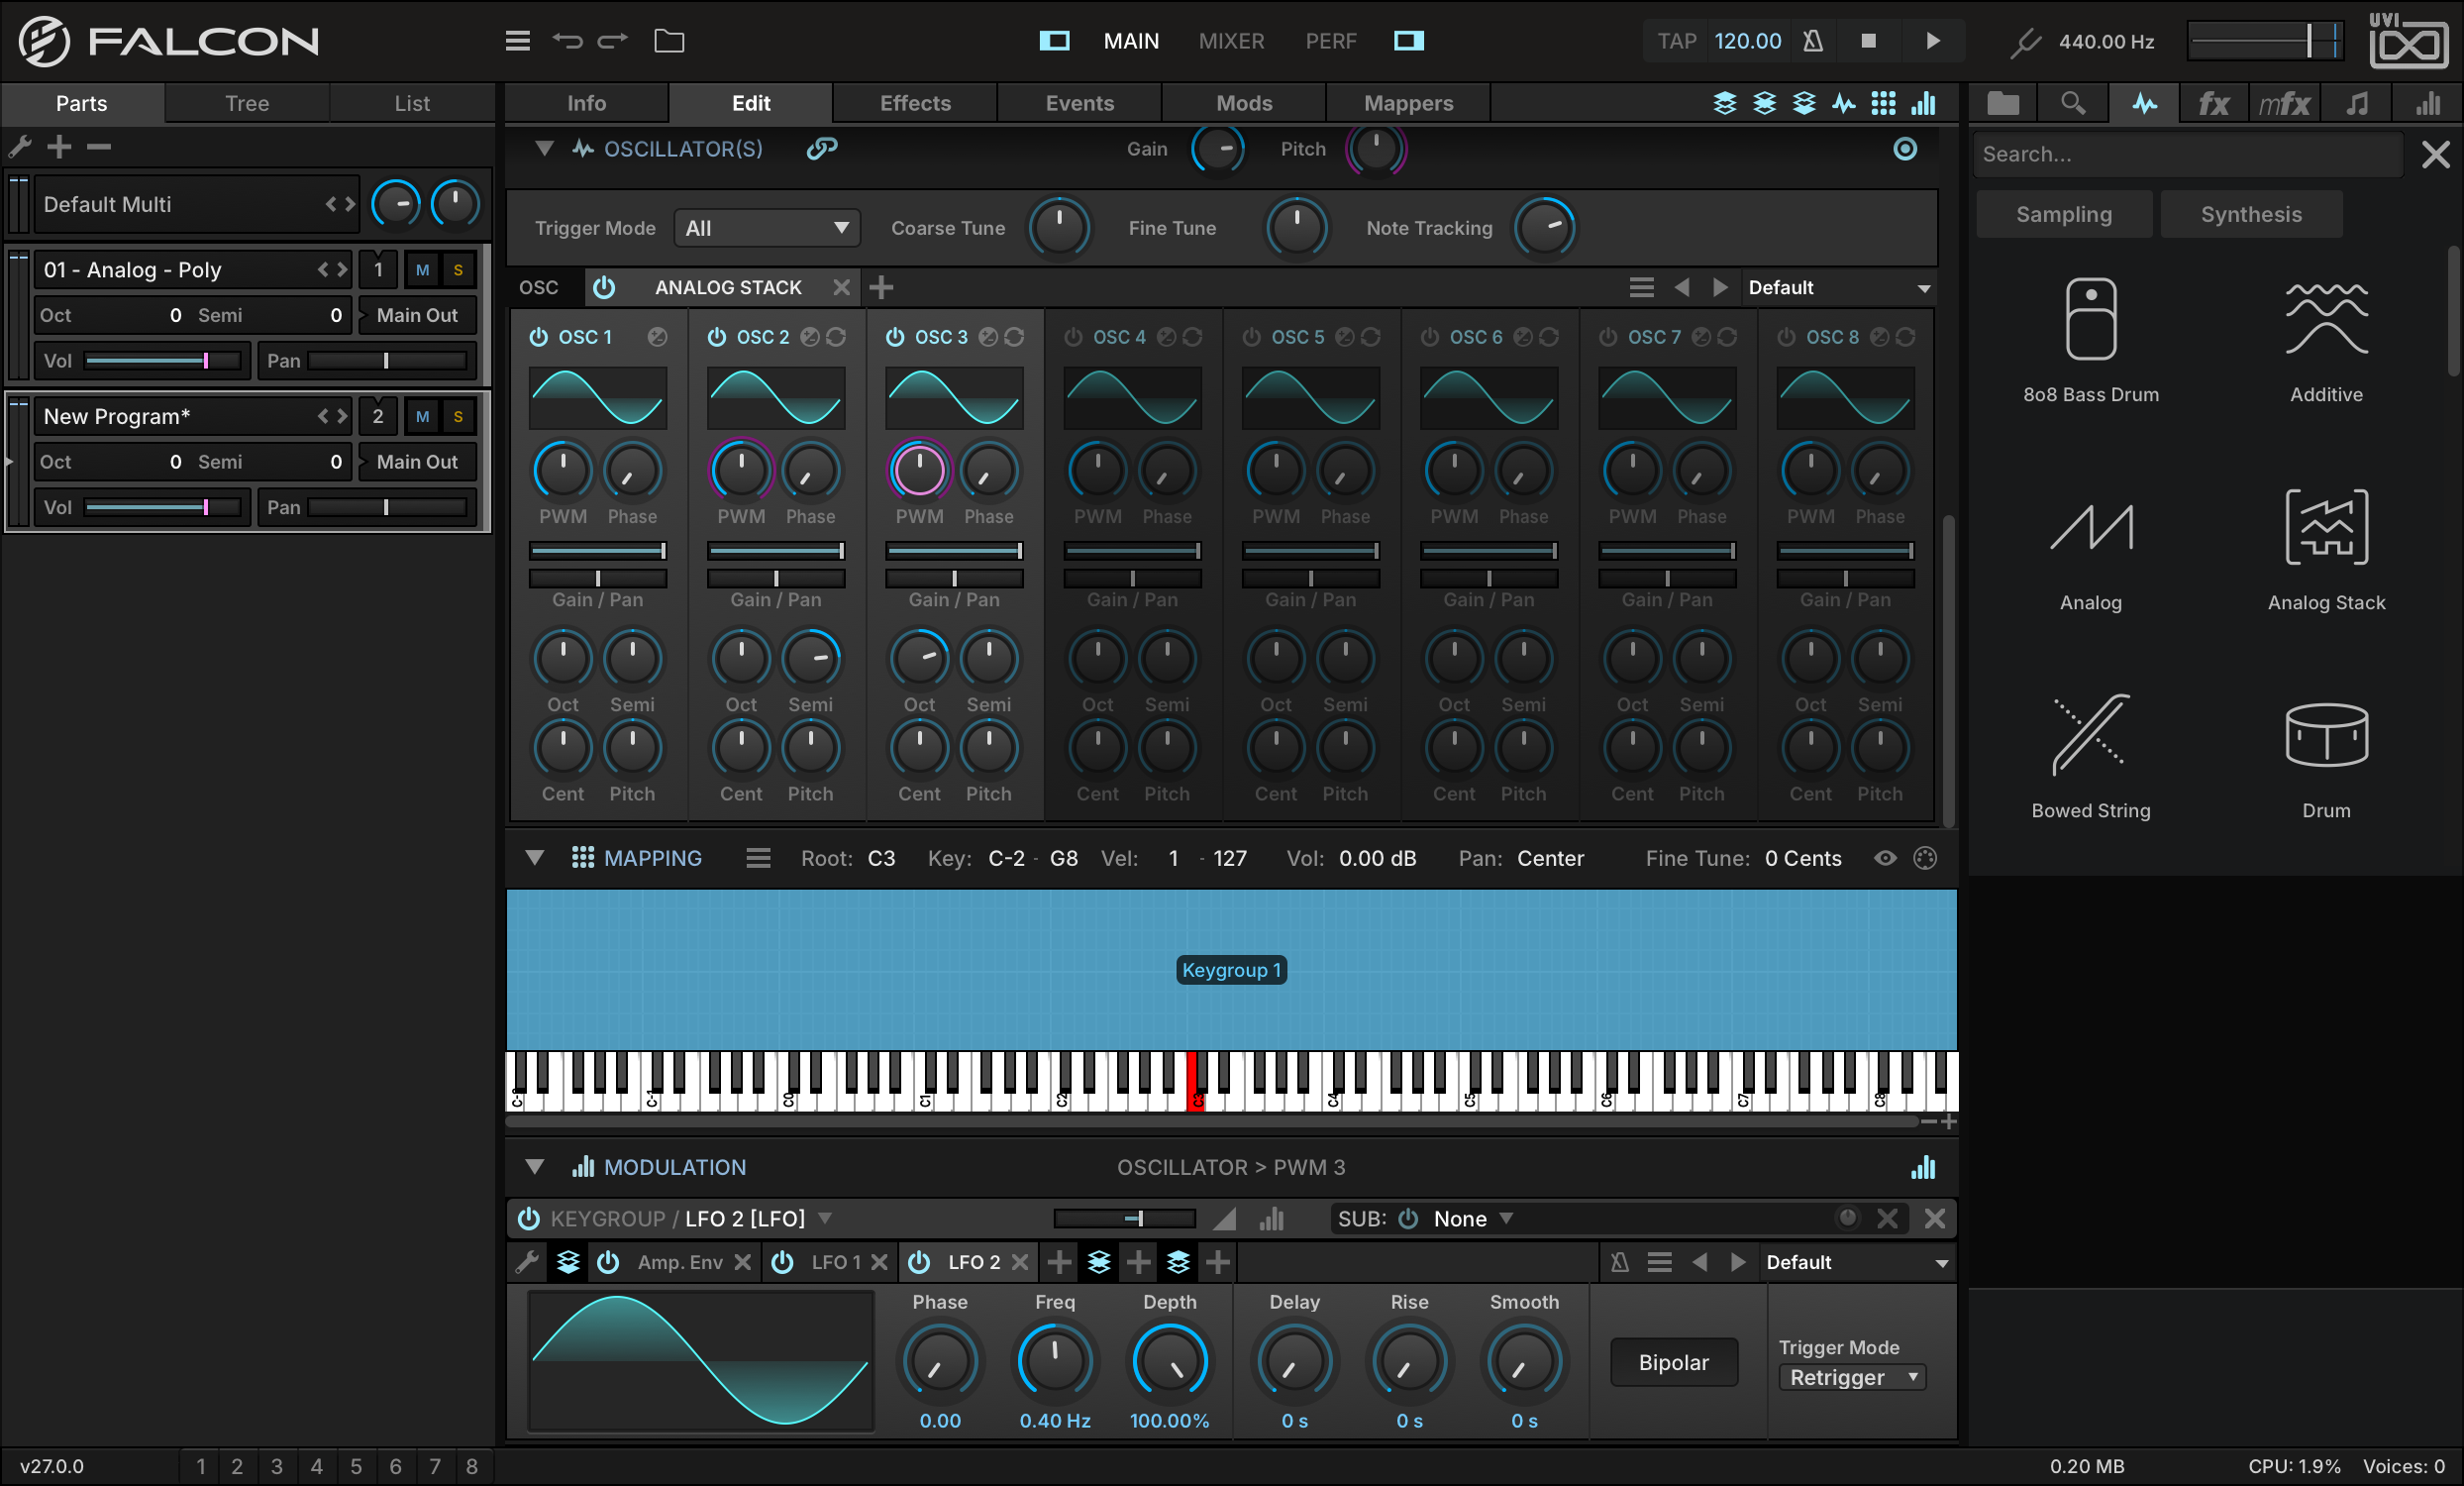
Create another LFO, and set its frequency to be different from the first LFO’s. This will create a sound that shifts and evolves over time. In this way, we can continue to build up the sound by adding modulation to each oscillator’s parameters, such as pan, phase, or pitch.
Make an Interactive Wobble Bass
Falcon’s modulation engine provides endless opportunities for customizing and modifying sounds. Let’s create a wobble bass that we can tweak in real time from our MIDI controller.
-
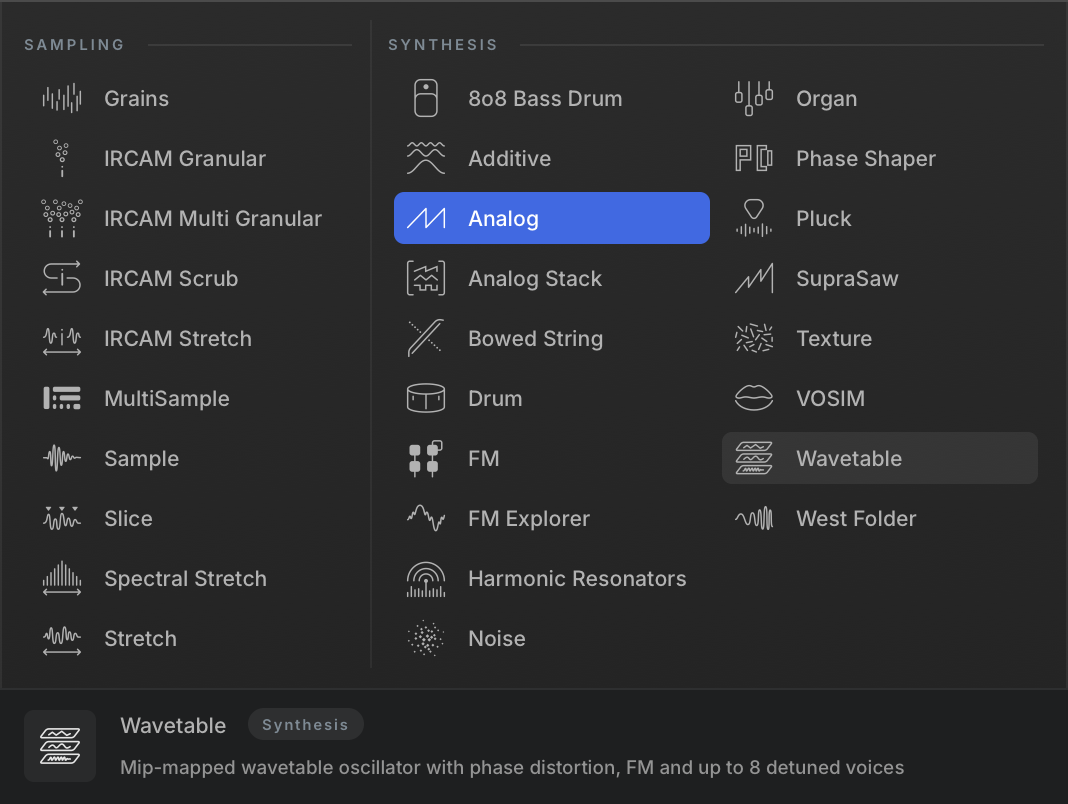
As with the previous examples, start with a clean patch, create a new Synth Template keygroup, then right-click the oscillator name and pick WAVETABLE from the chooser.
-
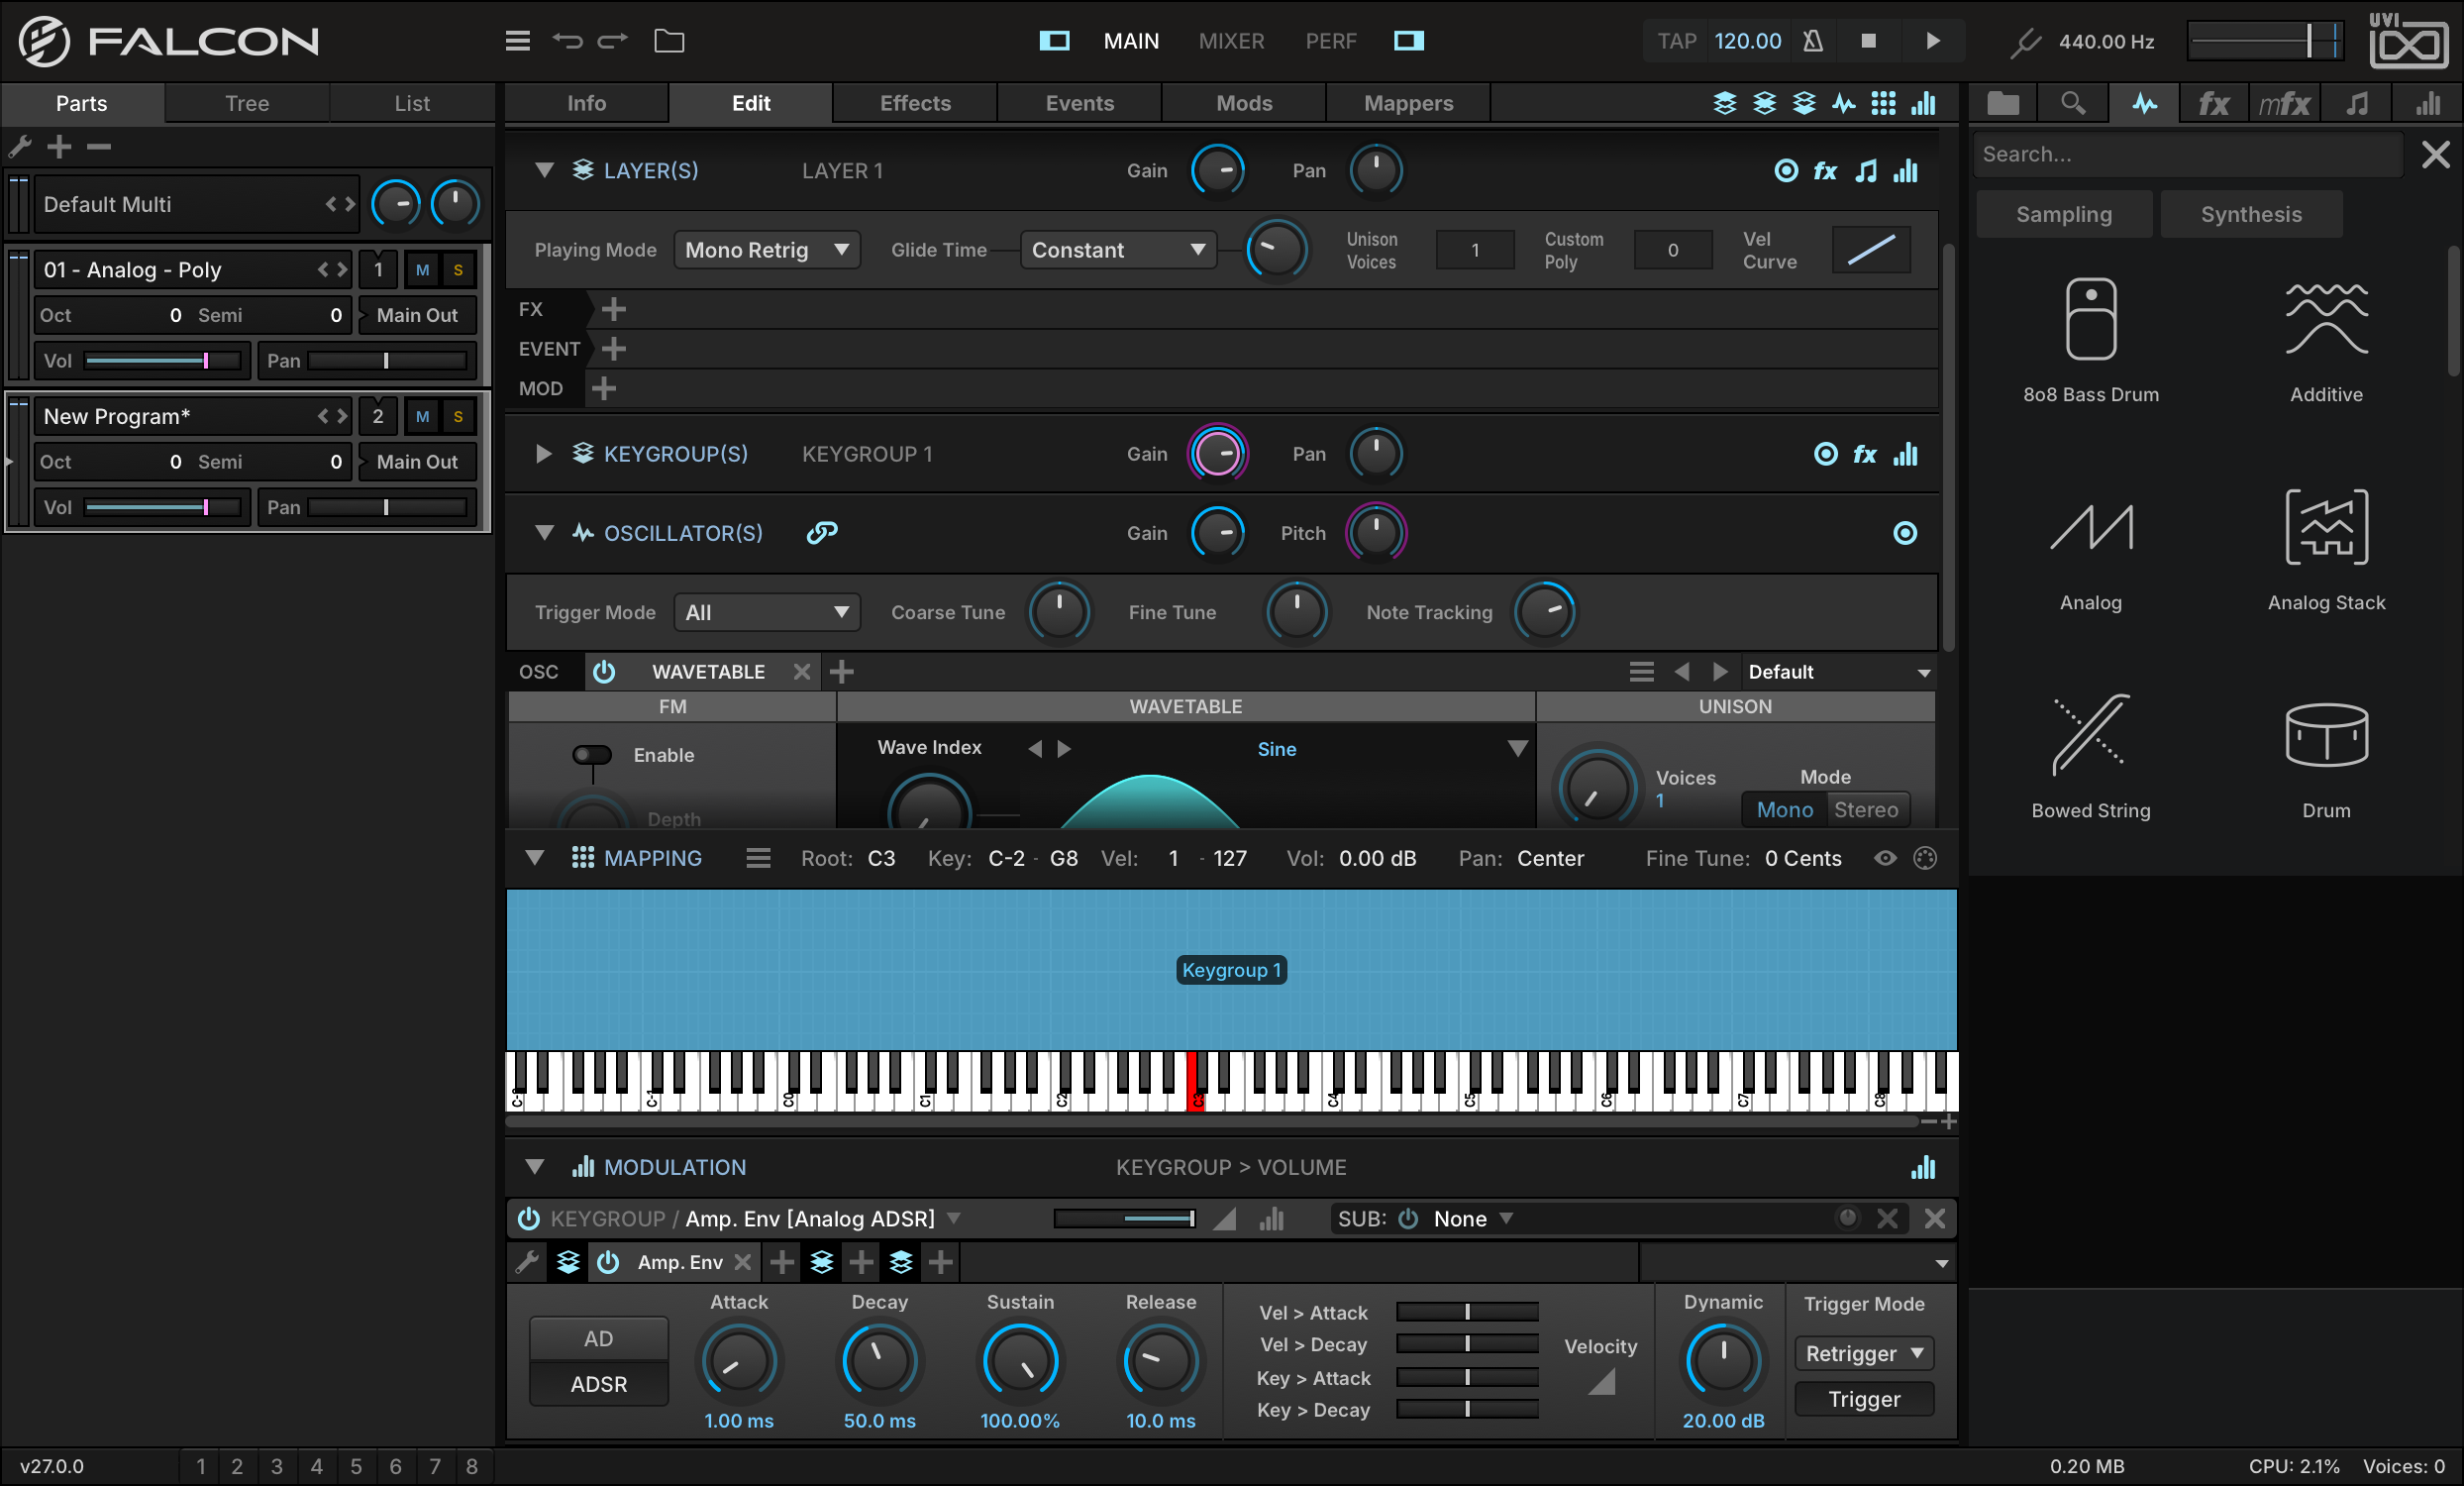
We also want this sound to be monophonic, so in the Layer section, change the Play Mode from Poly to MONO RETRIGGER.
-
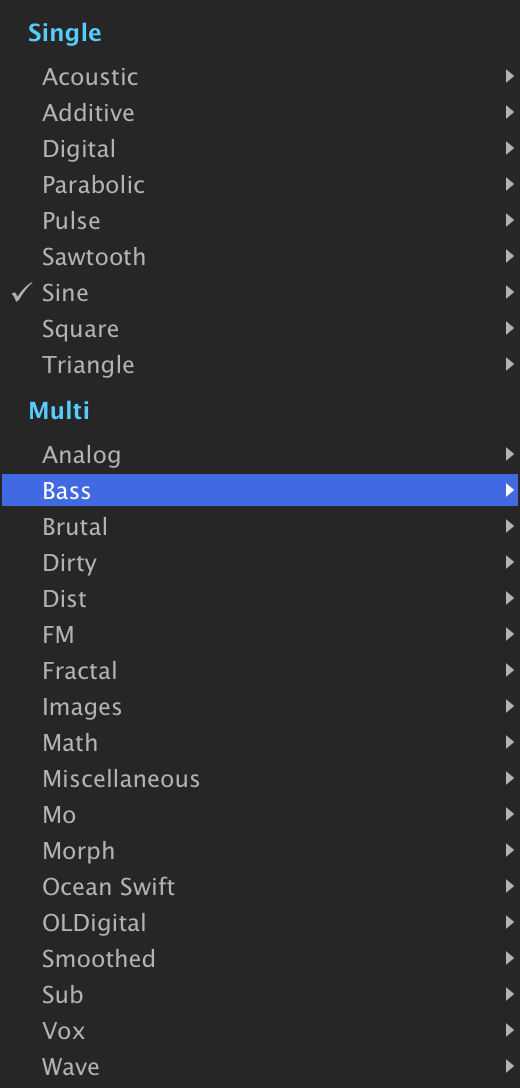
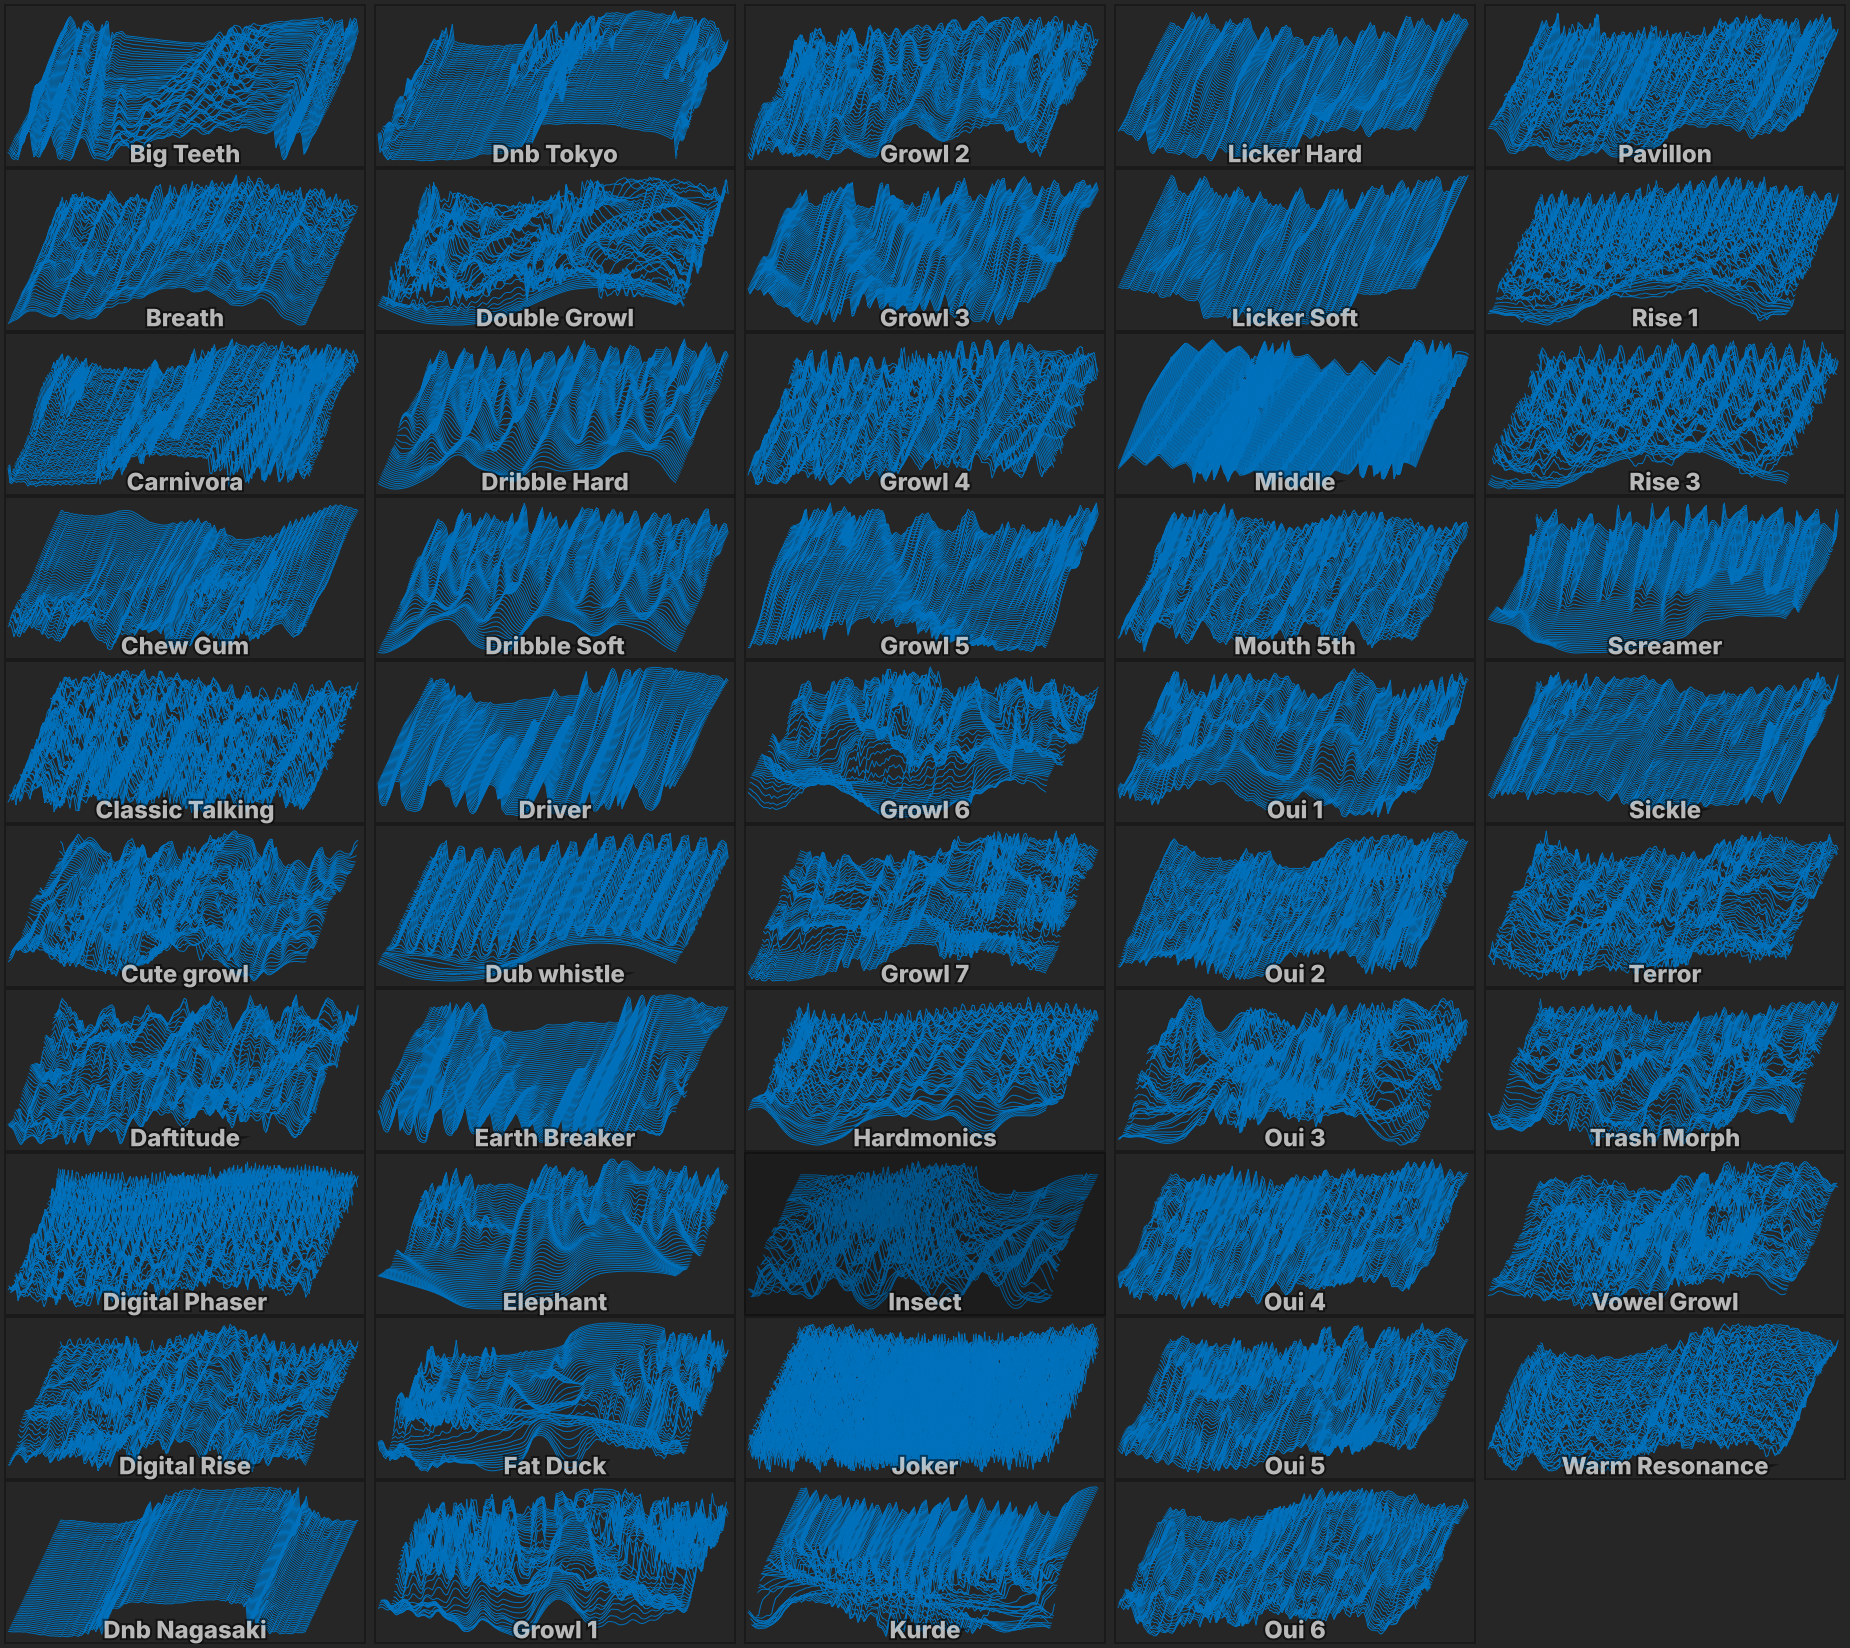
To change the wavetable, press on the menu above the waveform and choose from the menu. Let’s choose MULTIBASSINSECT.
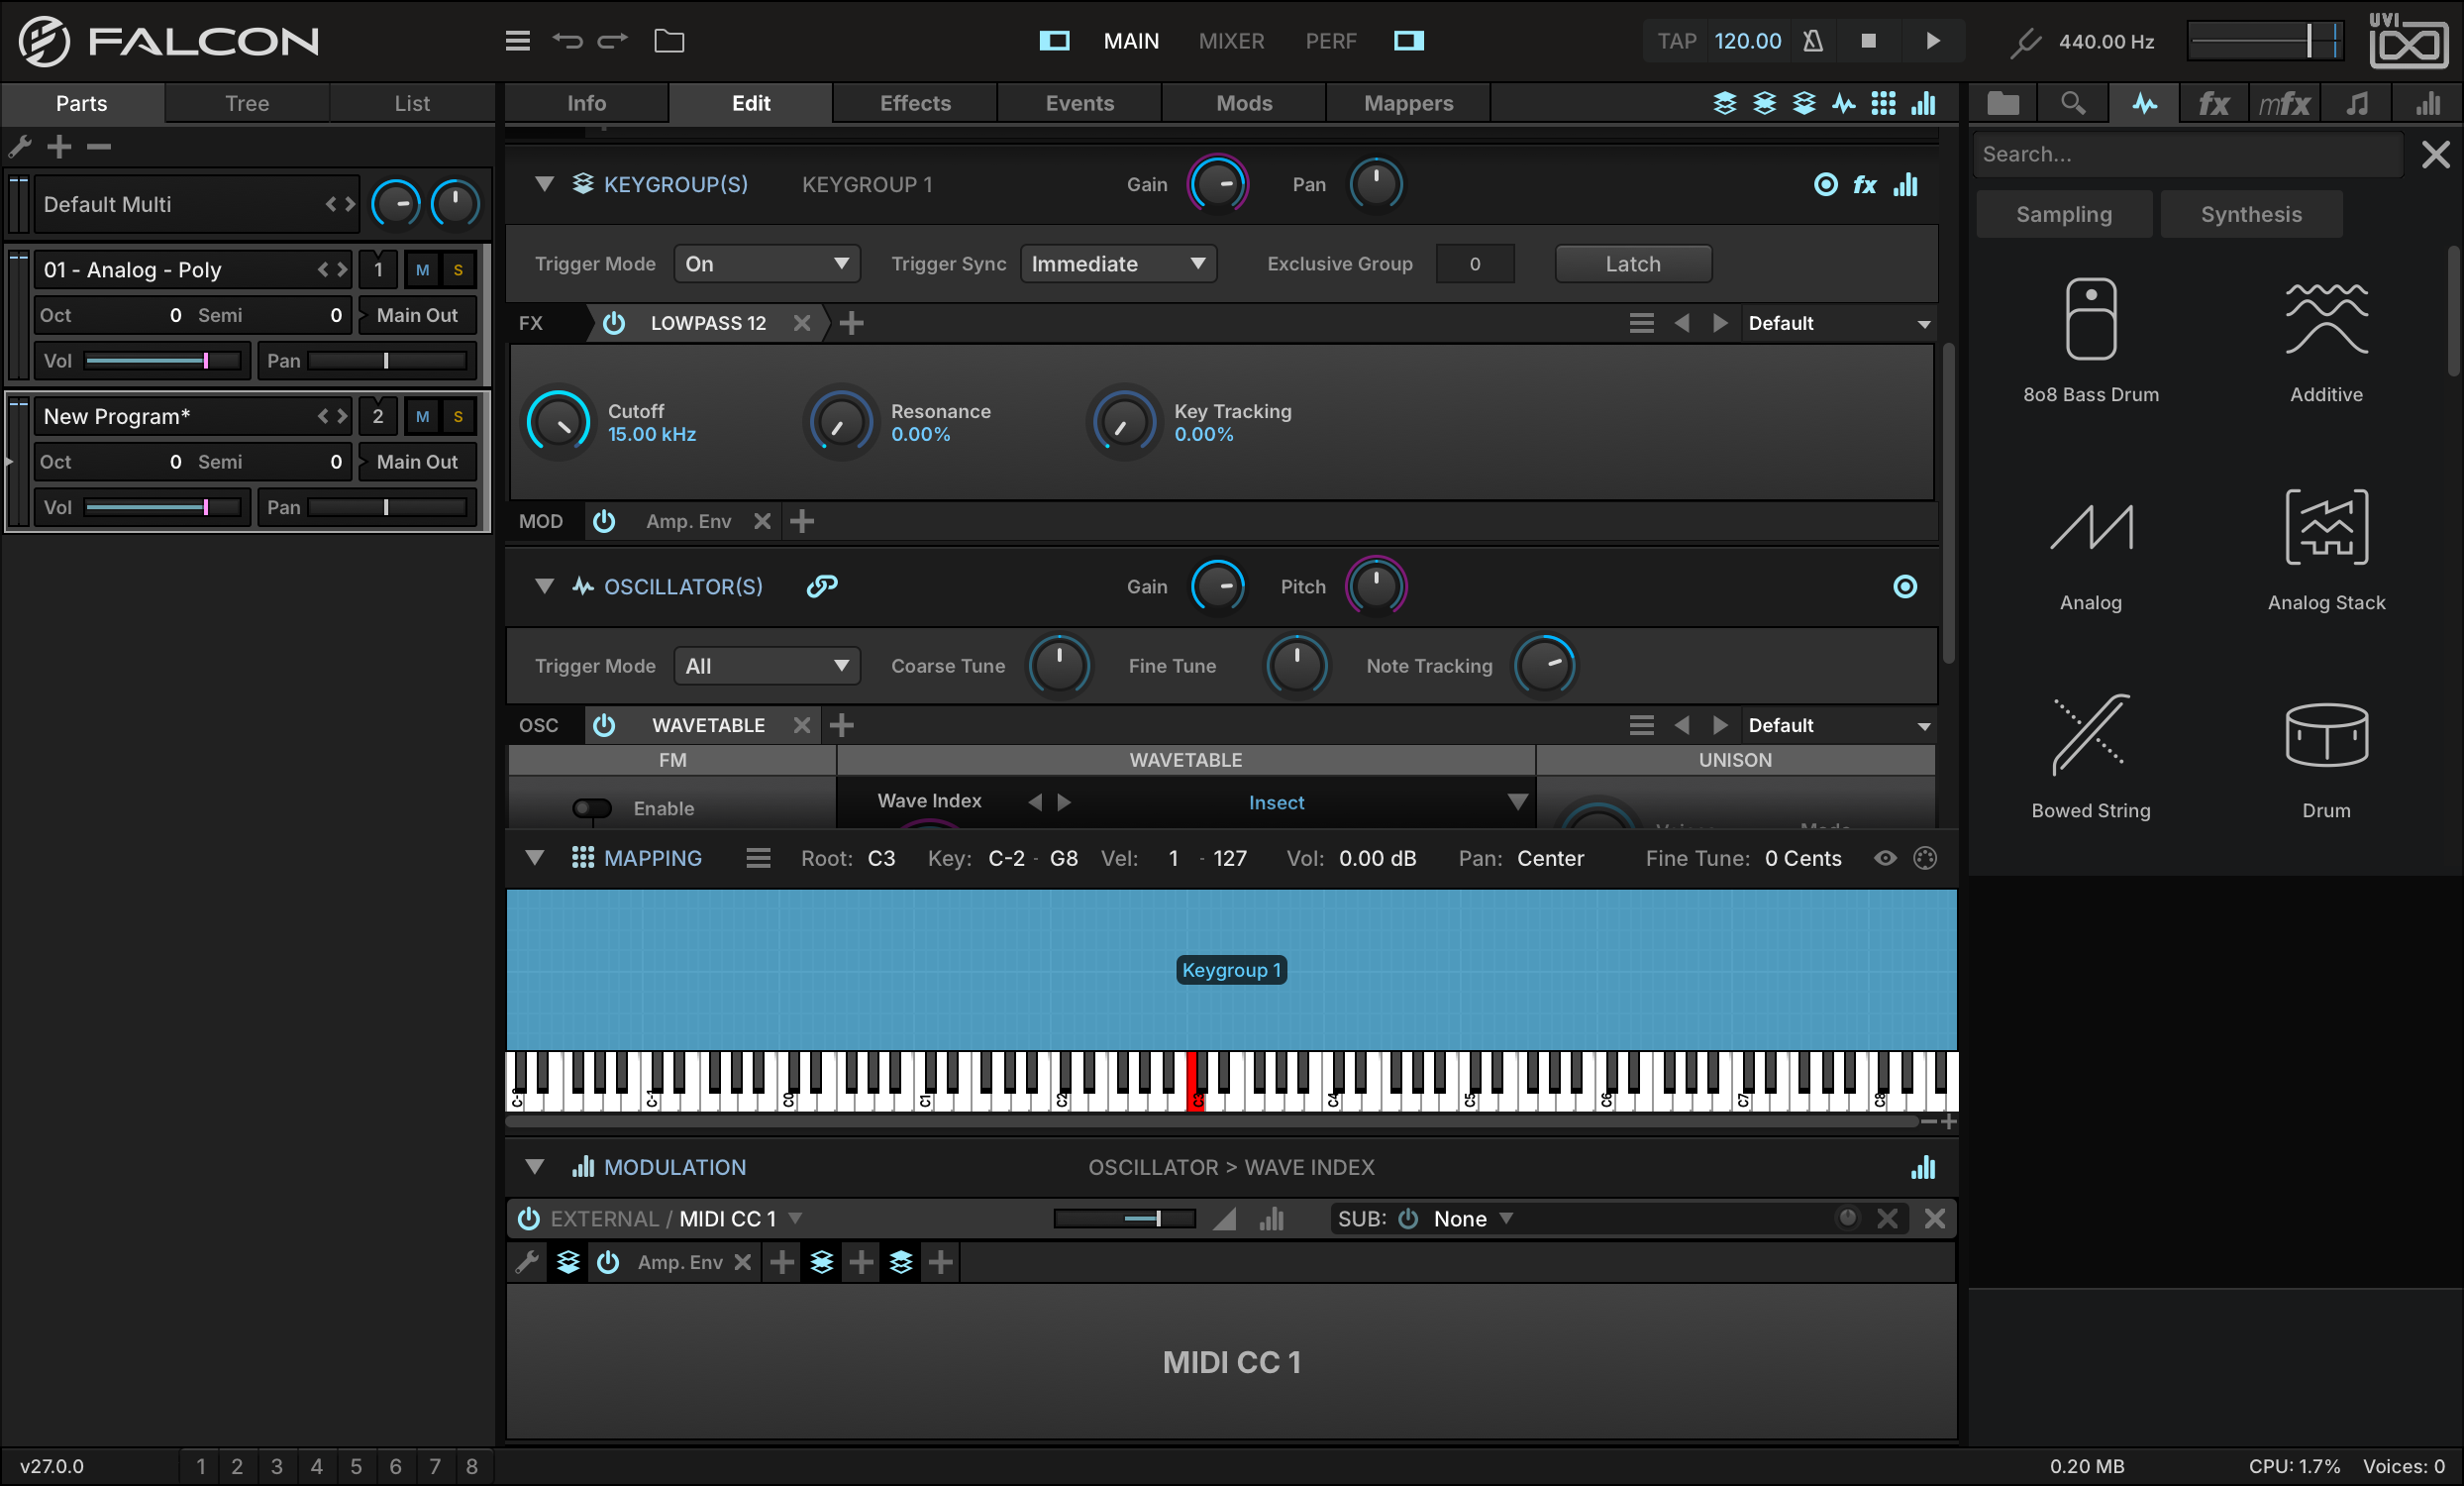
Play and hold a note to audition the wavetable. While holding the note, adjust the WAVE INDEX to change the active waveform within the wavetable. This is a good control to adjust in real time while playing, so let’s assign the Mod Wheel as a modulator.
-
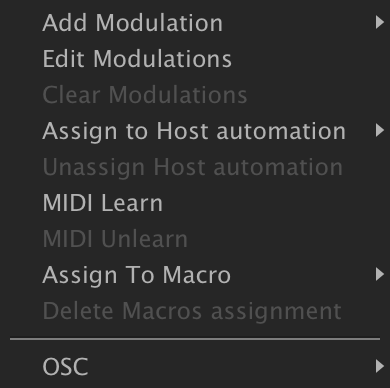
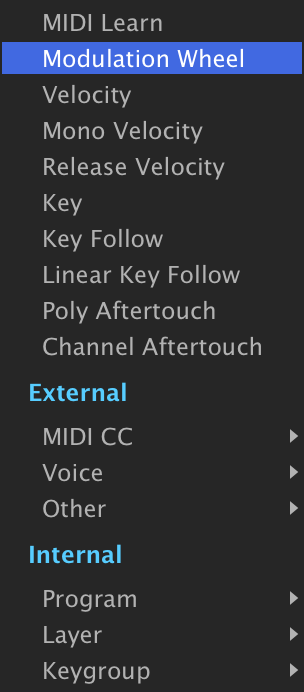
Right-click the Wave Index knob and choose ADD MODULATIONMODULATION WHEEL.
-
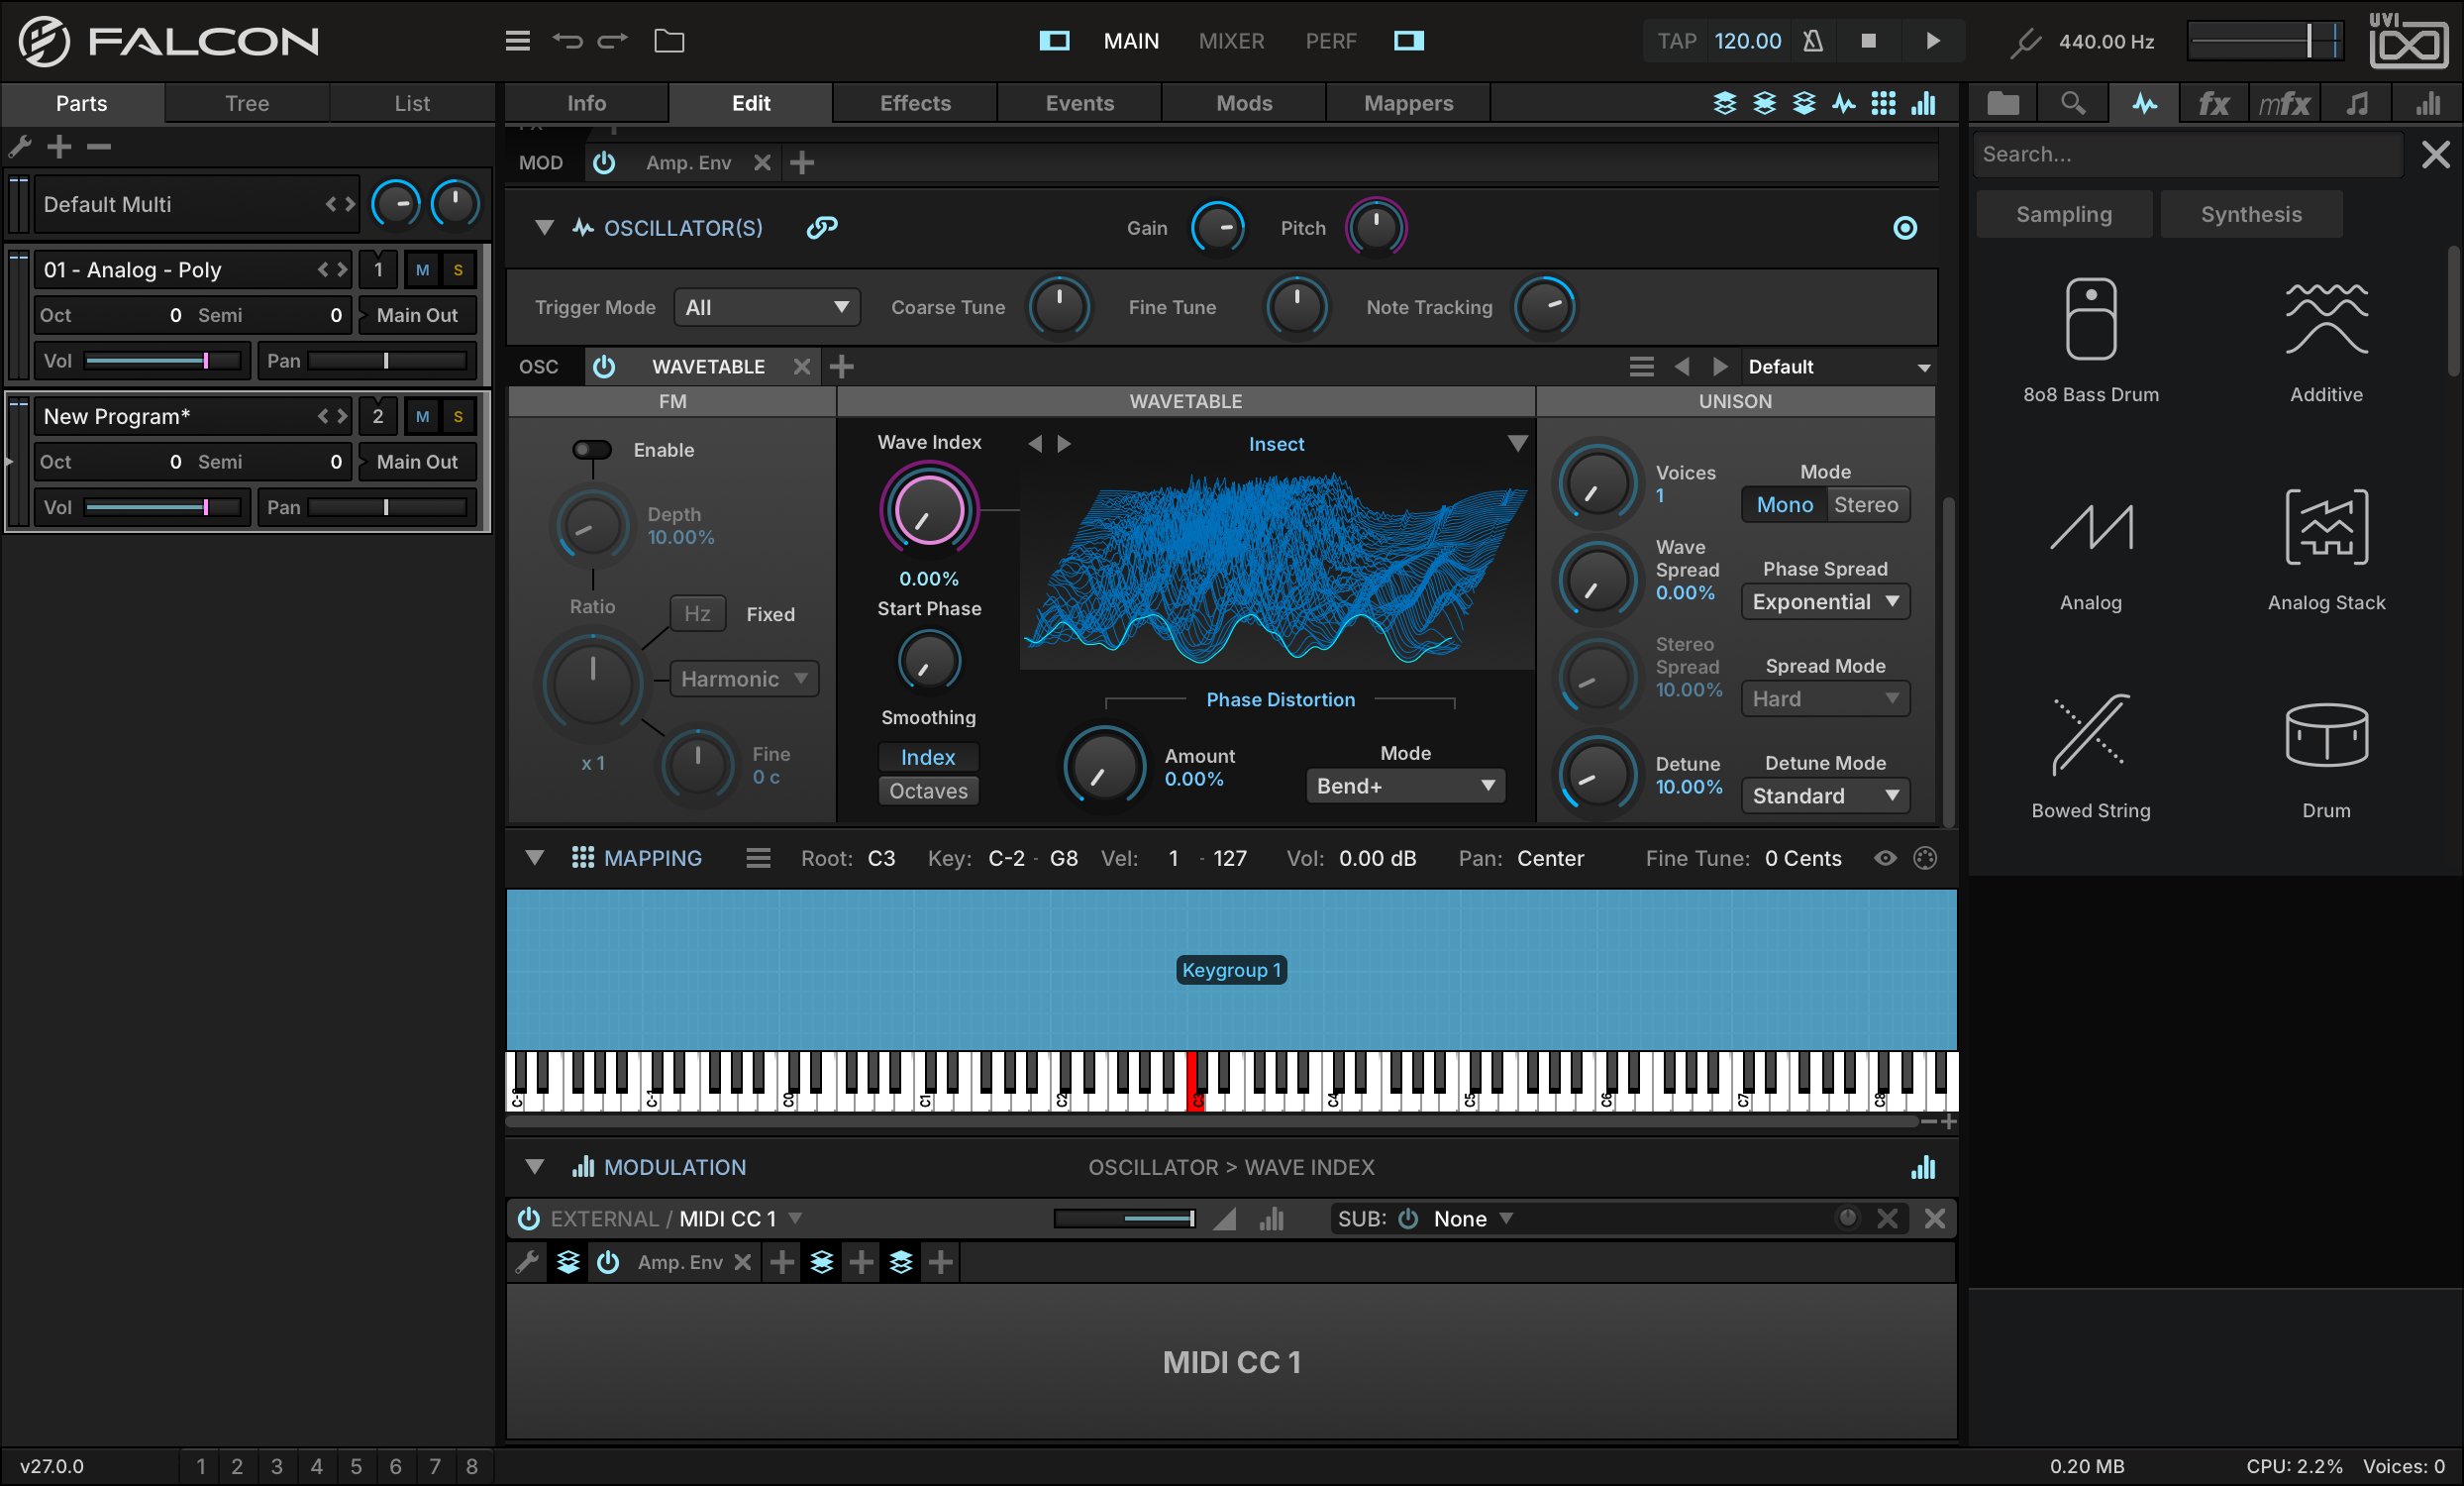
The new modulation assignment now appears in the Modulation Editor. (If you don’t see the Modulation Editor, make sure that its toggle button is enabled at the top of the Edit tab, and that it’s expanded with the arrow next to its name.)
-
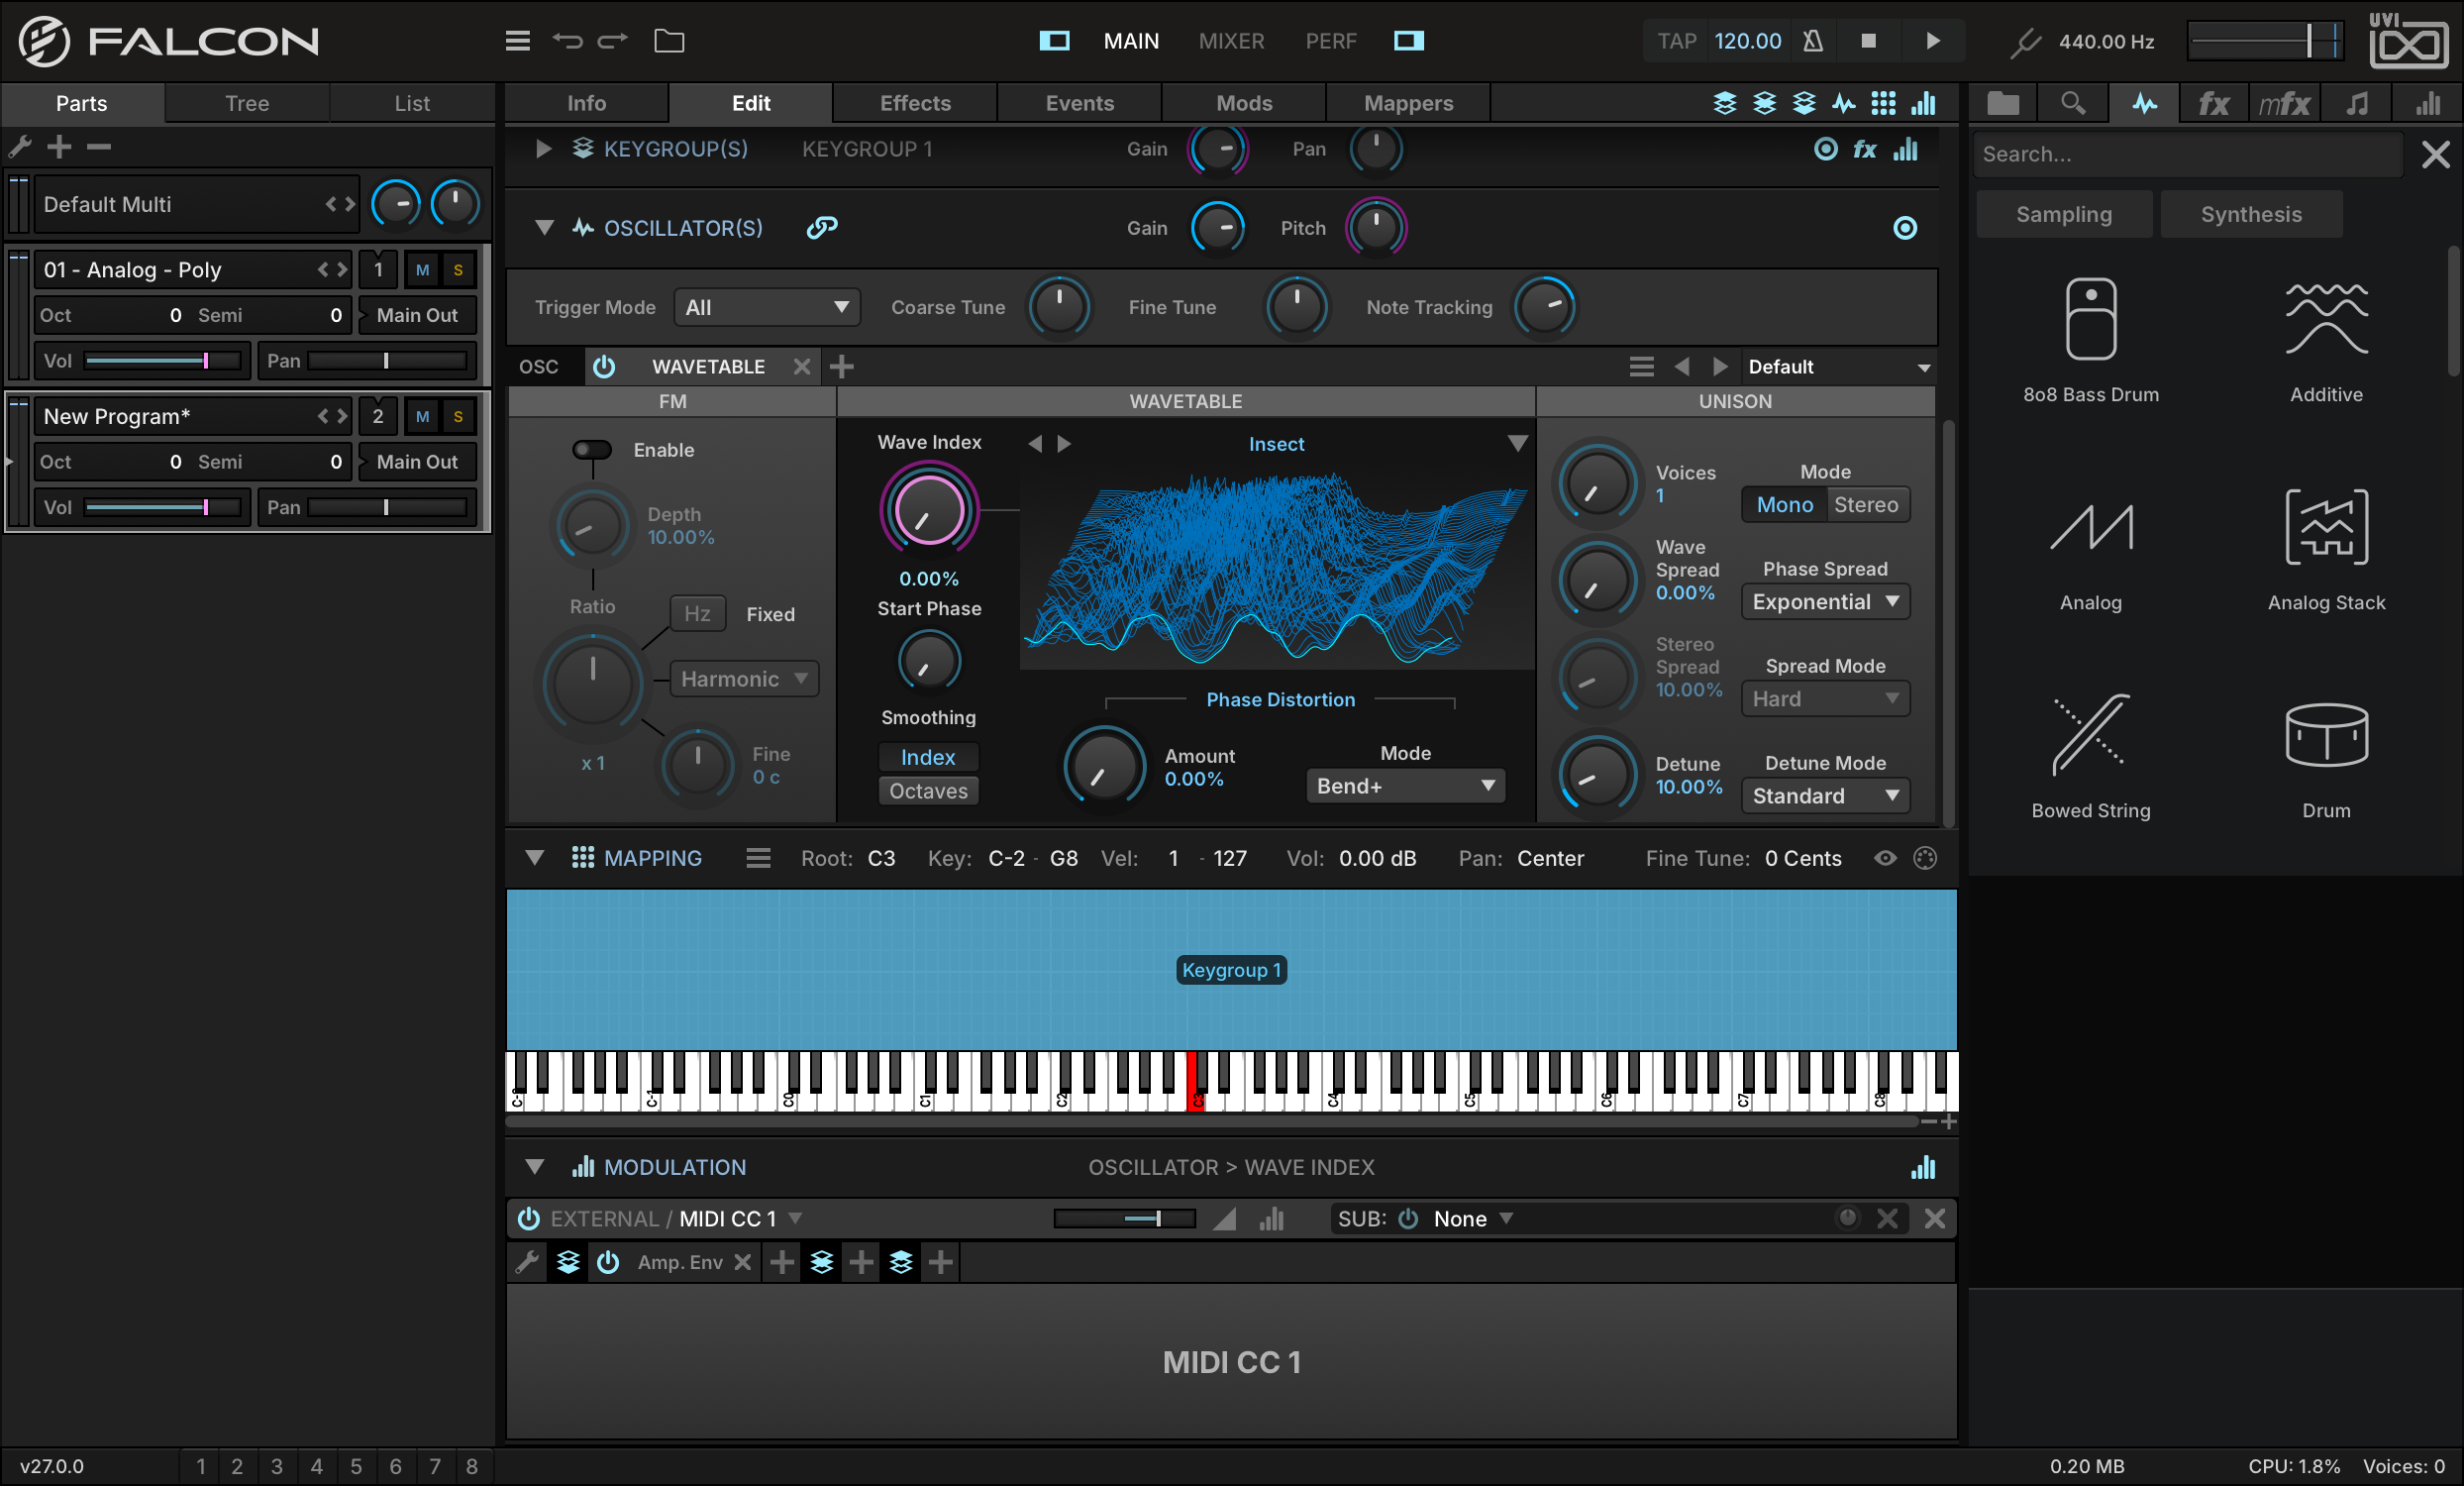
Each modulation assignment has a ratio slider that defines how the modulation source maps to its assigned parameter. By default the full range of the mod wheel will map to the full range of the Wave Index knob, but in this case we’d like the mod wheel to sweep over only half of the Wave Index range. So, to halve the range, set the RATIO of the MIDI CC 1 assignment to 0.5.
-
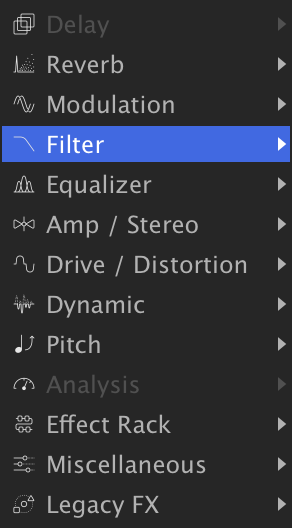
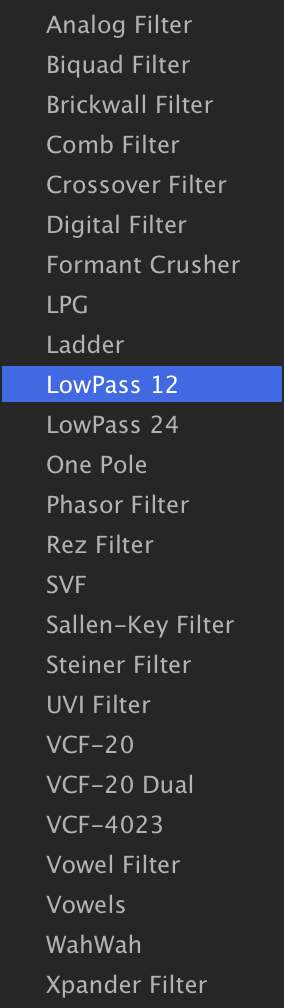
Now let’s add a low-pass filter. To add a filter, go to the keygroup’s Effects lane, press the + button and choose FILTERLOWPASS 12.
-
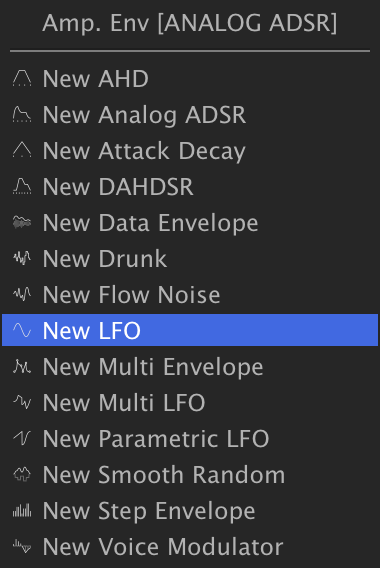
To create the wobbling effect, we can modulate the cutoff frequency with an LFO. Set CUTOFF near the upper end of its range, then right-click, choose ADD MODULATION, and add a new LFO.
-
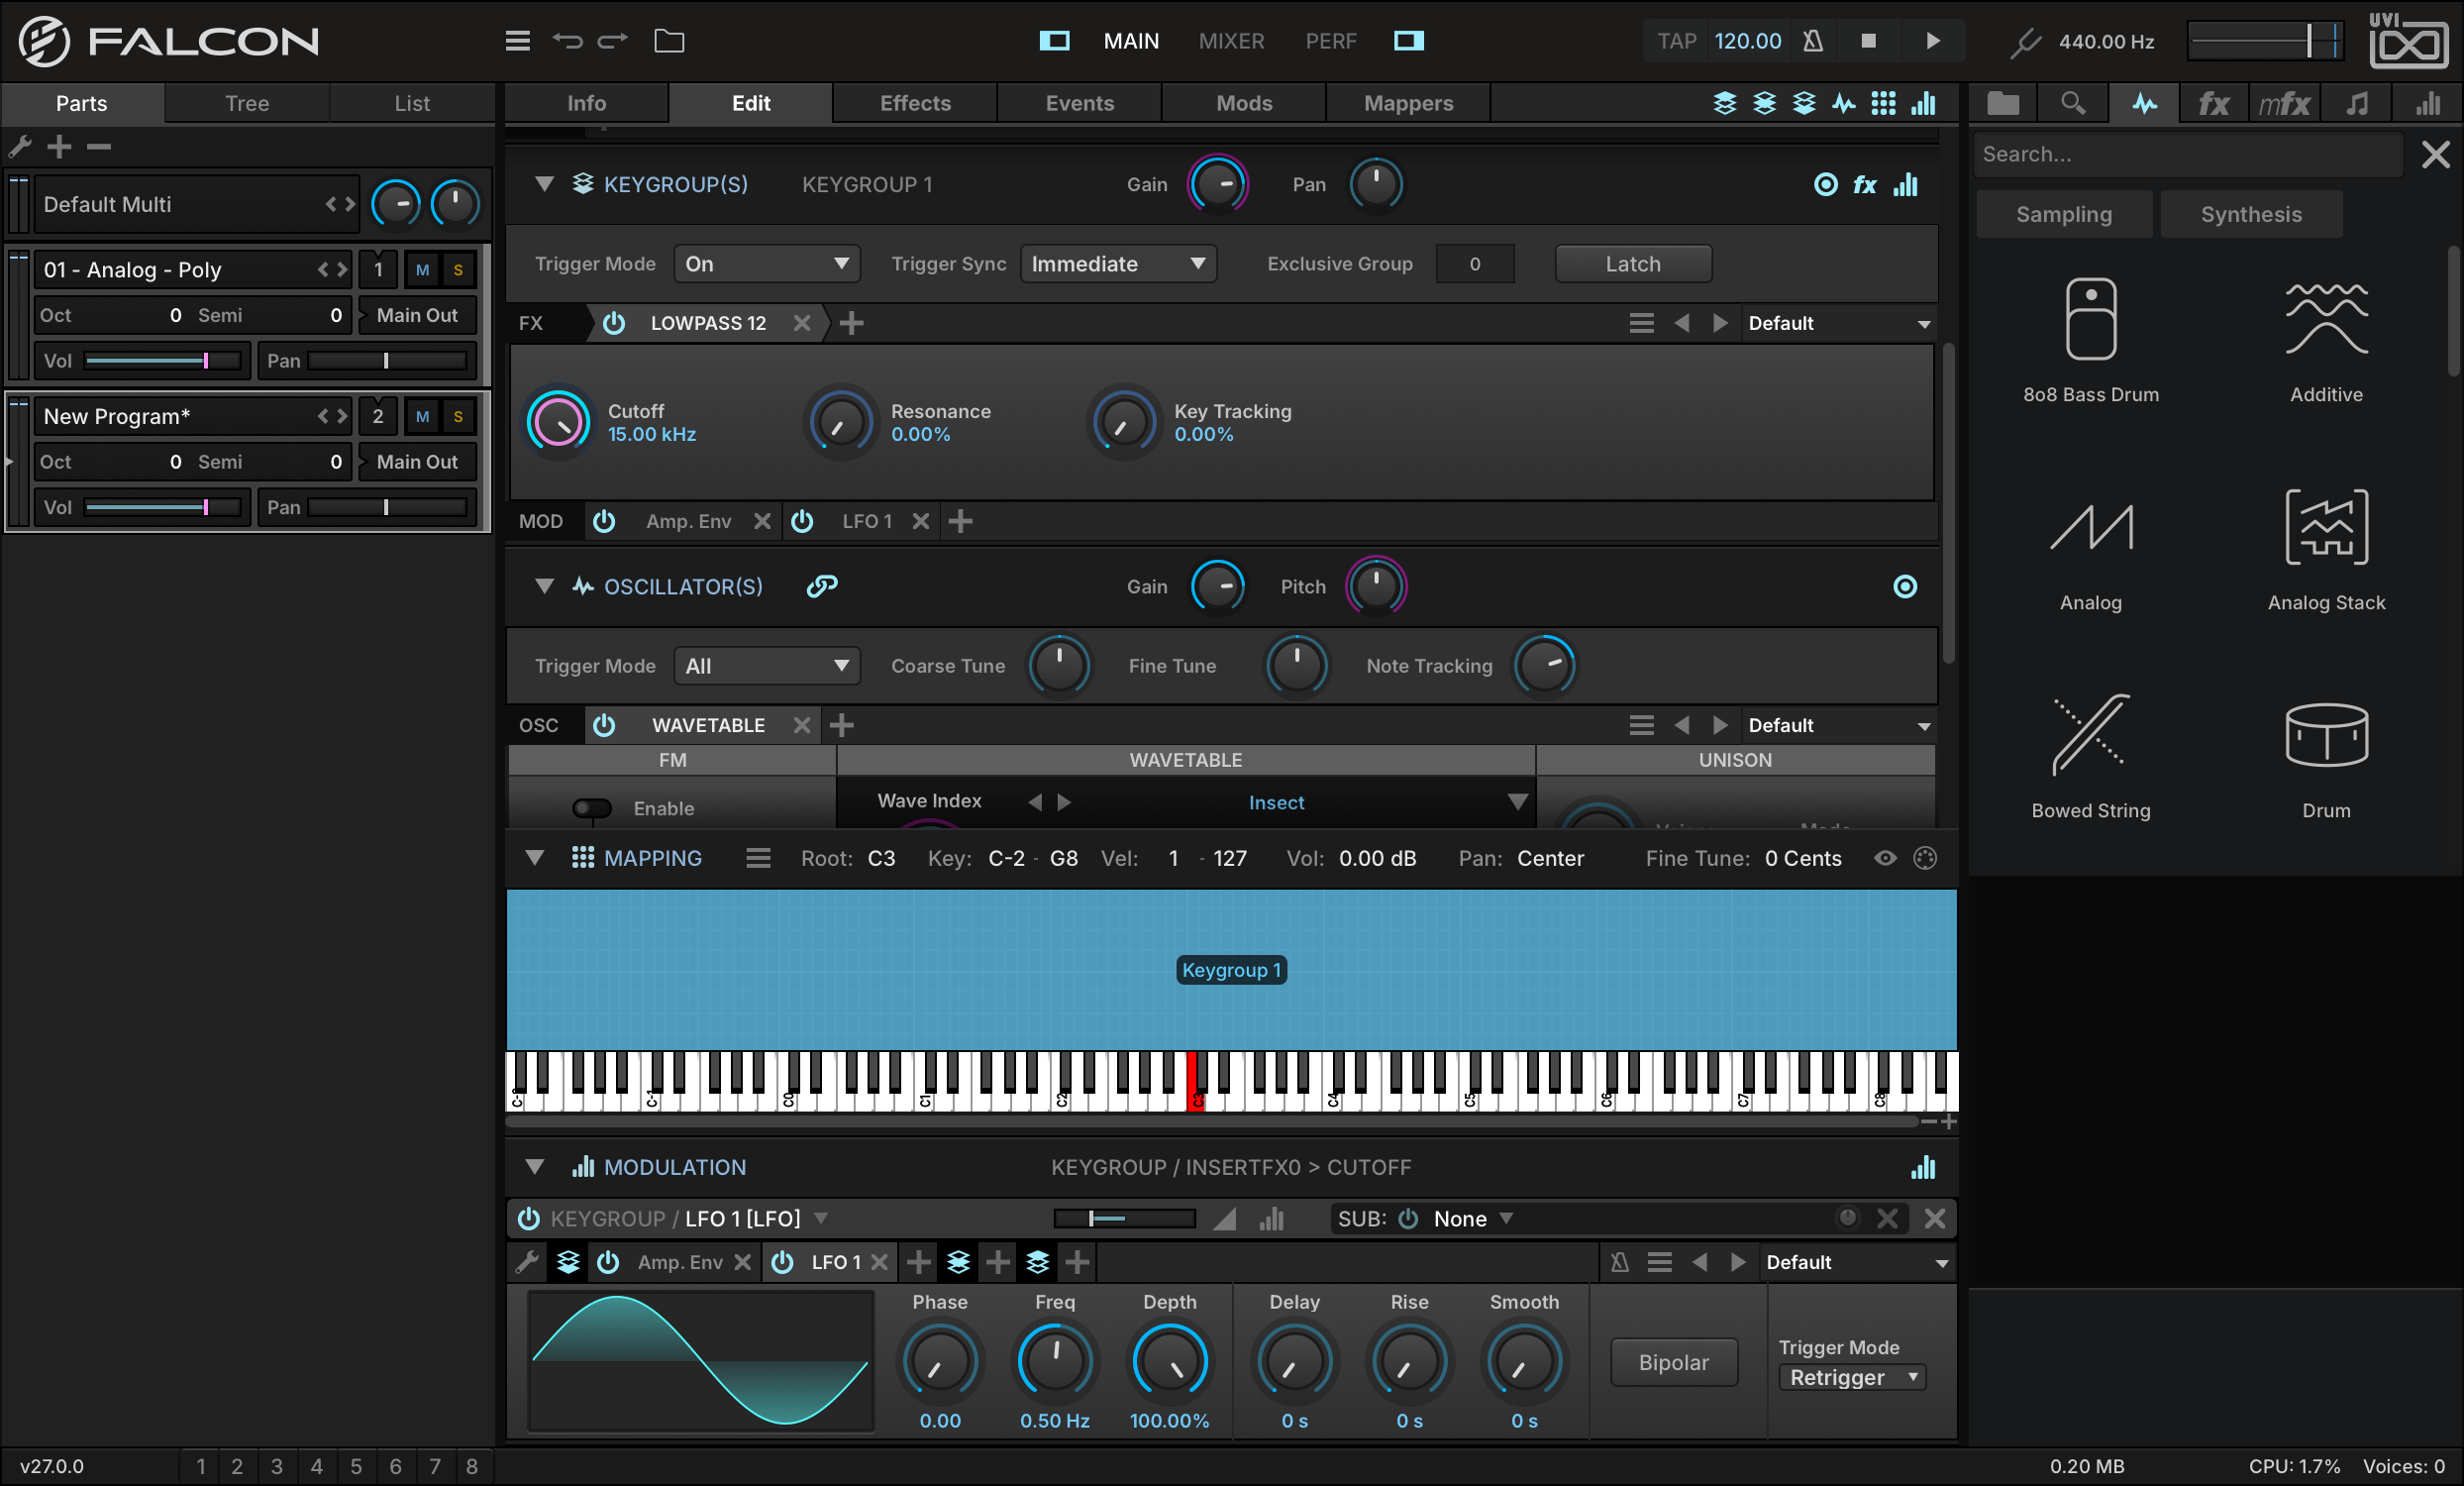
On the new LFO, uncheck its BIPOLAR option, then set its modulation ratio to −0.5. A unipolar LFO will modulate in only one direction, and a negative ratio means that direction will be downward.
-
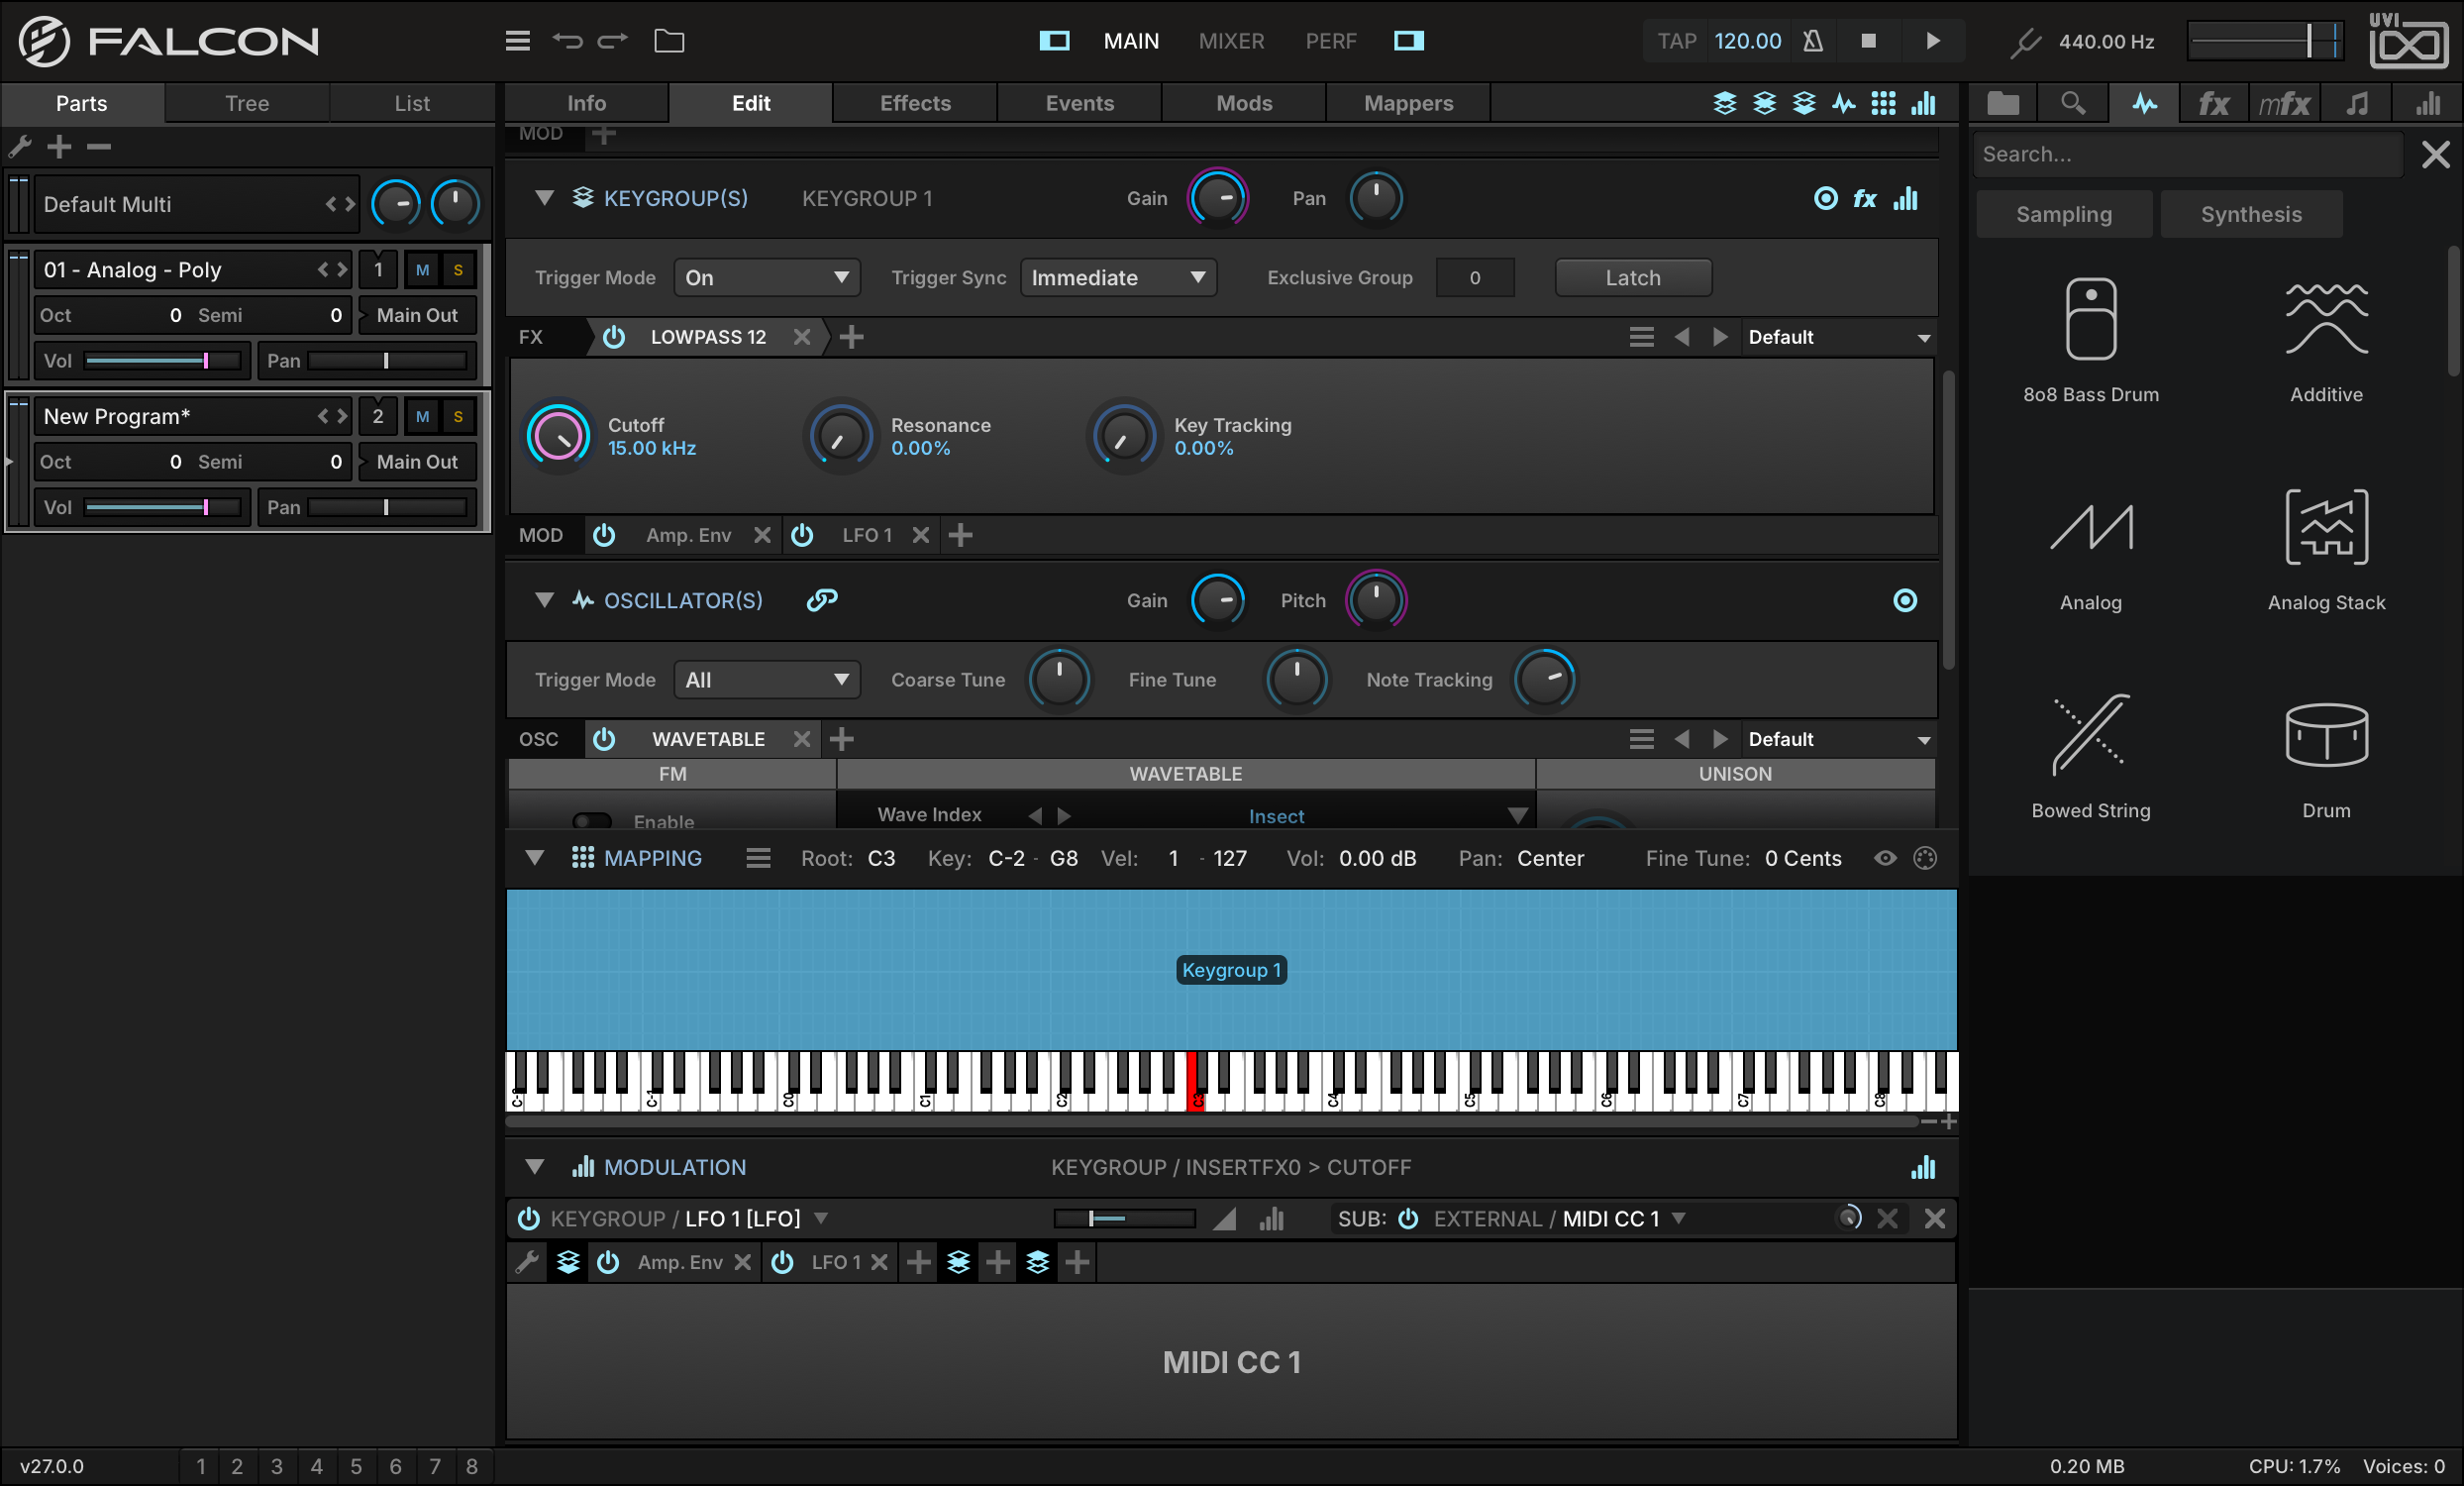
Play a note, and you’ll hear the cutoff frequency sweeping downward with the LFO. The LFO is applied as a constant modulation, however. To apply the LFO modulation selectively with the modulation wheel, add the mod wheel as a sub-modulation source. Right-click on the SUB menu and choose MODULATION WHEEL.
Play a note now, and you won’t hear the LFO applied any more. As you raise the mod wheel, the LFO modulation will be increasingly applied, along with the Wave Index modulation we assigned to the mod wheel earlier.
Make a Drum Kit from Samples
Creating new programs from samples is just as easy as creating a synth-based program. Most of Falcon’s controls are used in the same way whether you’re using synth oscillators or sample files. Let’s create a drum kit from sample files.
-
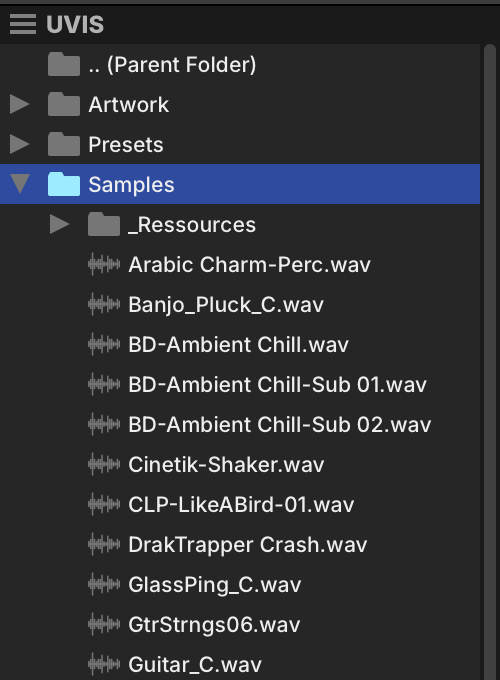
Open the right-hand sidebar and use the FILES tab to locate a folder containing some drum samples on your system.
-
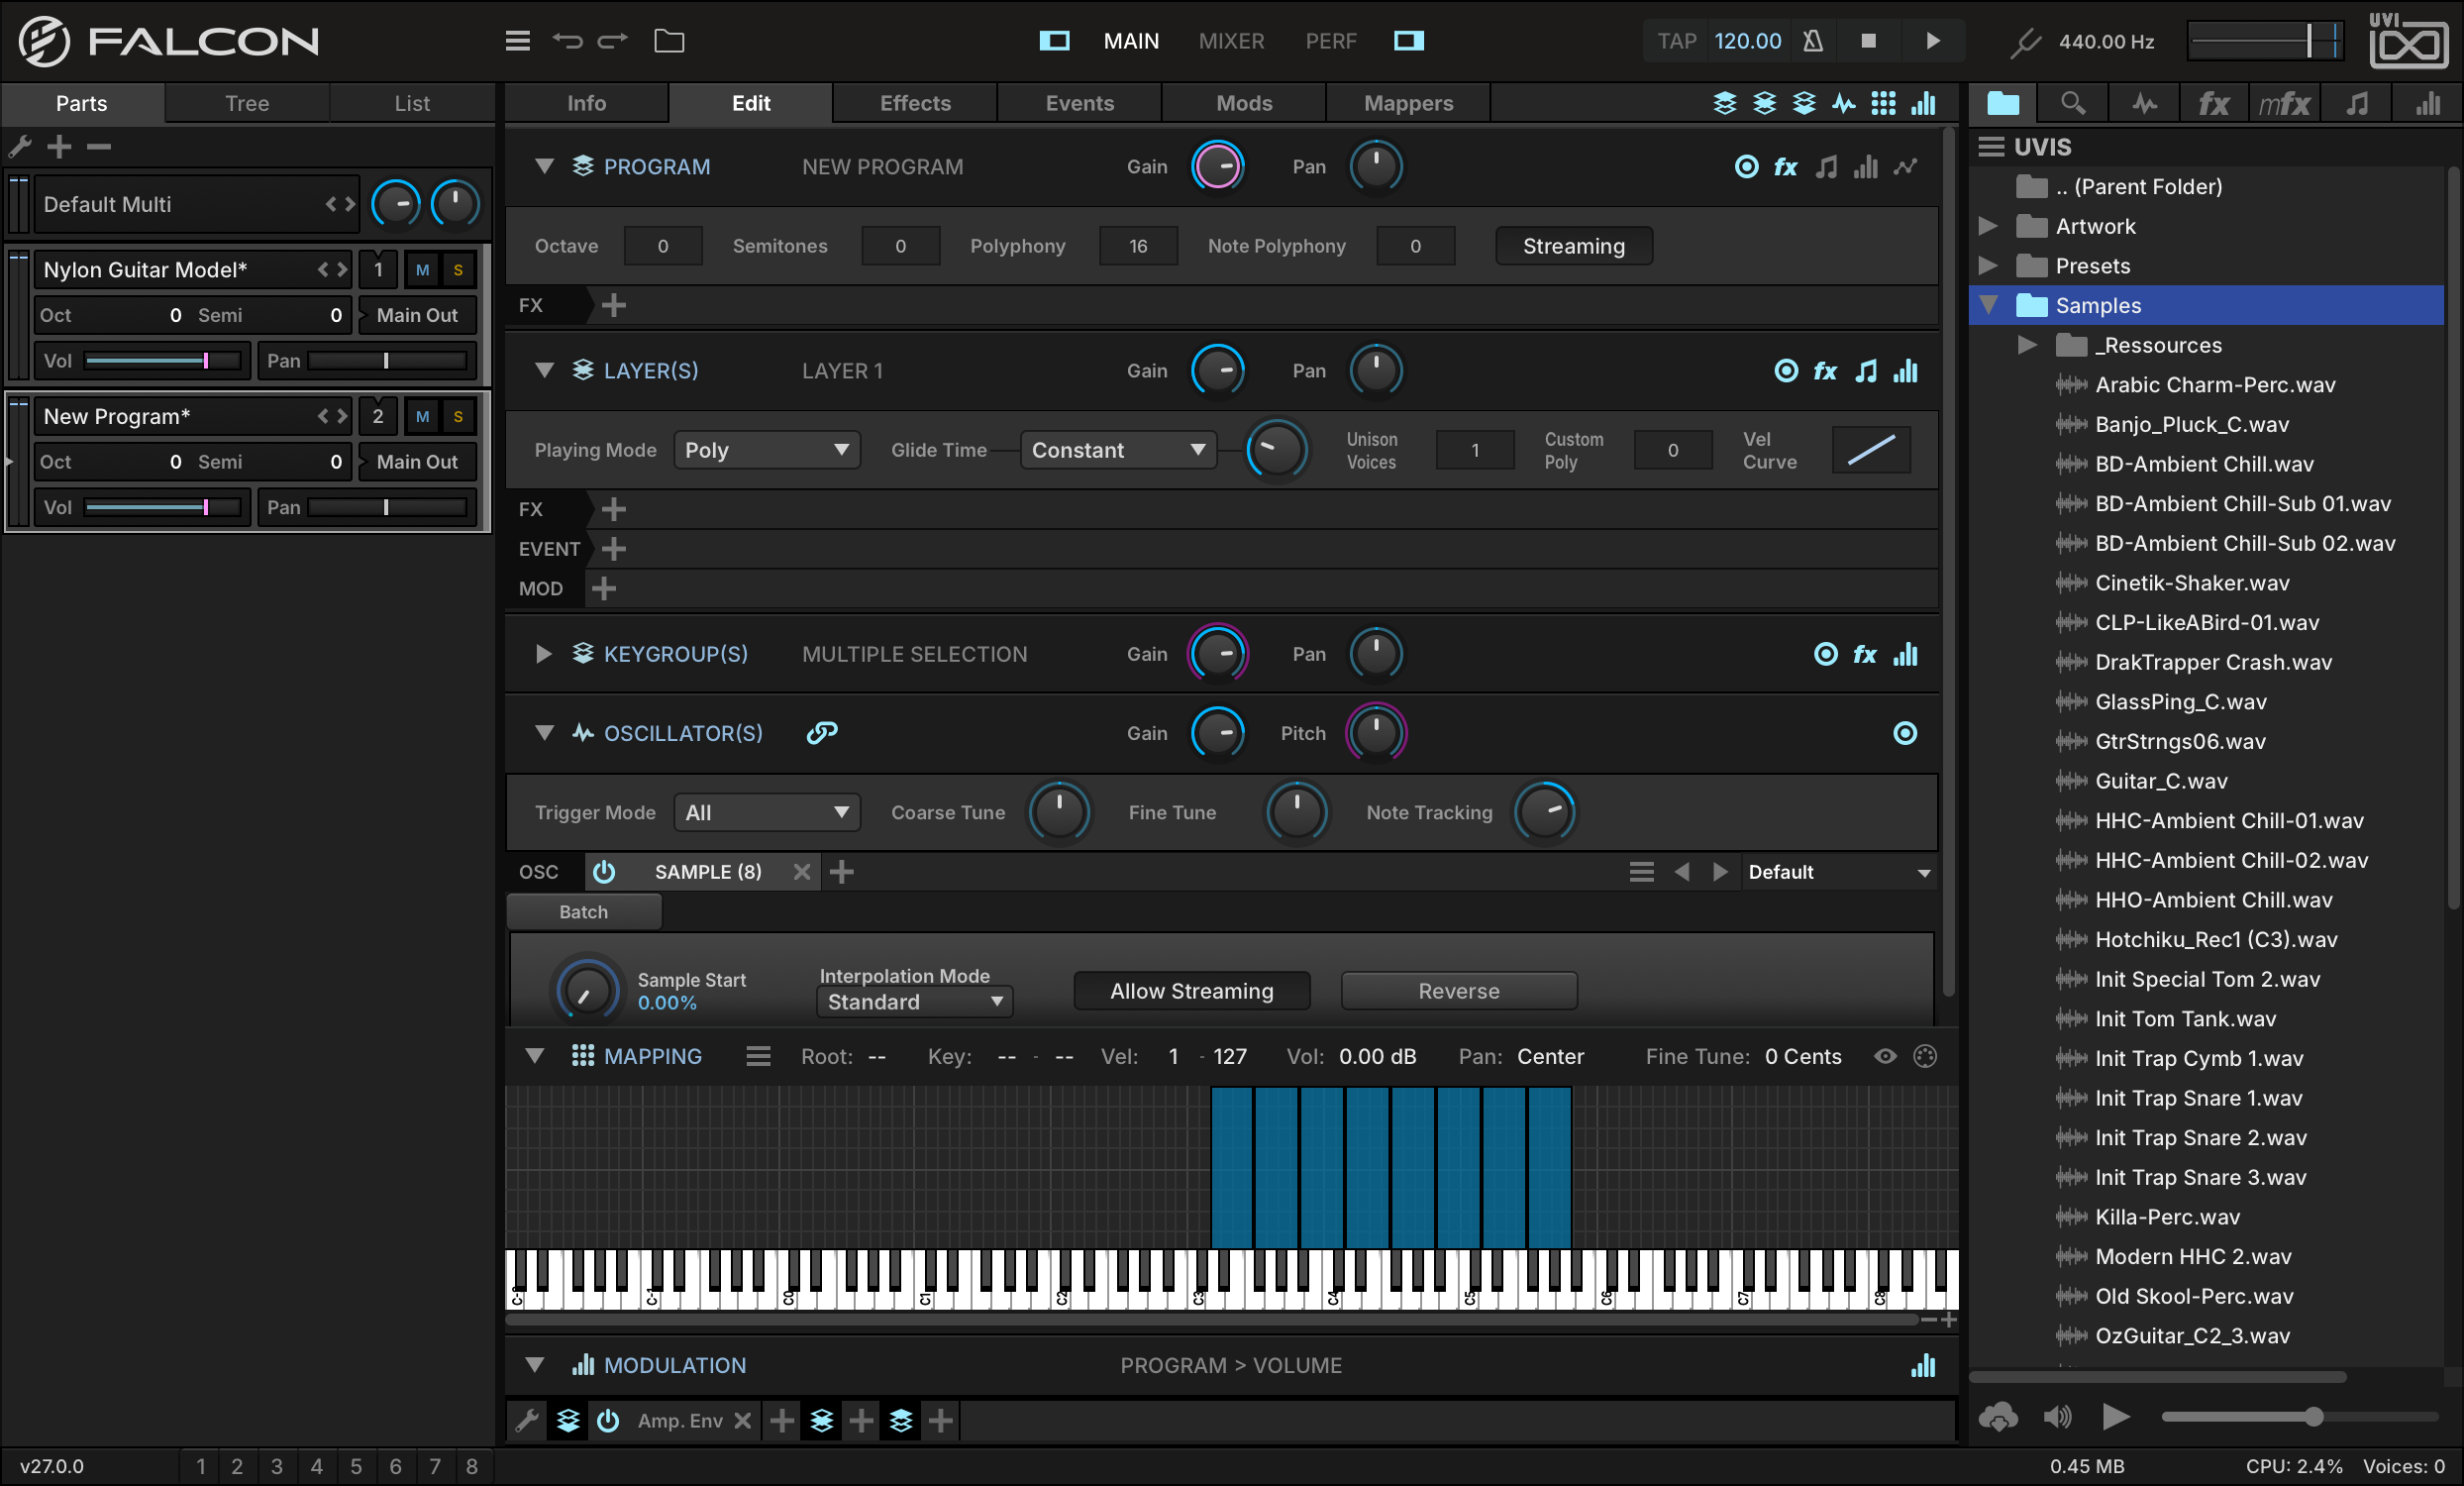
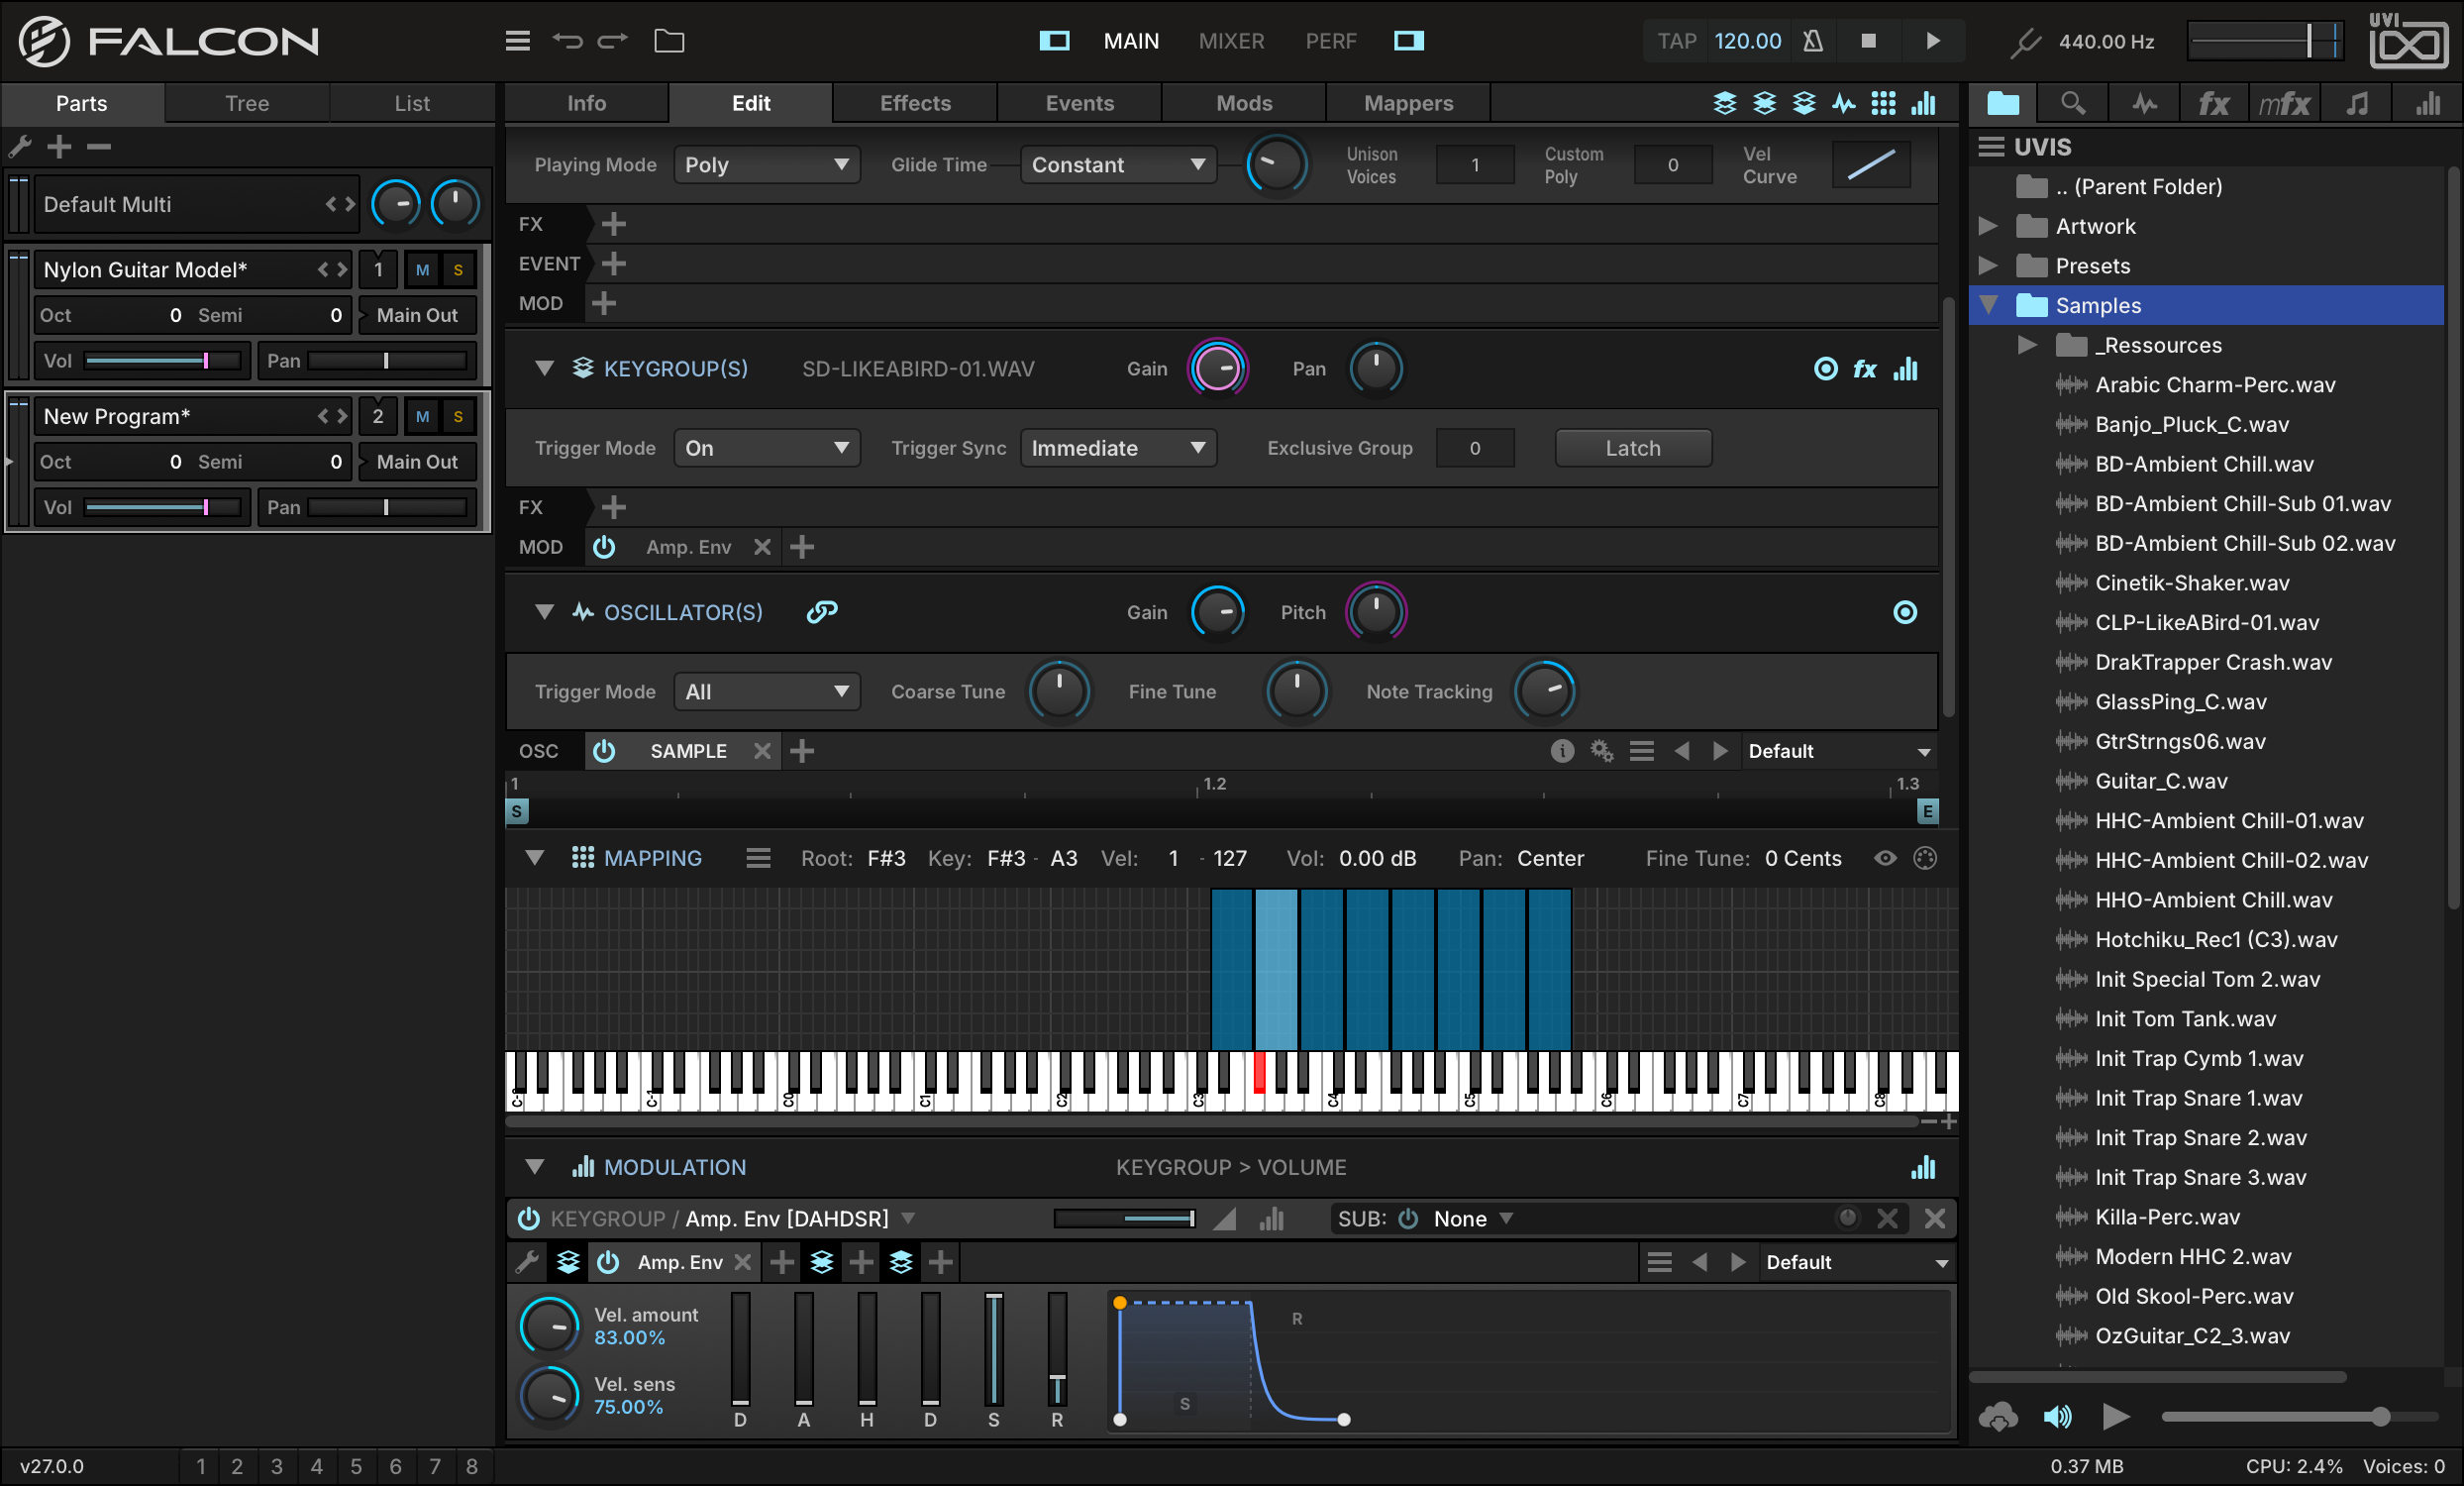
Select the drum samples you want to use (Shift-click to select several) and drag them onto the MAPPING EDITOR.
Now let’s set the imported samples to be “one shot” samples, so that the entire sample will be played back when the note is triggered.
-
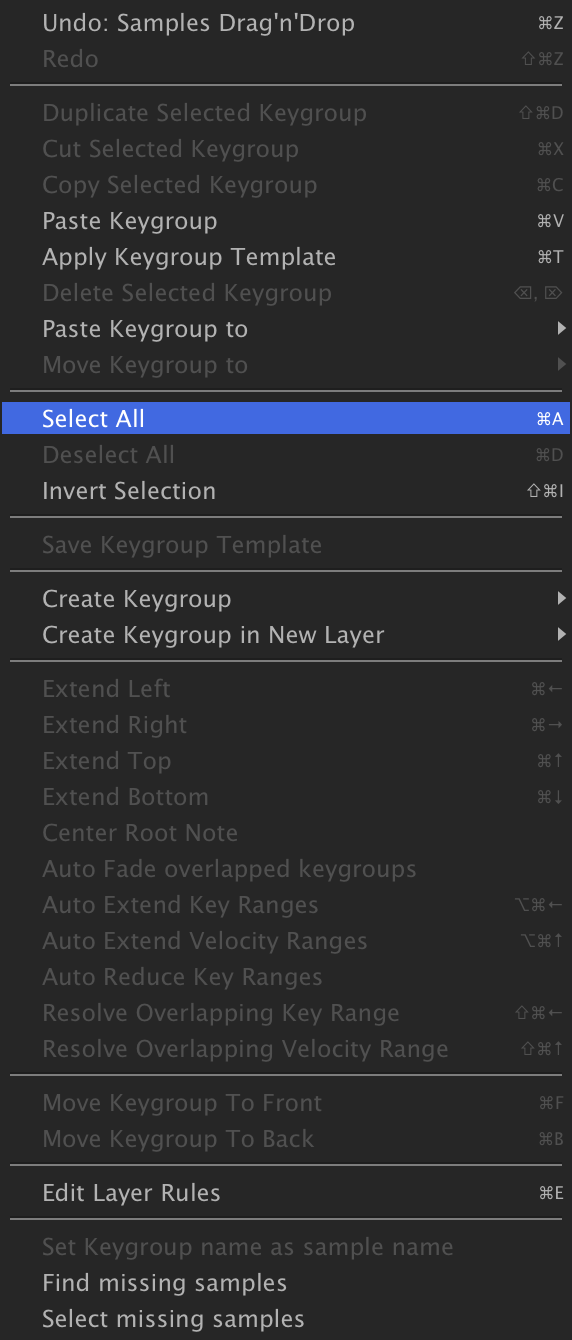
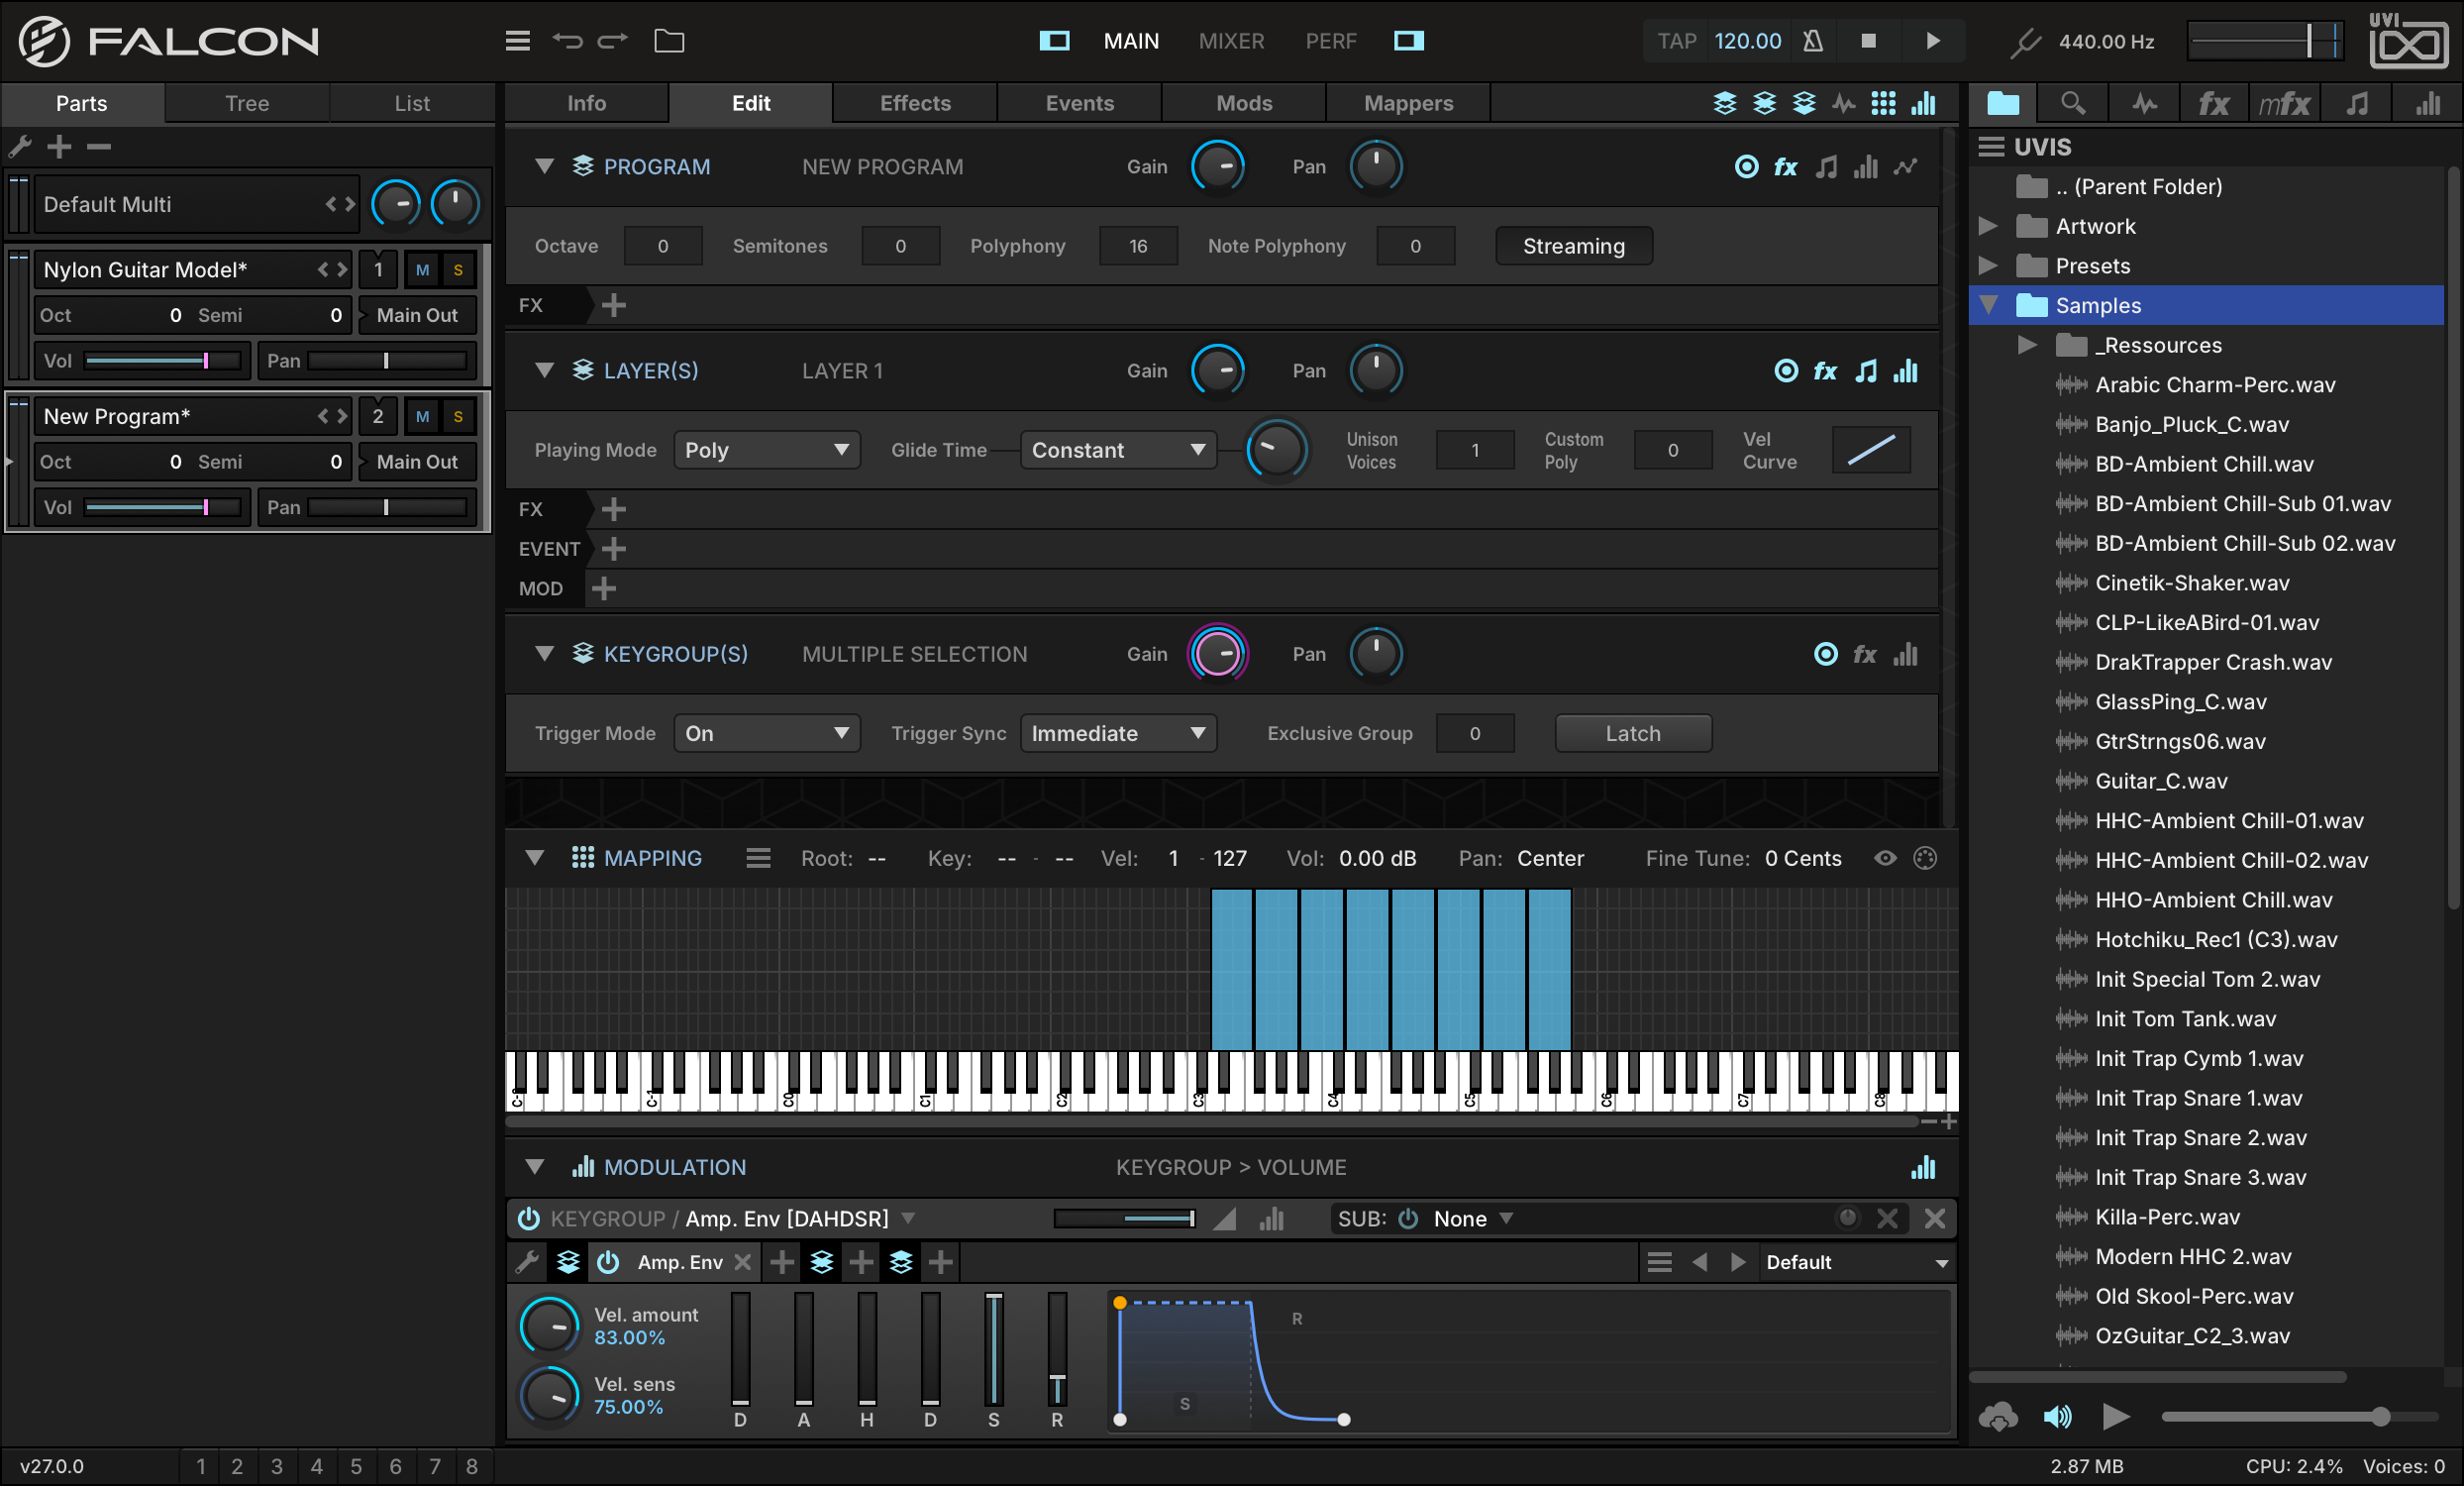
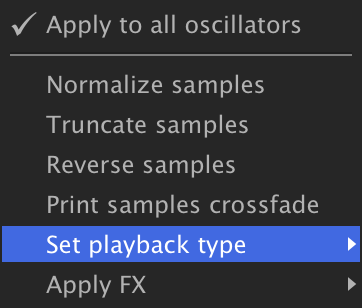
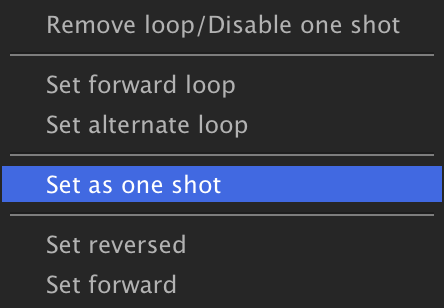
Choose SELECT ALL from the Mapping Editor menu, then press the BATCH button and choose SET PLAYBACK TYPESET AS ONE SHOT.
-
-
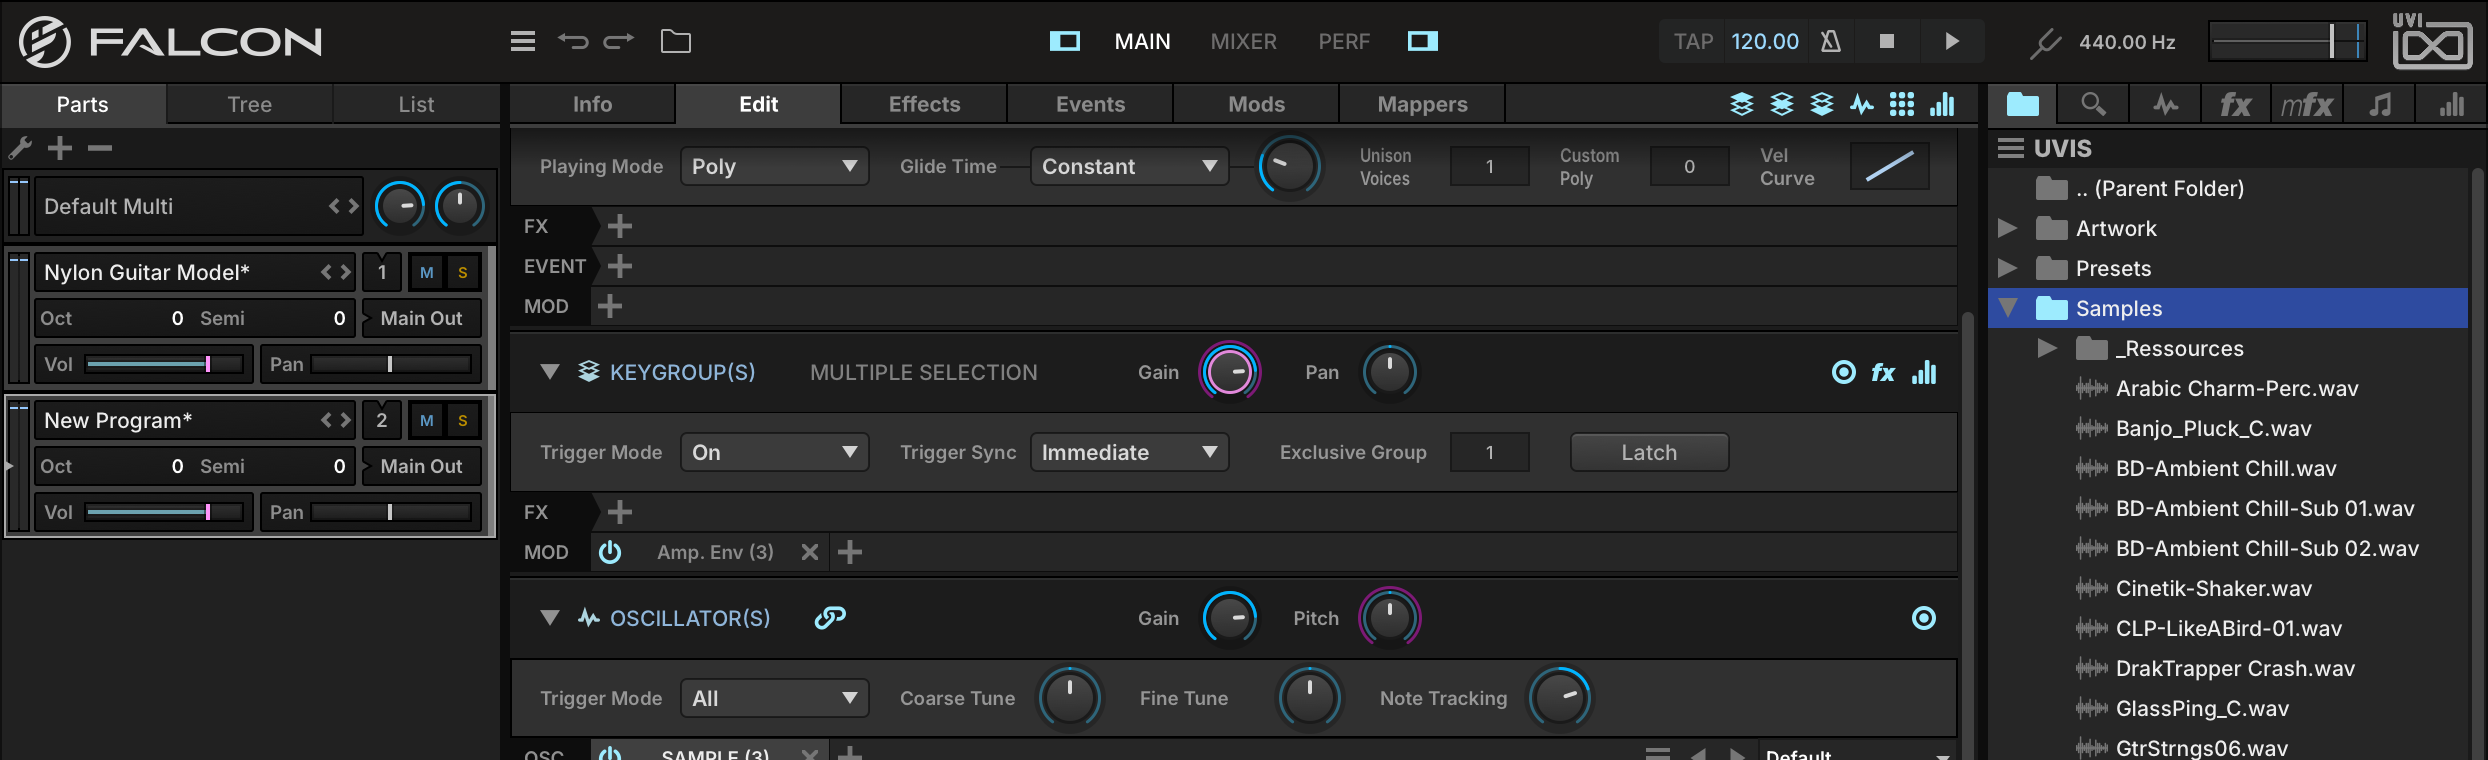
Lastly, let’s set an exclusive group for the hi-hat sounds. This will mimic the natural behavior of hi-hat sounds cutting each other off, such as a hi-hat closing and cutting off a ringing open hi-hat.
Select the hi-hat keygroups, then set EXCLUSIVE GROUP to 1 in the Keygroup section.
Make a Drum Kit from a Loop
Drum loops often provide great source material for building a drum kit, especially if the loop has distinct hits where the different kit elements don’t overlap. By slicing and mapping the hits in the loop, we can easily take a single loop and turn it into a full kit.
-
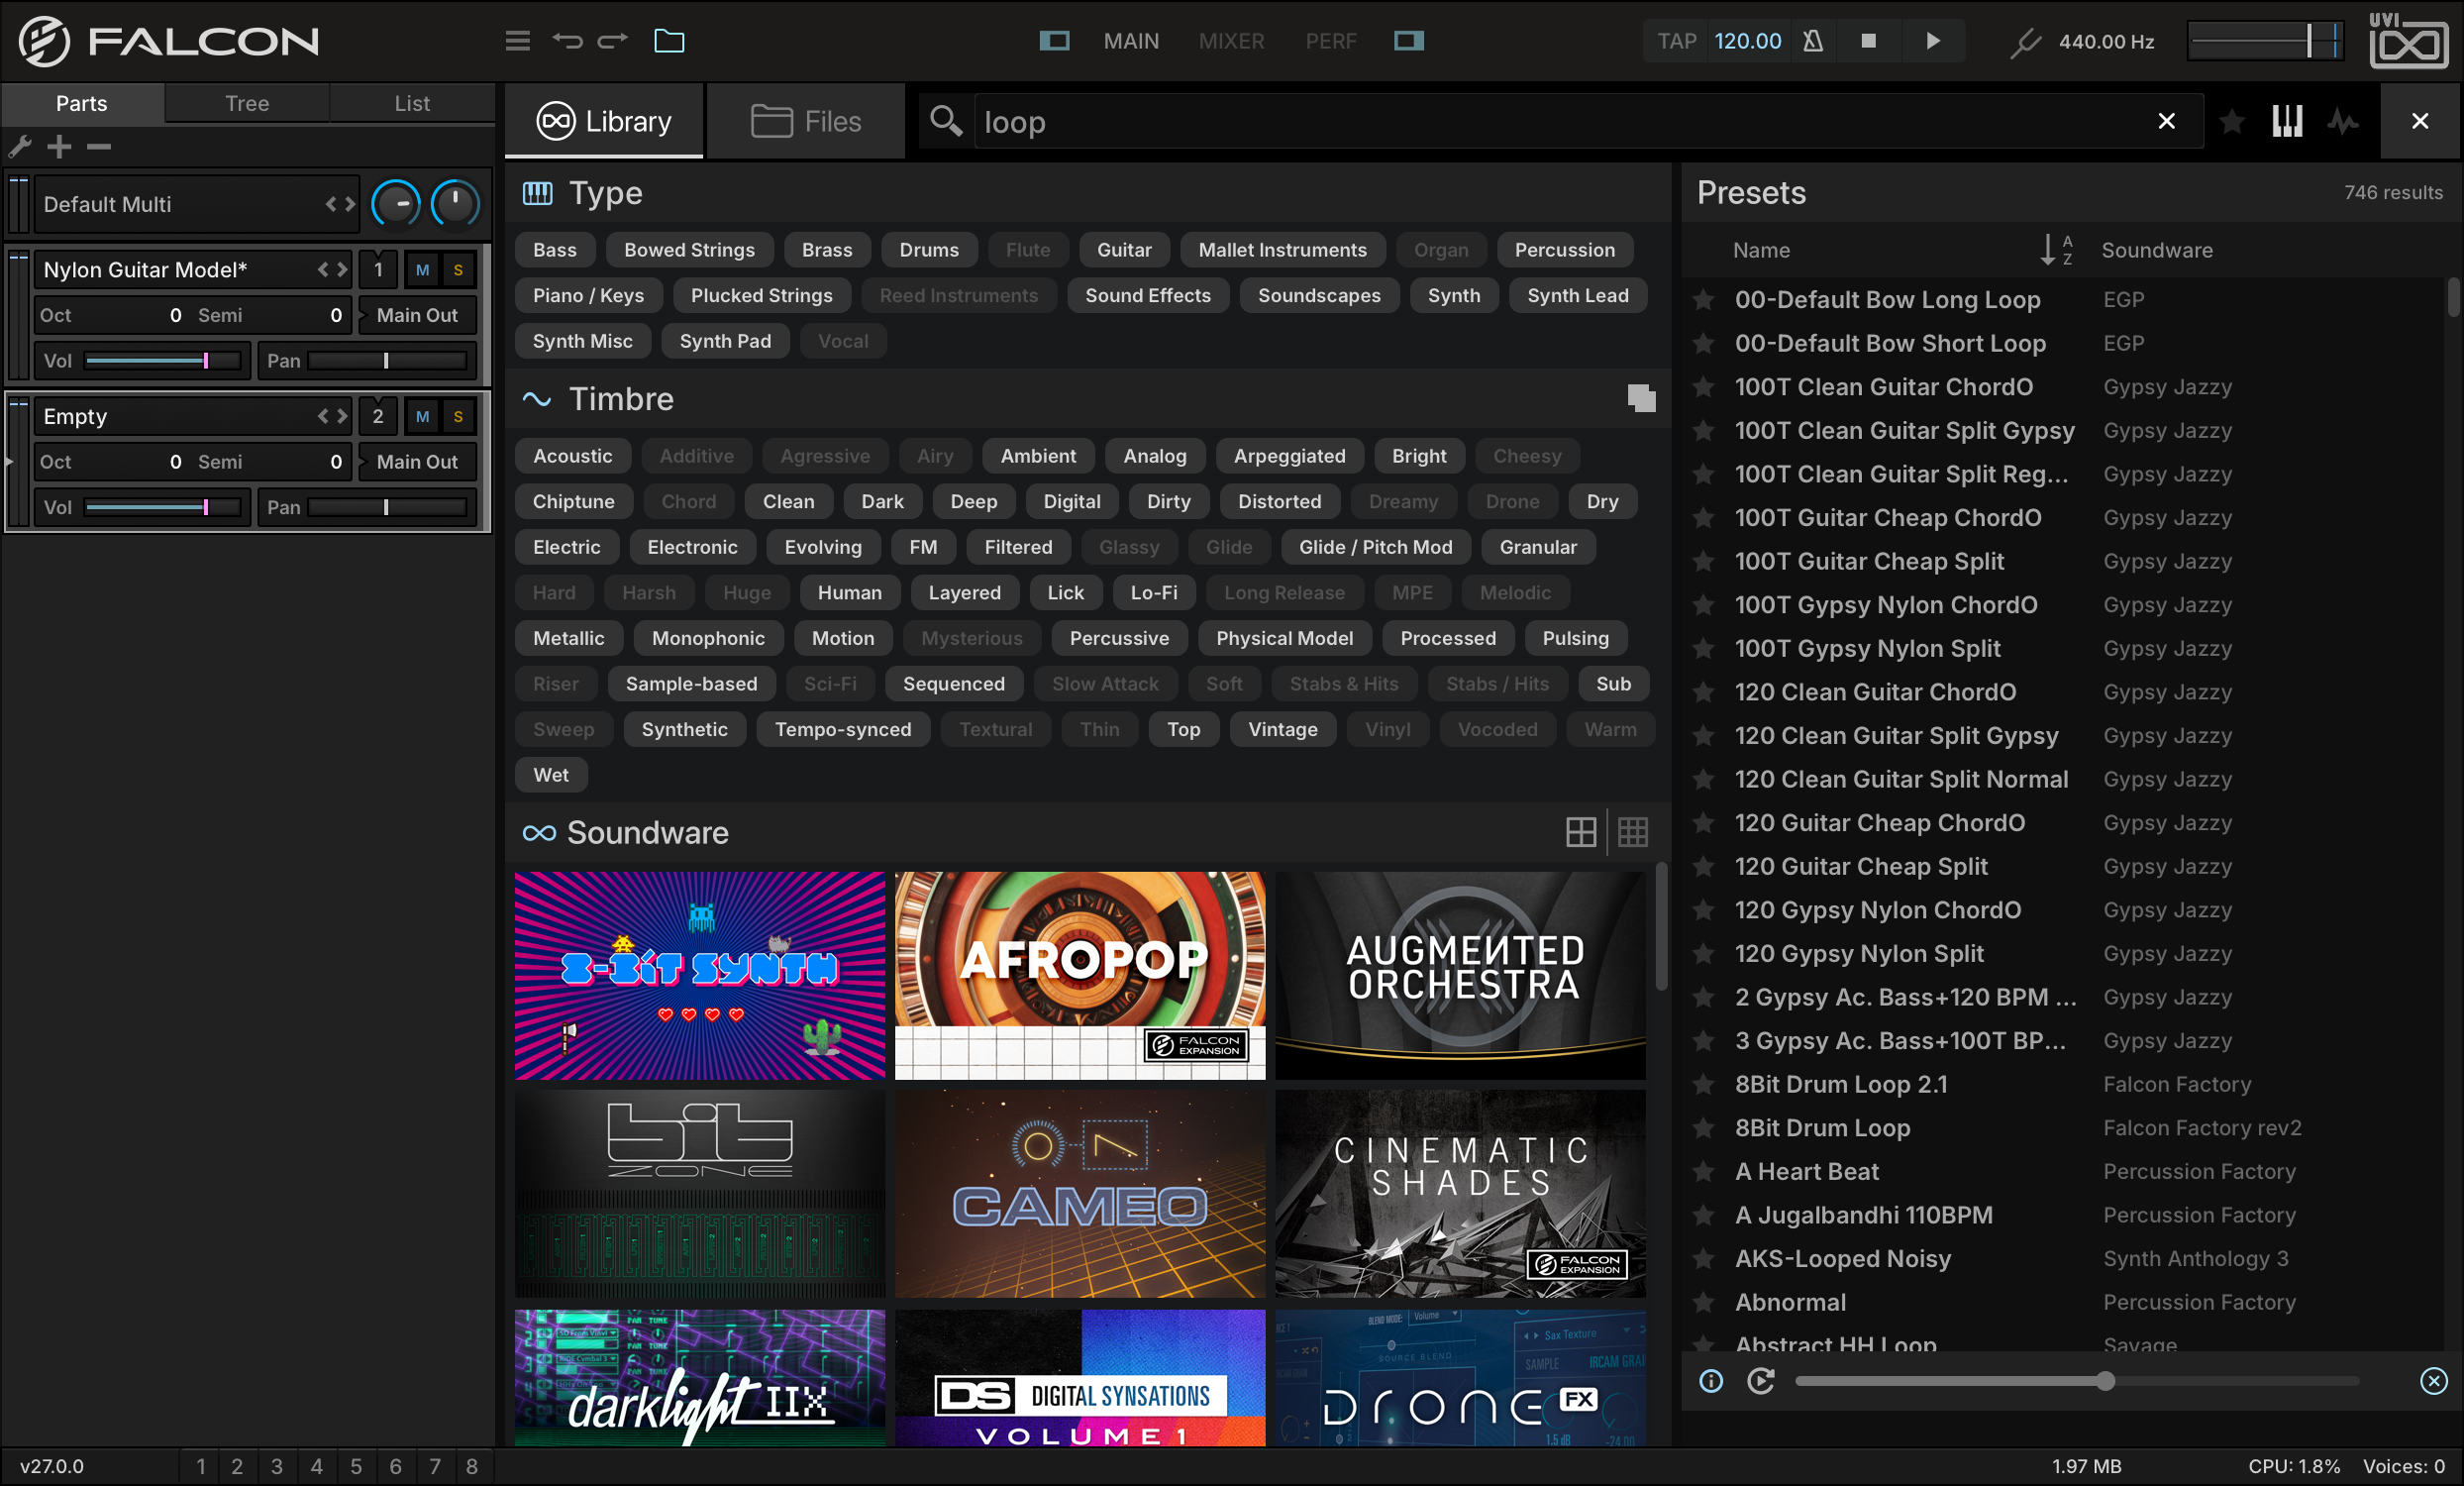
Let’s start by loading a drum loop into an empty part. In this case we use the Library Browser to find a loop from our Mayhem of Loops Soundware and double-click to load it. If Mayhem of Loops is not available for you, choose a loop from your Soundware, such as BeatBox Anthology 2 or Toy Museum or your own loop libraries.
-
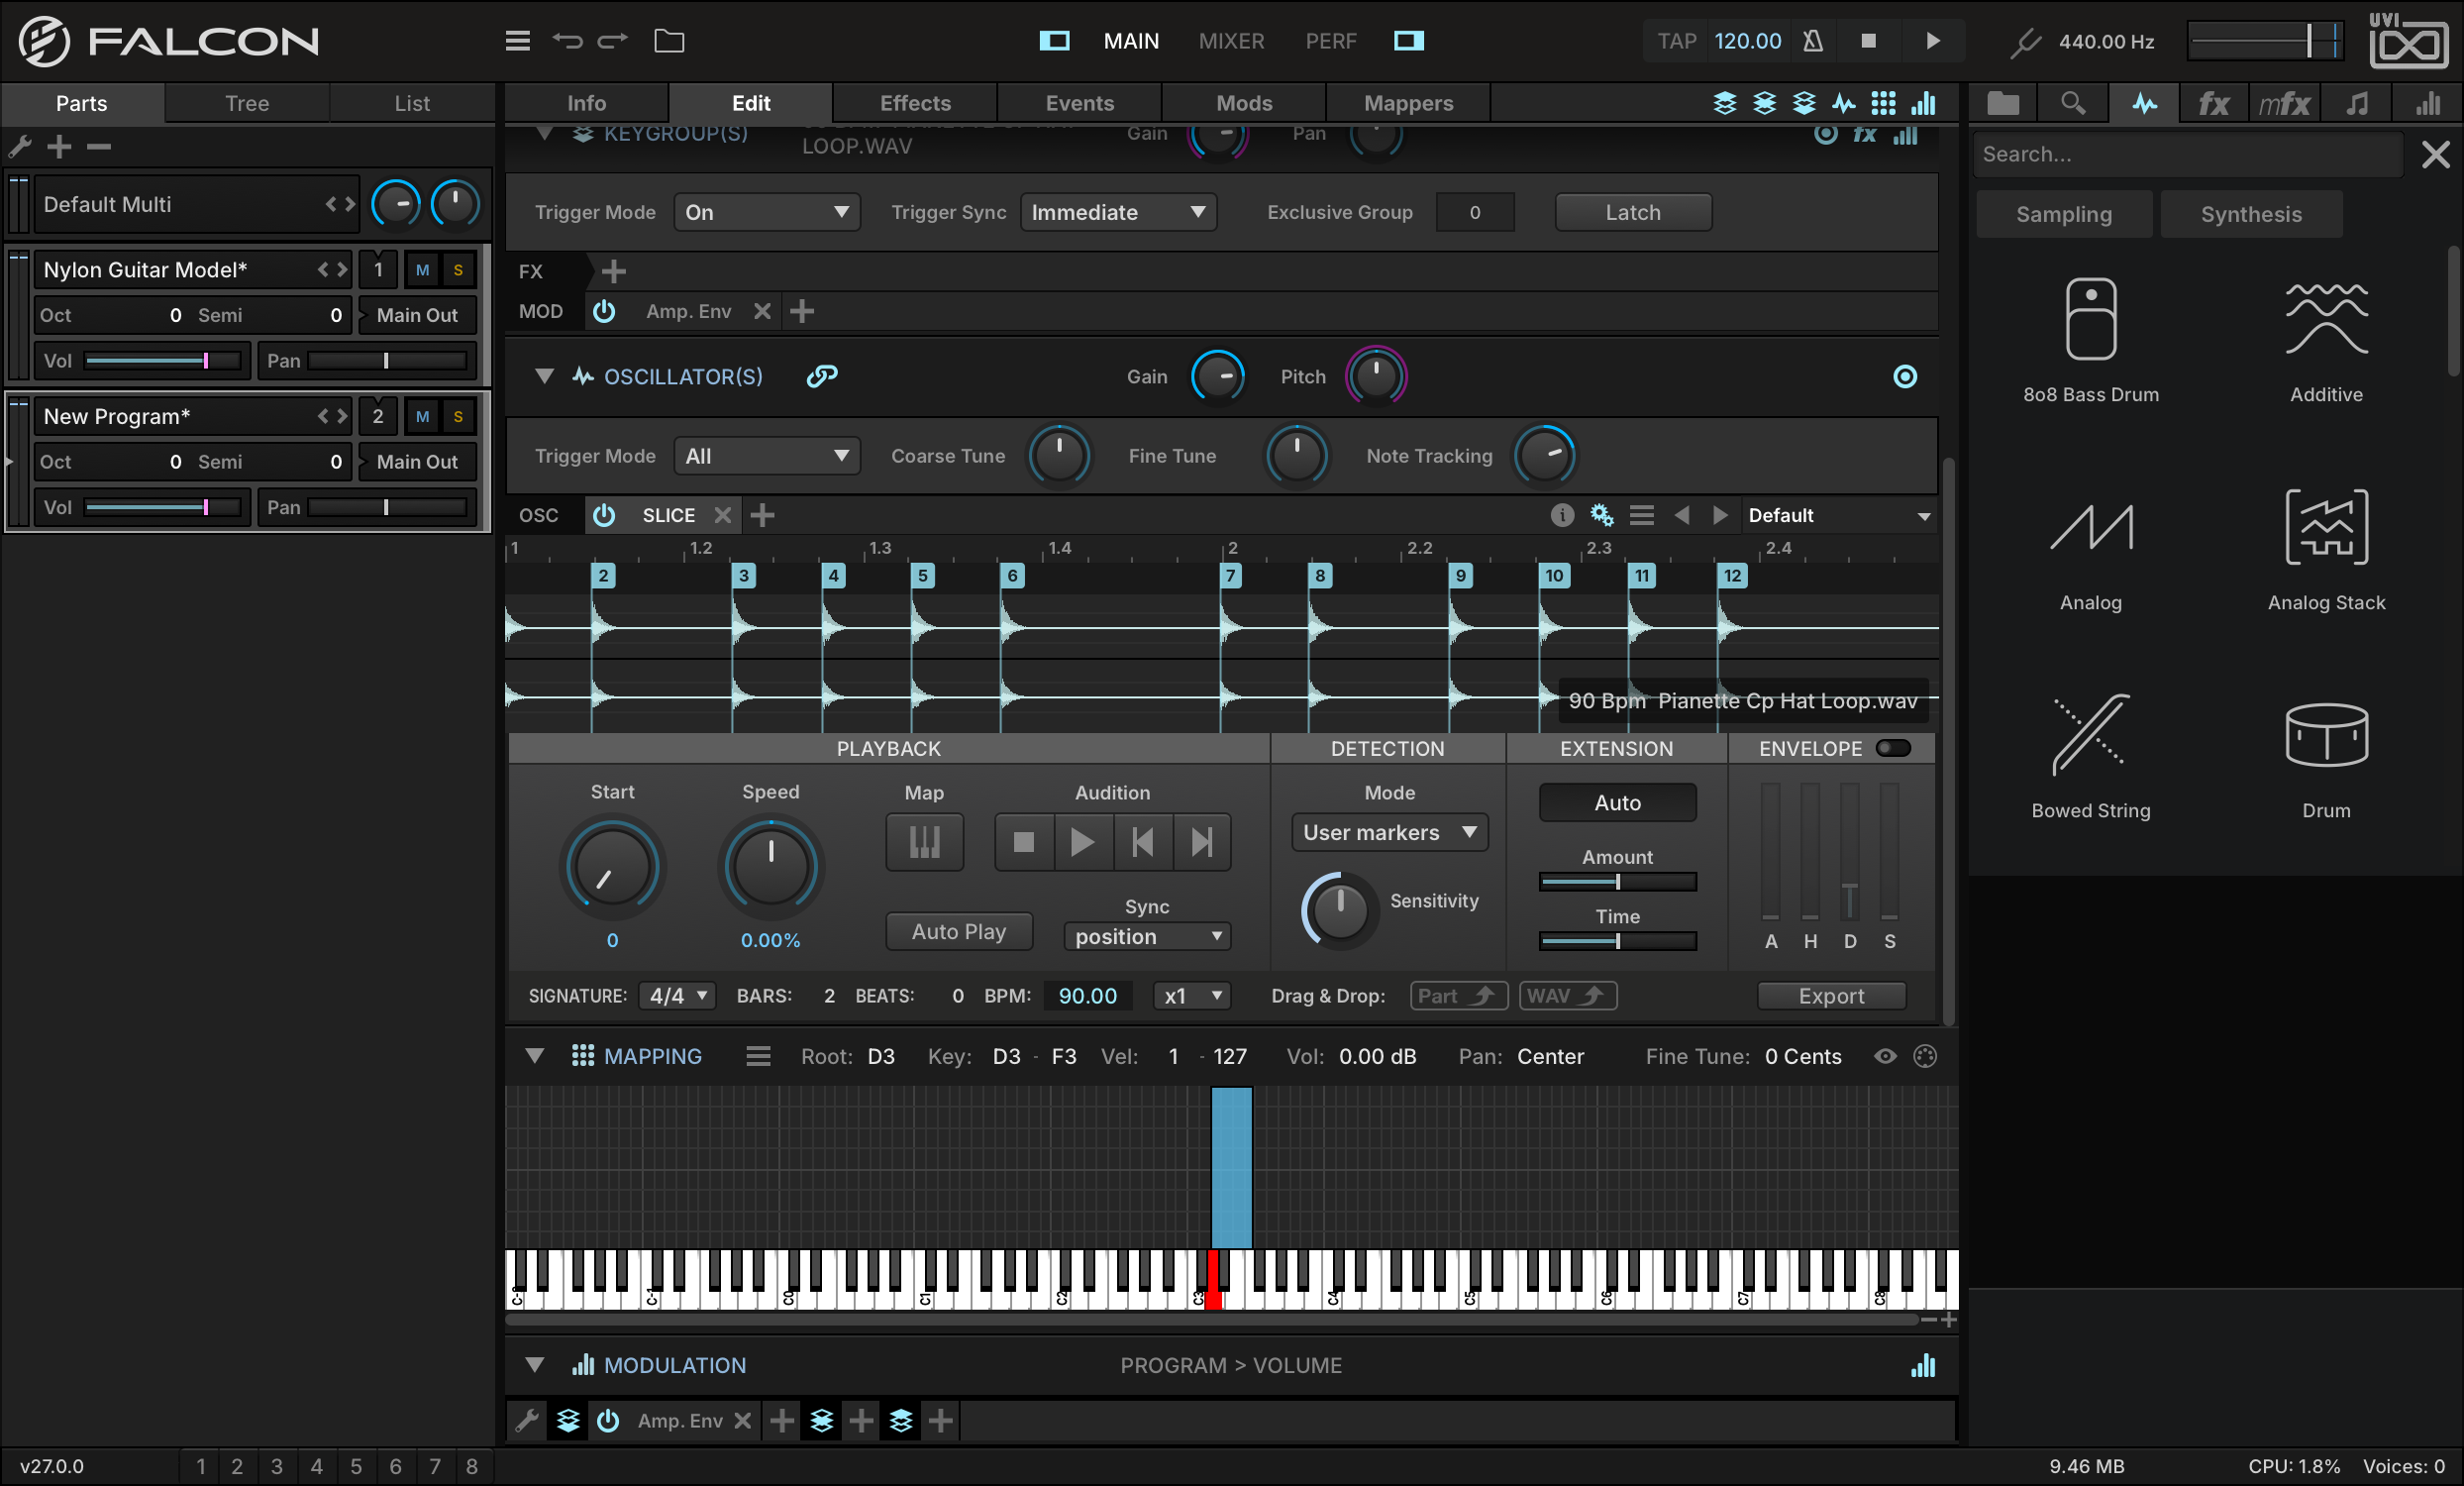
You’ll see that the sample is loaded within the SLICE oscillator, with slices marked at each transient. Press Play in Falcon, and the slices are played back in sync with Falcon’s tempo.
-
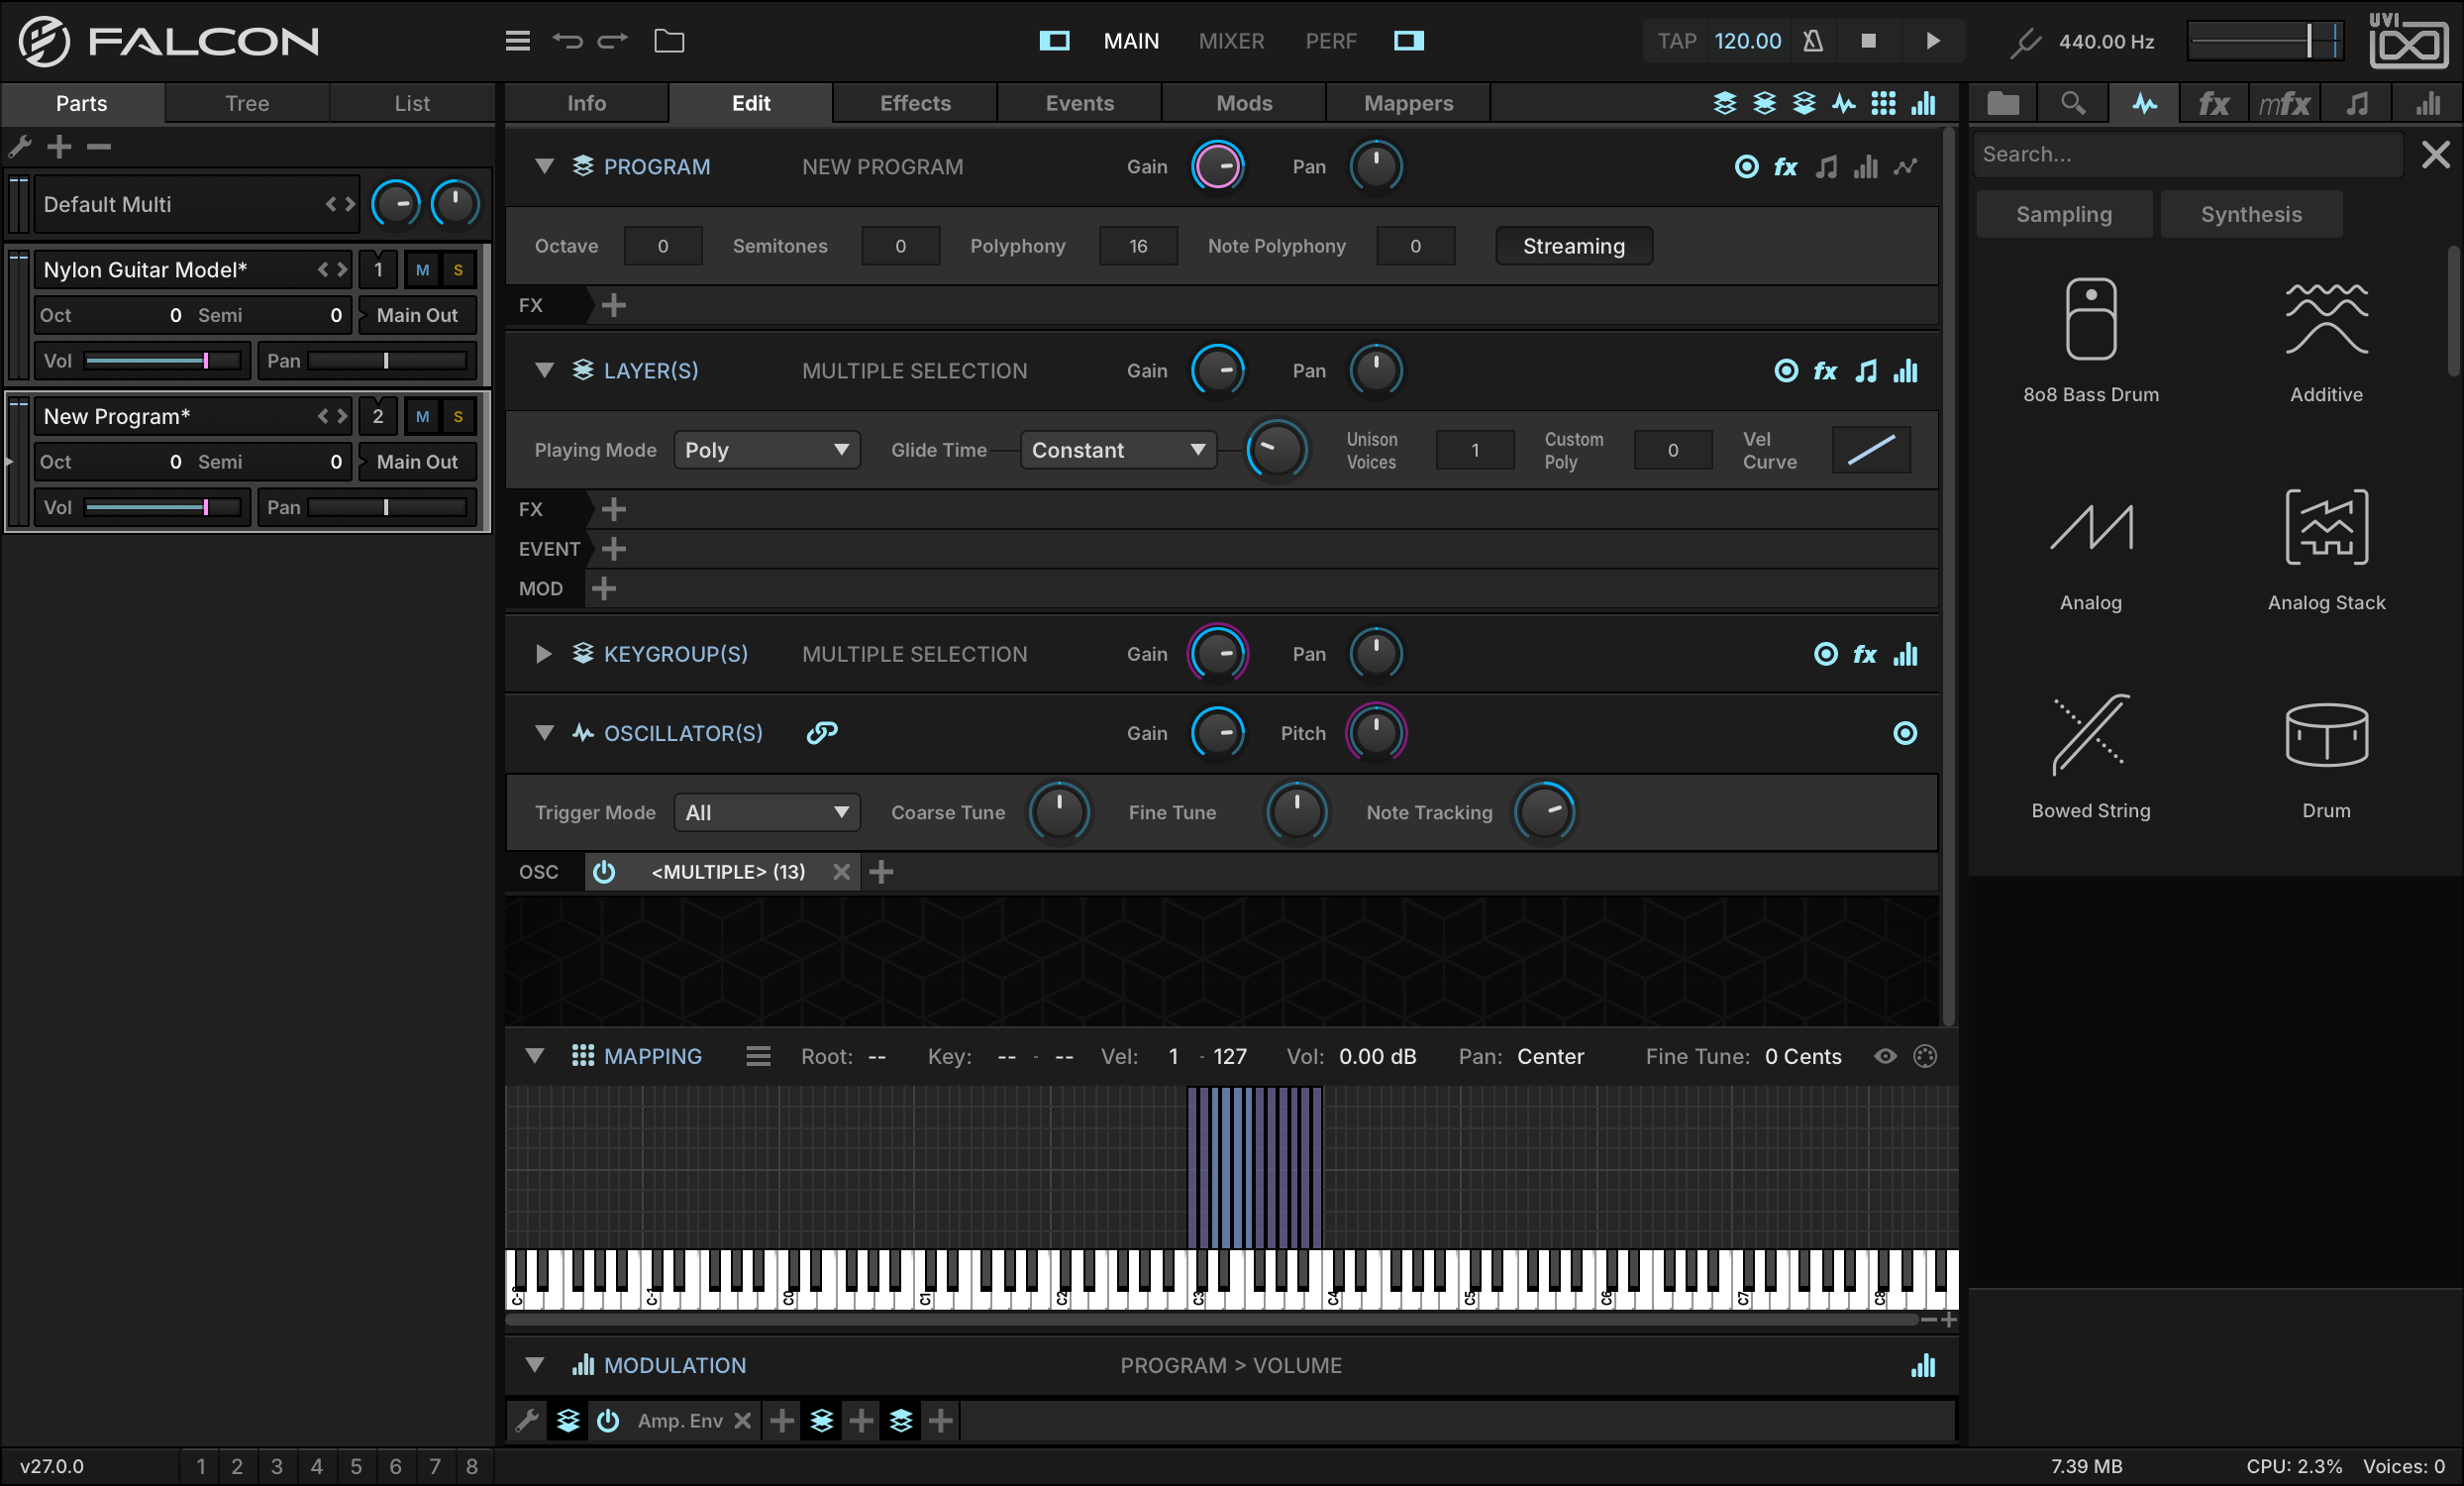
You can convert these slices to separate keygroups, so that each slice can be triggered independently. Press the MAP button, and a new layer will be created with the slices mapped to individual keys.
-
The original keygroup containing the loop will still be present in a muted layer. To hide it, open the TREE view and select only the MAPPED layer.
Play a few notes on your keyboard to trigger the new sliced keygroups. You can now easily rearrange the slices to the mapping of your choice, such as a standard drum mapping.
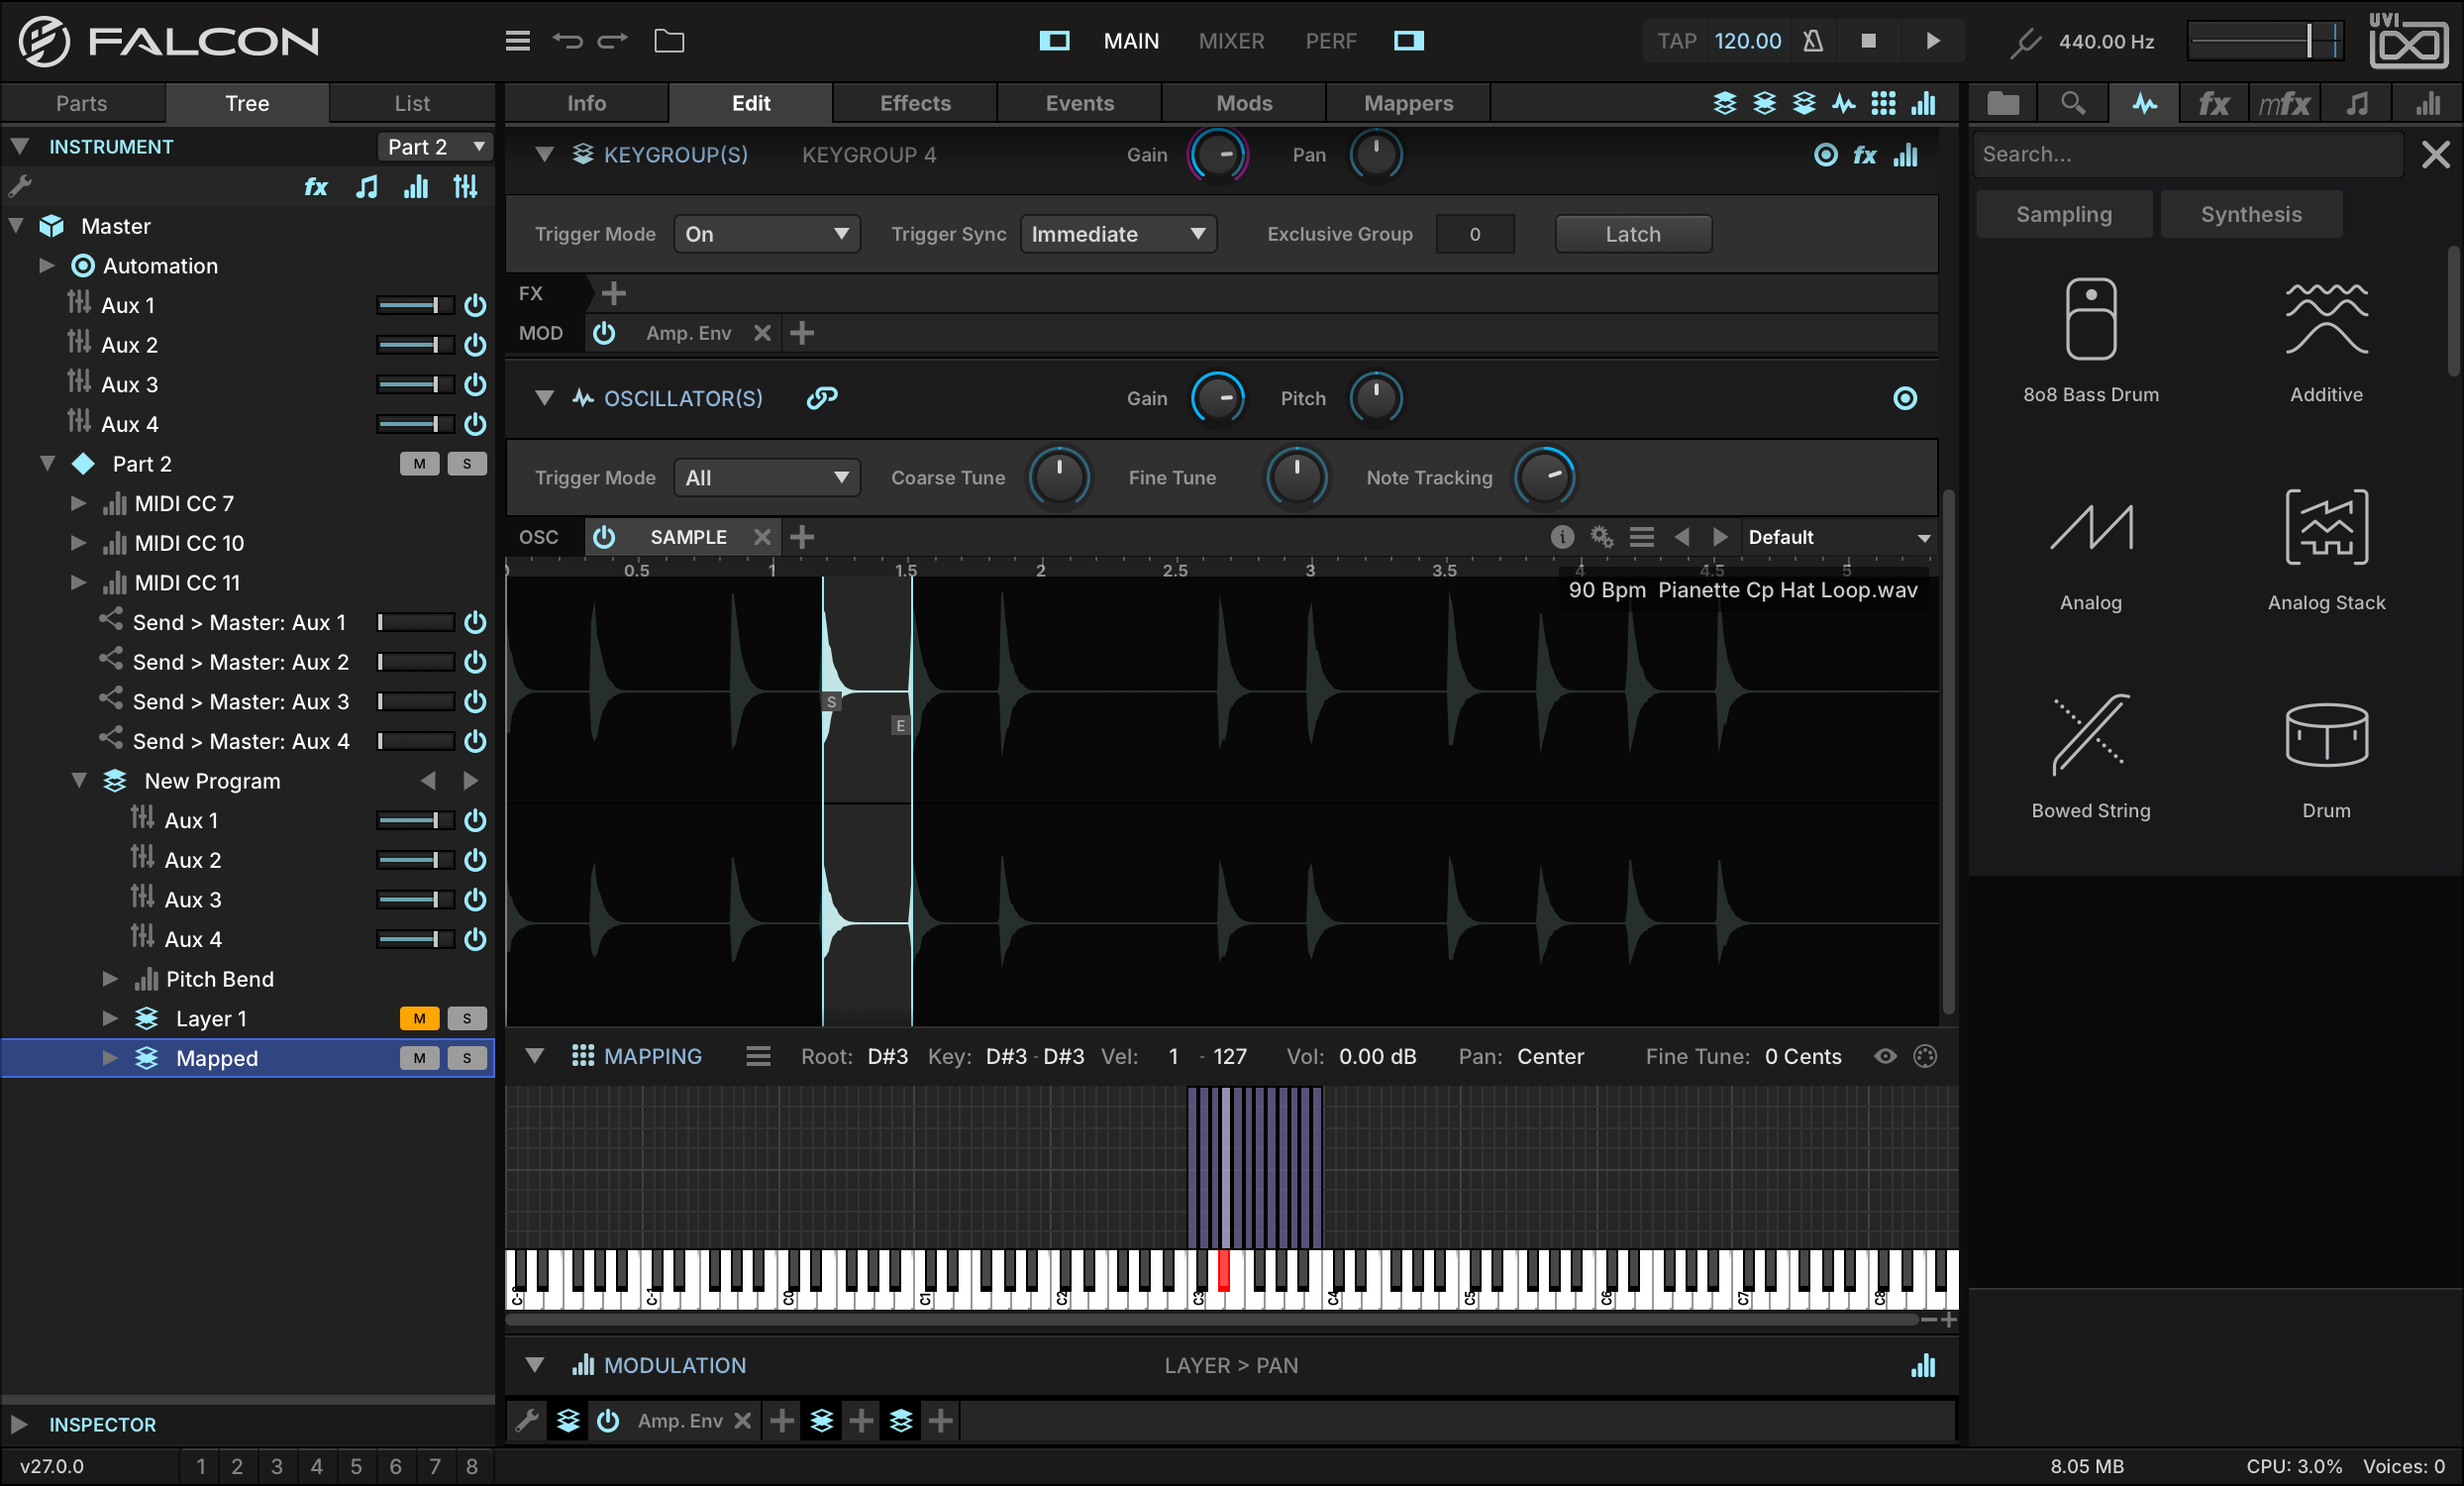
Each slice from the mapped loop is actually referring back to the original sample, with custom start and end markers to define the slice within the larger sample.
-
To adjust the slice boundaries, select a keygroup to show its Sample oscillator, then drag the S (start) or E (end) marker as desired.
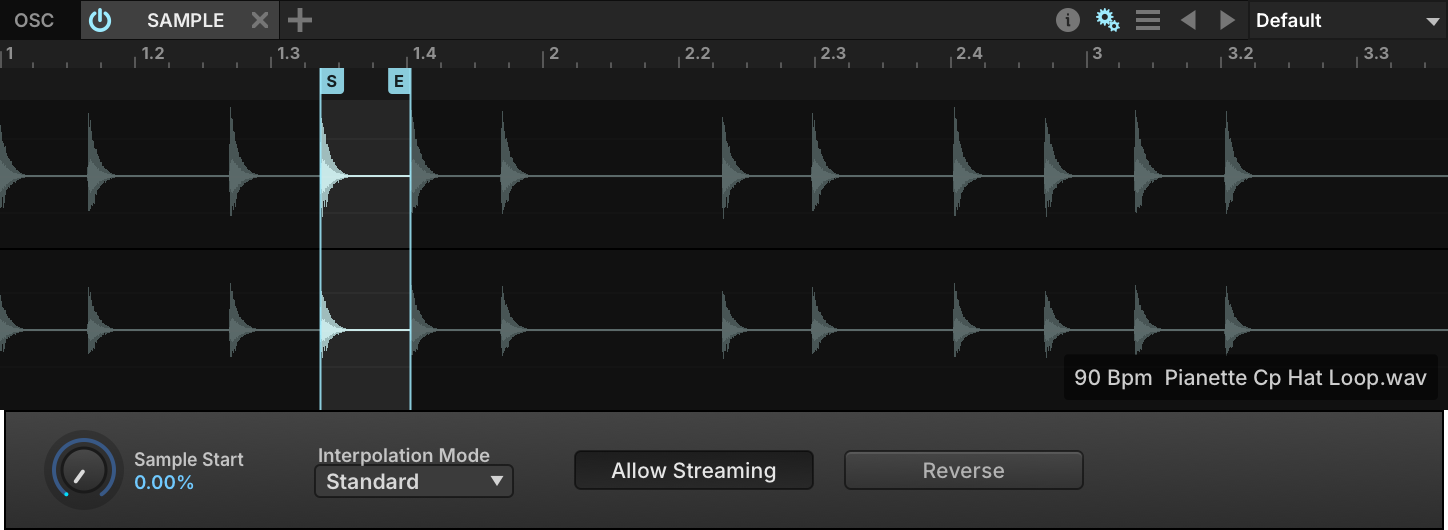
-
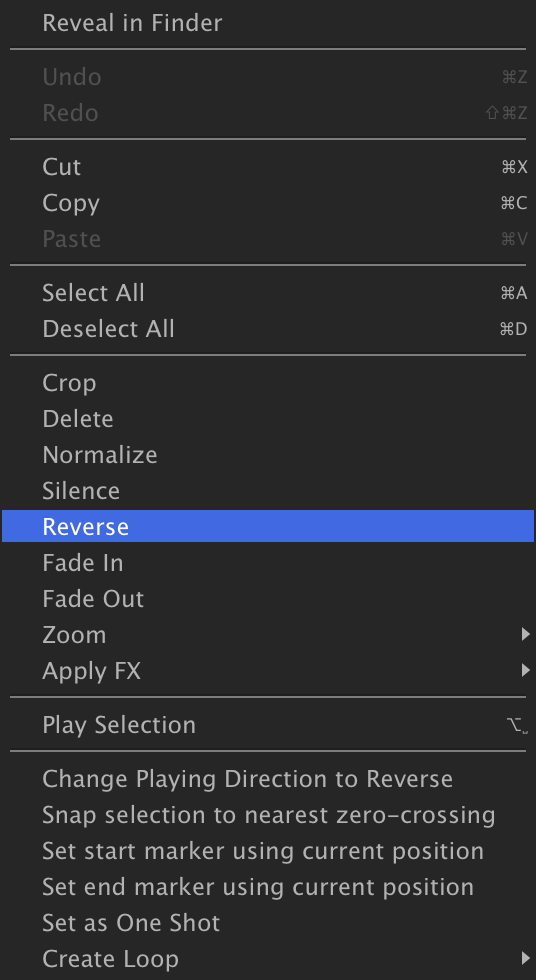
Double-click the sample waveform between the start and end markers to select it. From here you can right-click to reveal a number of common wave editor commands such as reverse, normalize, fade in/out and silence. Changes made here still reference the original file, so they affect all slices — and saving the sample overwrites that original file, so take care. With MIDI SELECT enabled in the Mapping Editor toolbar, the waveform of the keygroup you play is shown.
Slices can be tweaked and tuned in limitless ways. Try changing the sample oscillator type to Stretch and adjusting the Tempo Factor, or adding effects to a specific keygroup to affect only one slice, or at the layer level to affect them all.
Make a Drum Kit with Synthesis
Instead of starting with a looped sample or a collection of sampled drum hits, we can also create entirely new drum sounds from scratch with Falcon’s Drum synth oscillator.
-
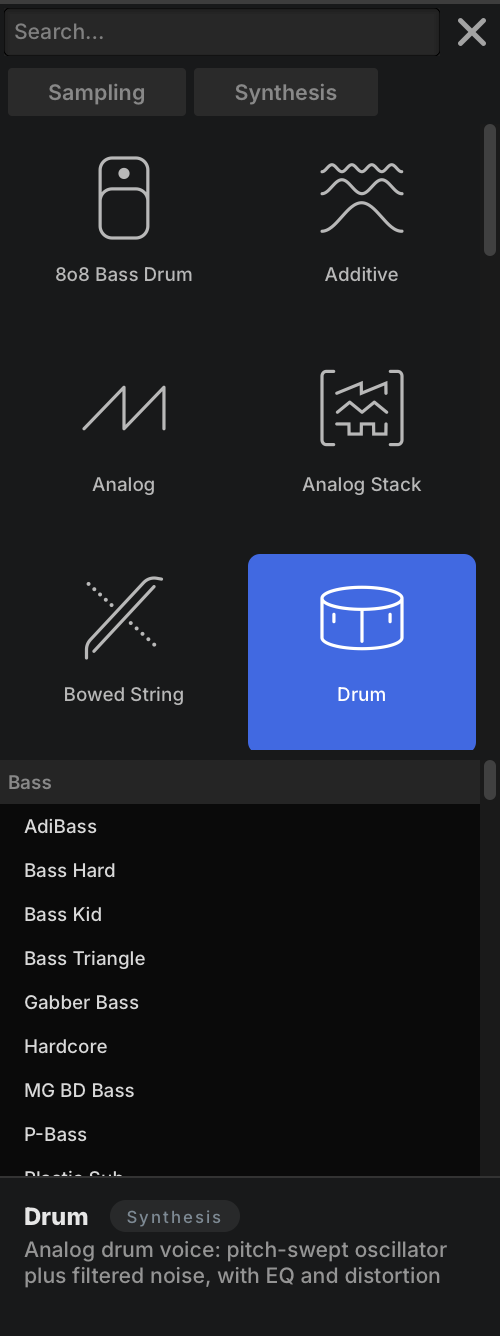
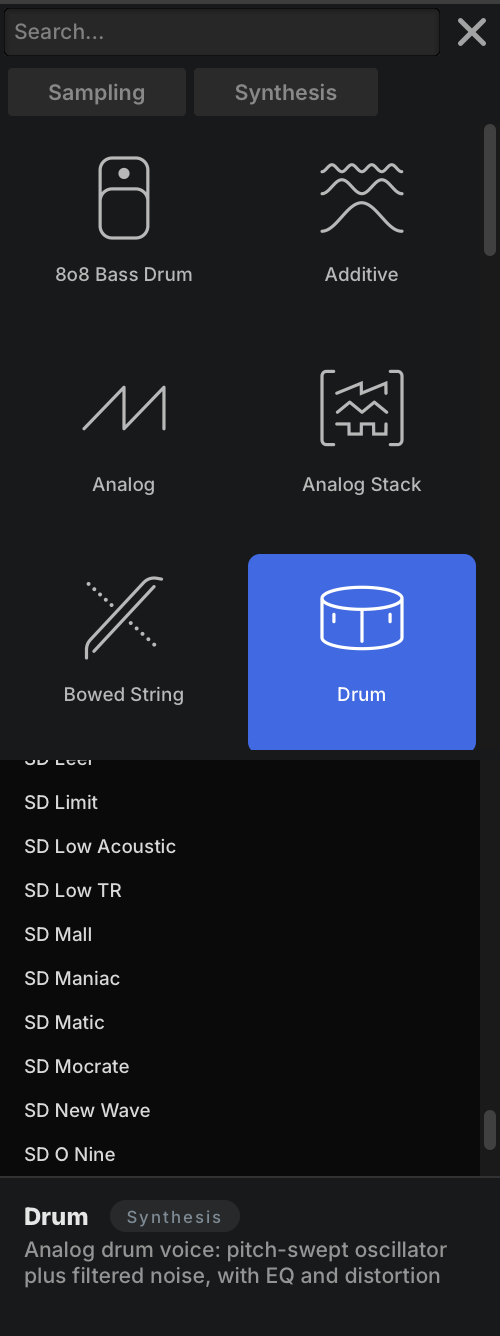
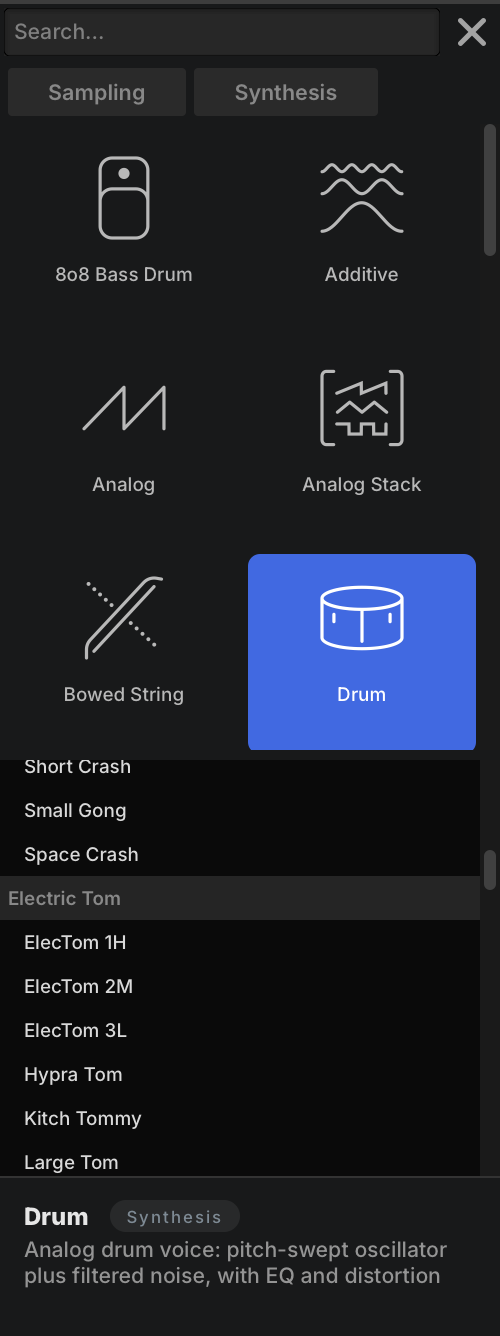
Open the right-hand sidebar and choose the OSC tab. Press SYNTHESIS and expand DRUM in the tree: all of the drum synth oscillator presets are listed under it, in the folder each one belongs to.
-
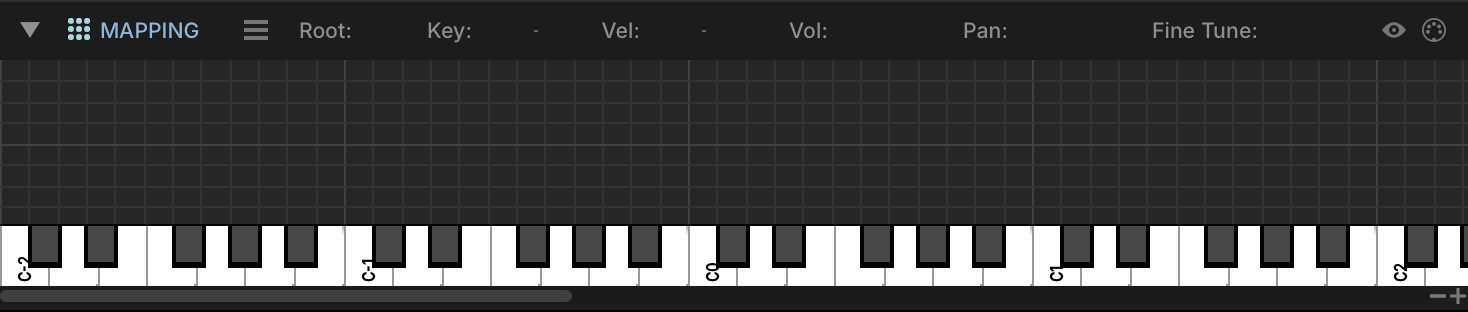
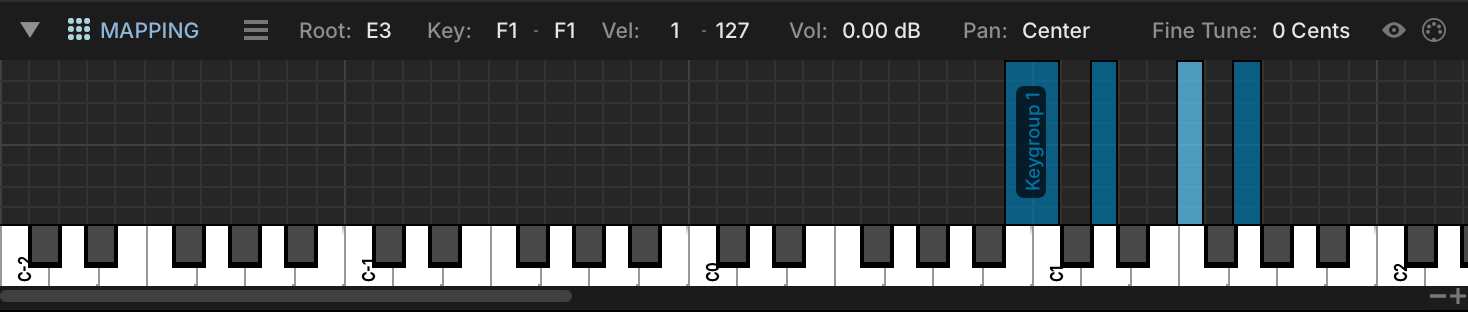
Before we get started, zoom in a bit in the MAPPING EDITOR to see the key range we’re going to focus on in greater detail. Click the + button on the bottom right of the editor to zoom in; drag the border between the Mapping Editor toolbar and the editor to give the velocity range more room.
-
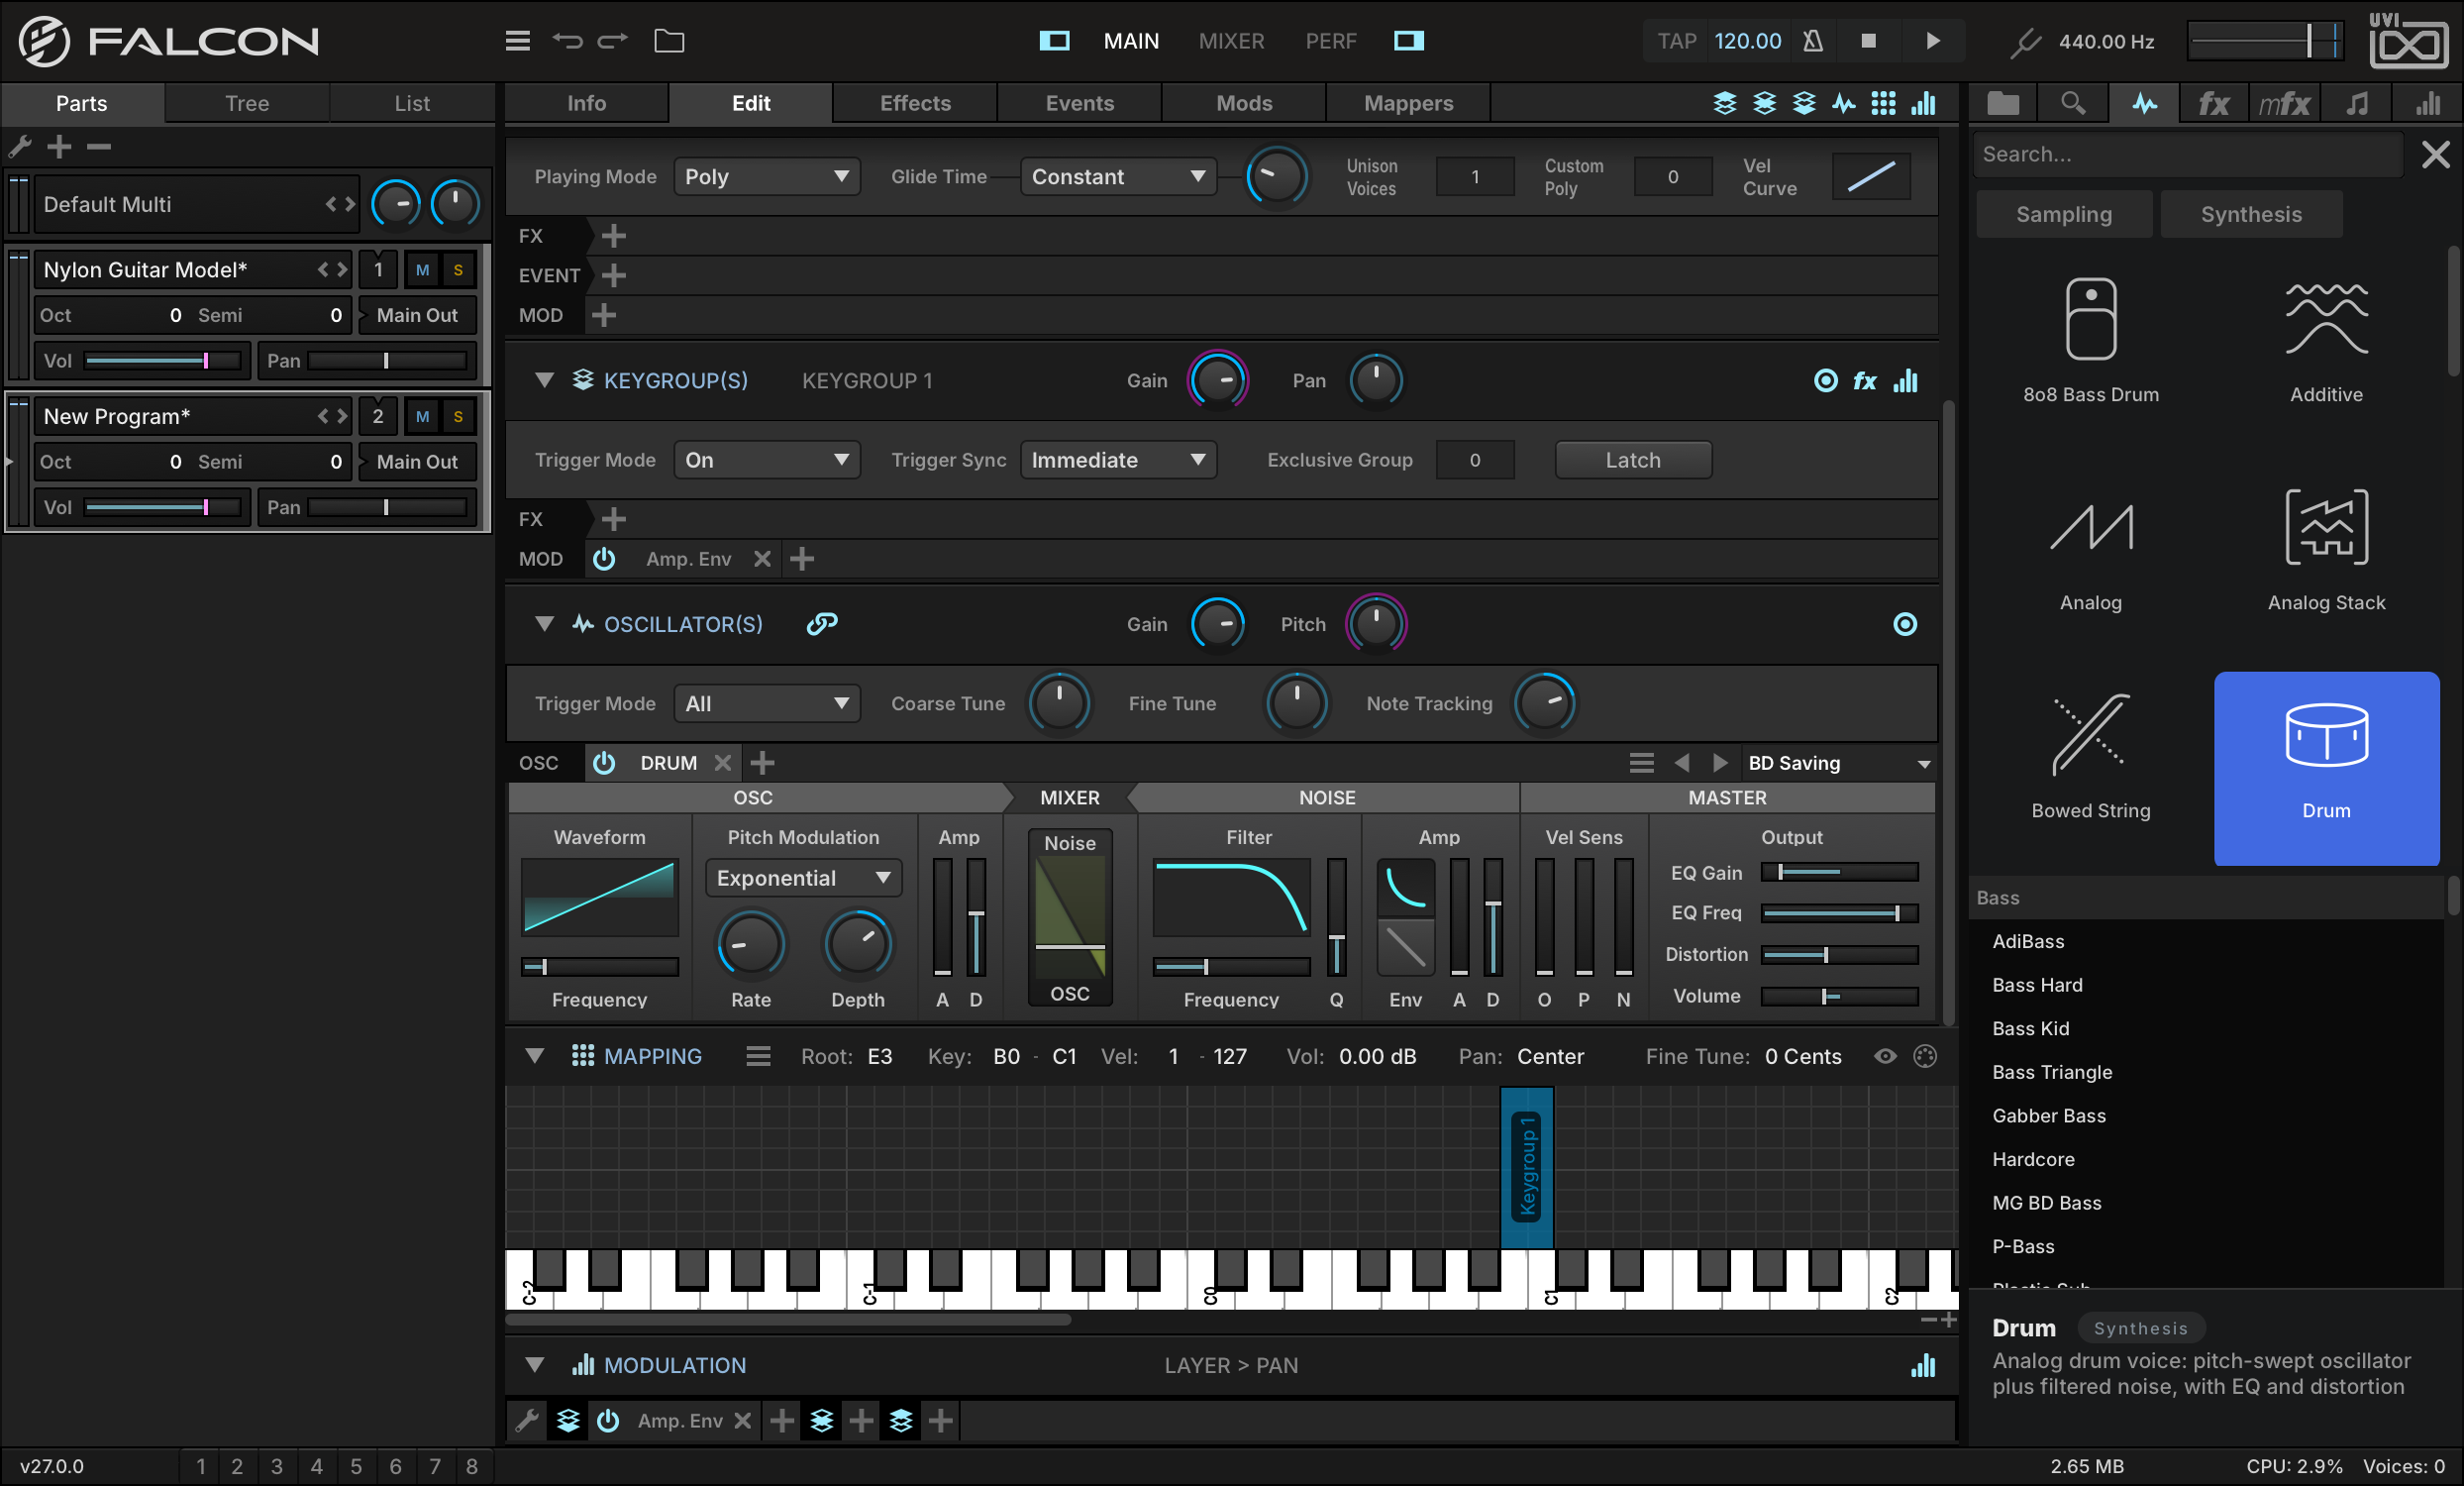
Let’s start by adding the BD preset BD SAVING to cover the range B0 to C1. As you drag and drop, the vertical position within the Mapping Editor determines the key range of the keygroup, with wider ranges set near the top and narrower ranges near the bottom.
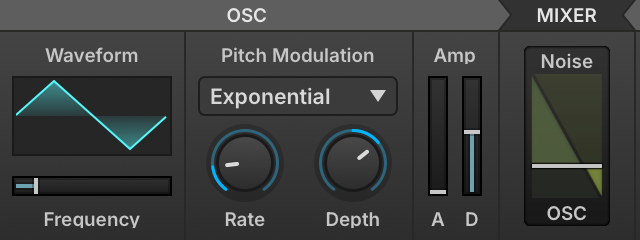
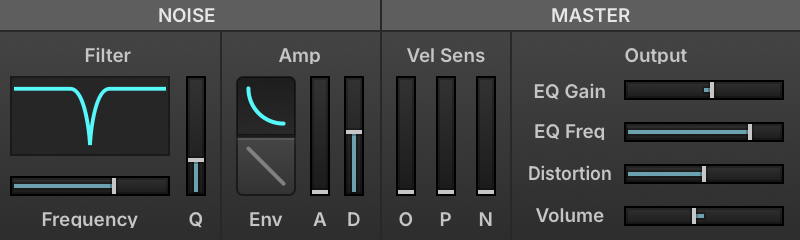
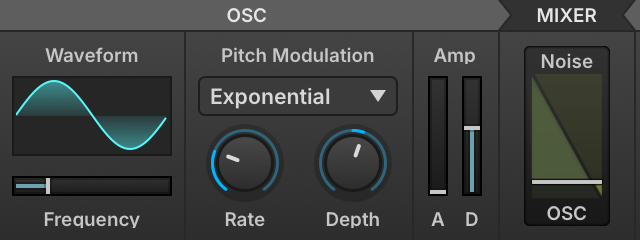
The Drum oscillator consists of two sound generators, a pitched oscillator and a noise generator. The two can be independently edited, then the mix between the two is set with the Mixer. The Master section adjusts the combined signal, with EQ, distortion, and other settings.
-
To give the kick a little more edge, let’s change the Oscillator waveform from sine to TRIANGLE, and move the OSC/NOISE slider to add a little noise.
-
Now let’s import the SD MANIAC preset from the SD folder to D1, and play a few notes to see how the kick and snare sound. Let’s bump up the DISTORTION, and lower the Q on the noise filter.
-
For toms, let’s drag over a preset from the Electric Tom folder, LARGE TOM, to F1.
-
We can then tune the tom with the oscillator’s FREQUENCY slider.
-
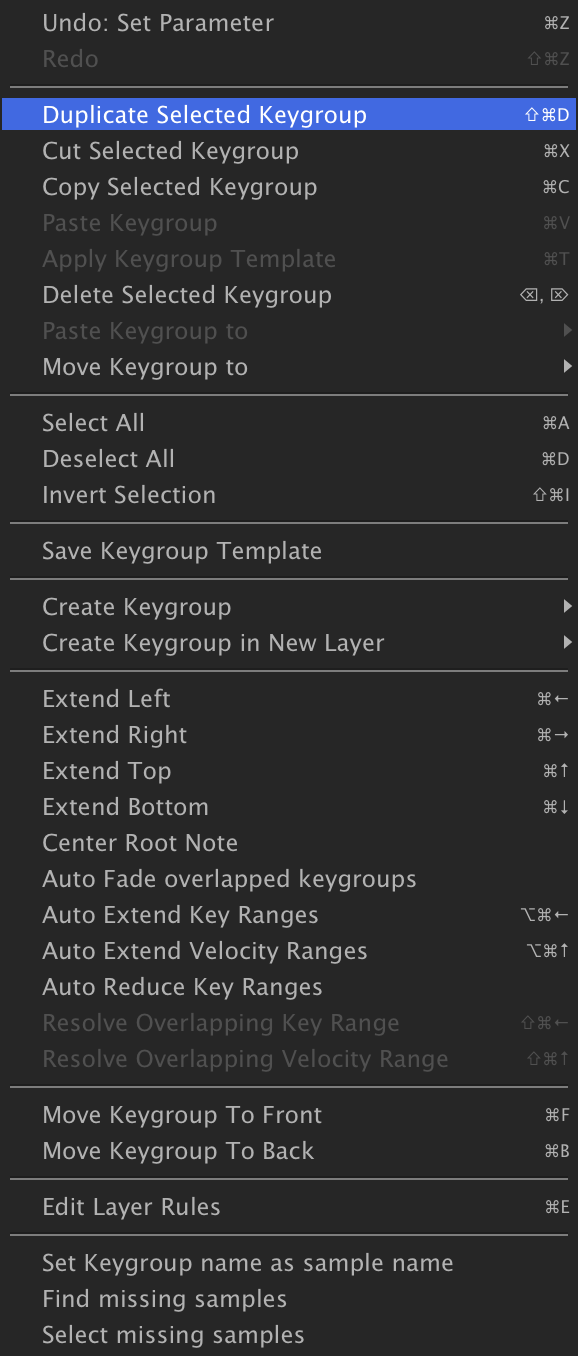
To use this customized tom as the starting point for additional toms, right-click the keygroup and choose DUPLICATE SELECTED KEYGROUP.
-
The duplicated keygroup will initially appear stacked on top of the existing one; grab the new keygroup and drag it over to G1, then adjust its frequency to change the tom’s pitch.
To change the length of time the toms ring out, let’s tweak their amplitude envelope. If it’s not already displayed, toggle visibility of the Modulation Editor with its button in the upper right of the Edit tab.
-
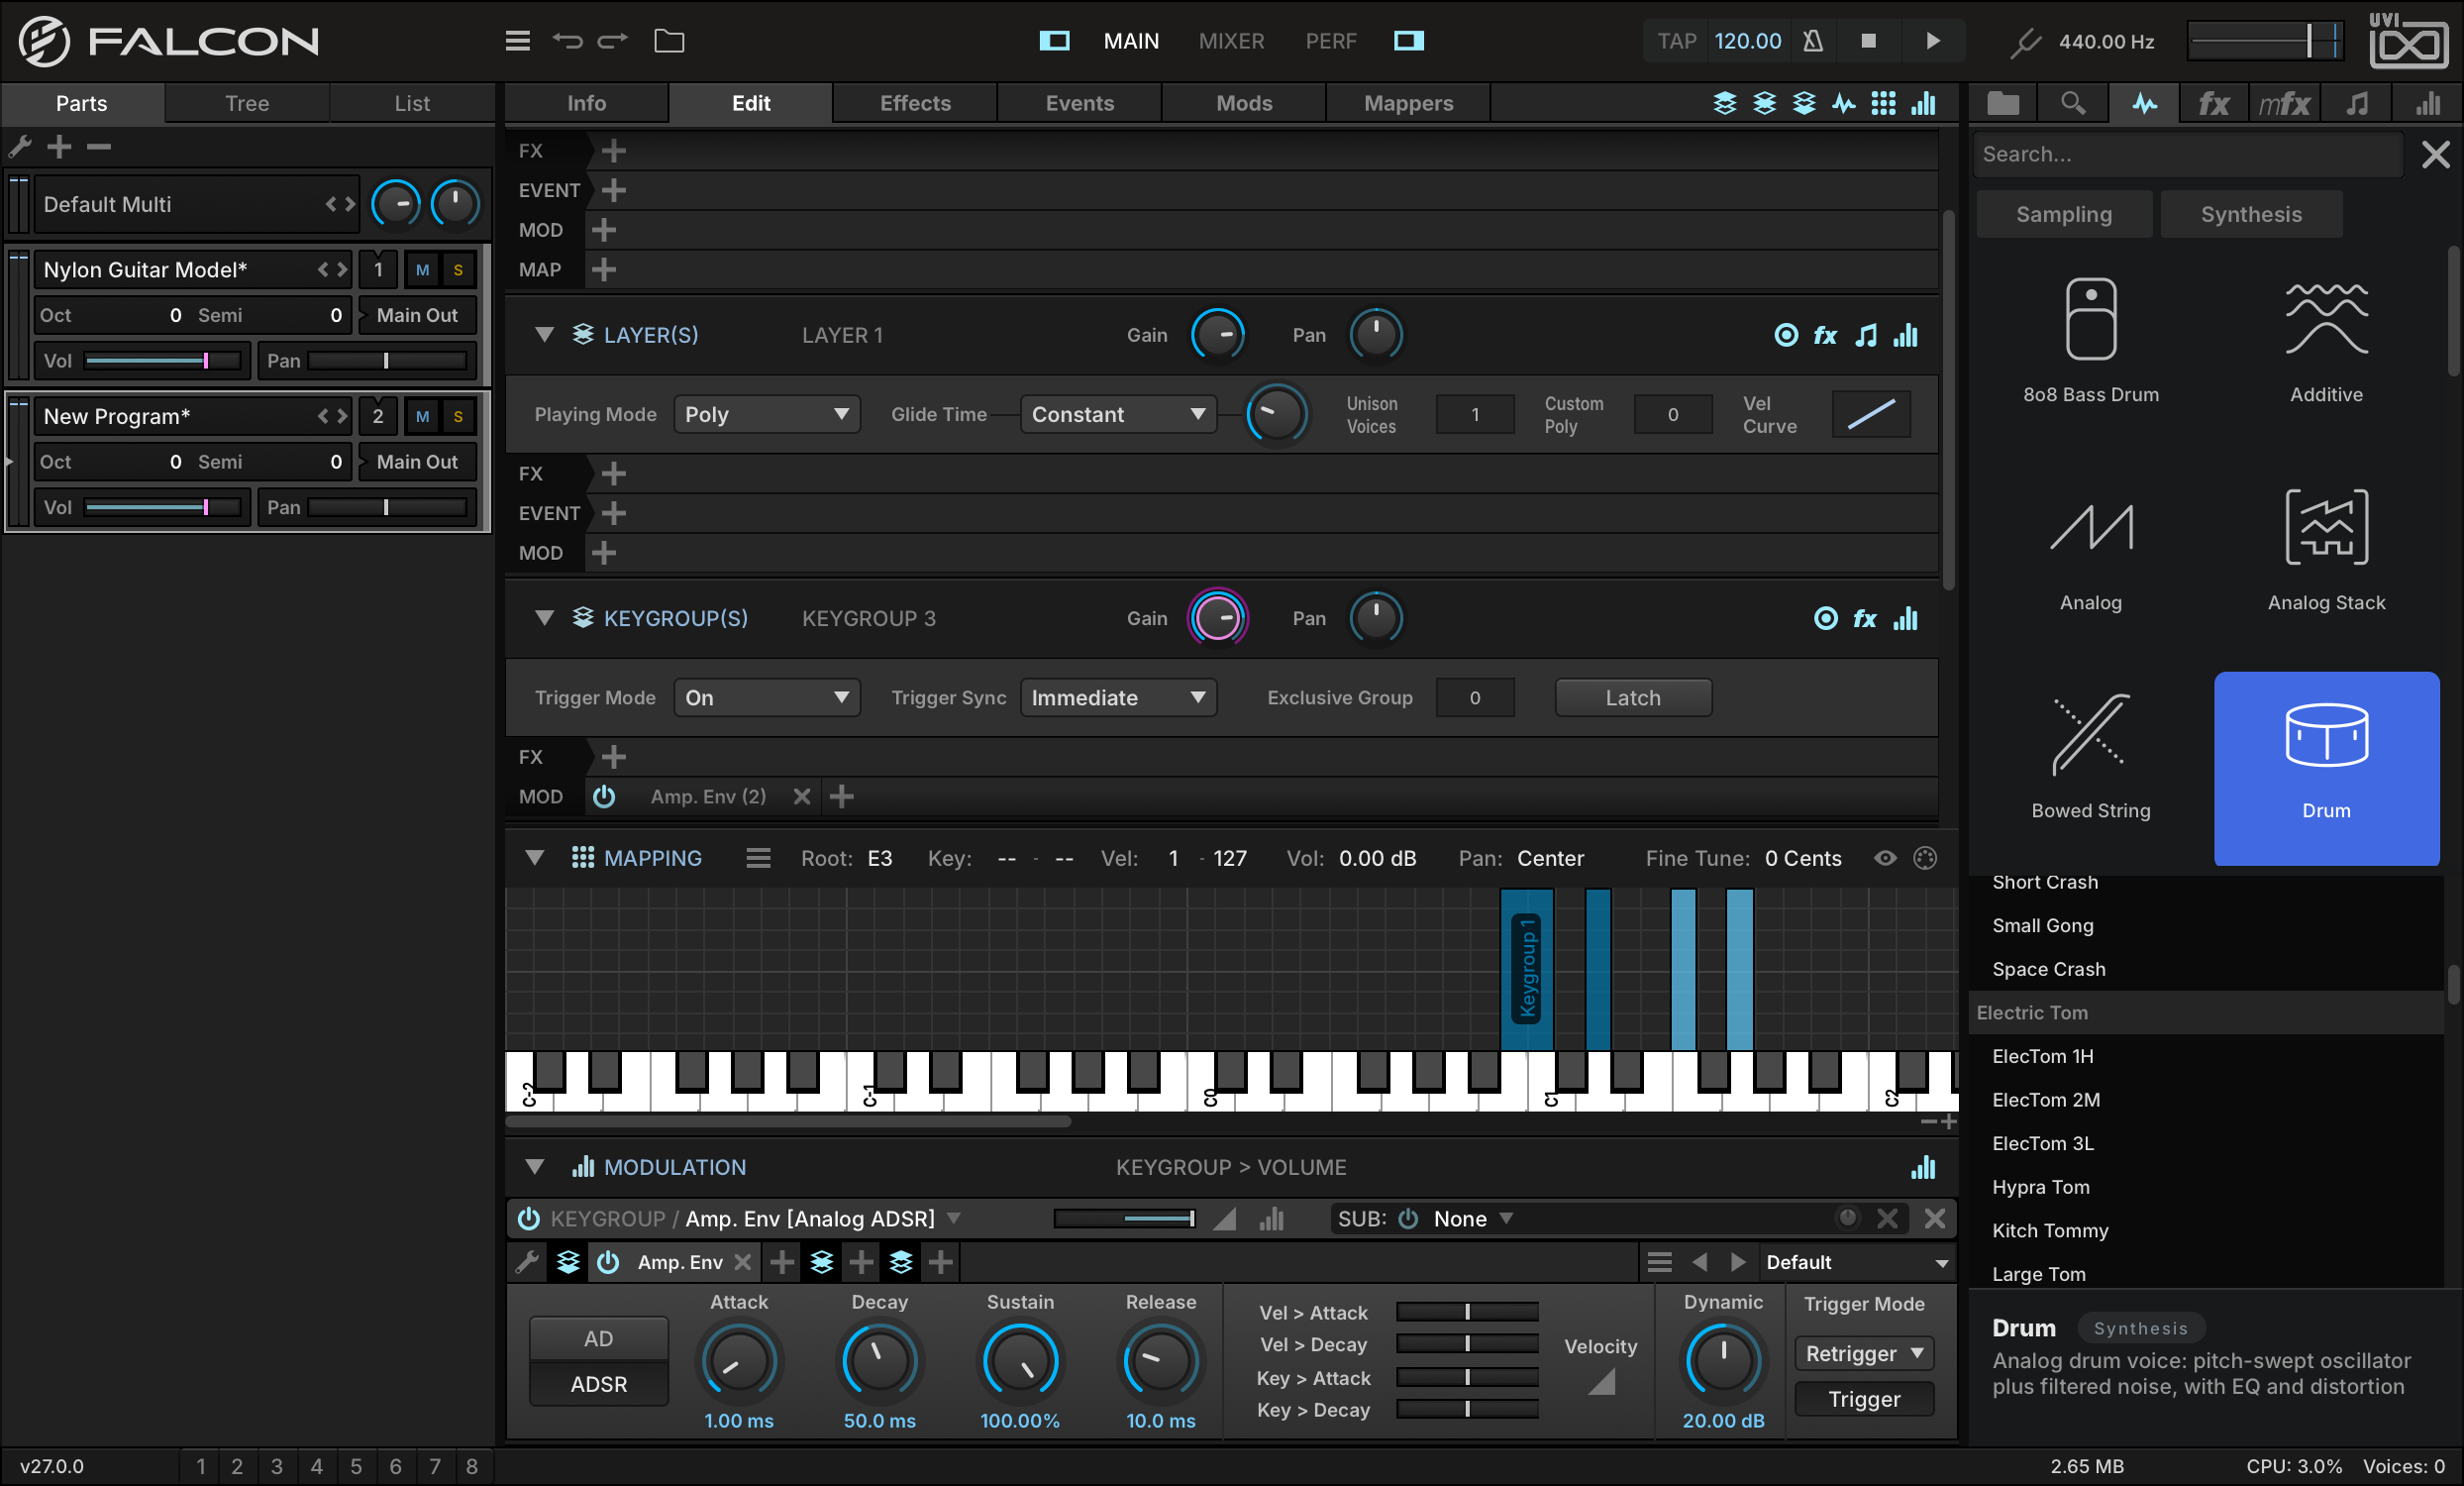
Click and drag a selection over the tom keygroups, then click the AMP. ENV tab in the MODULATION EDITOR. When you adjust the envelope’s RELEASE knob, you’ll be editing the release time for all of the selected keygroups.
-
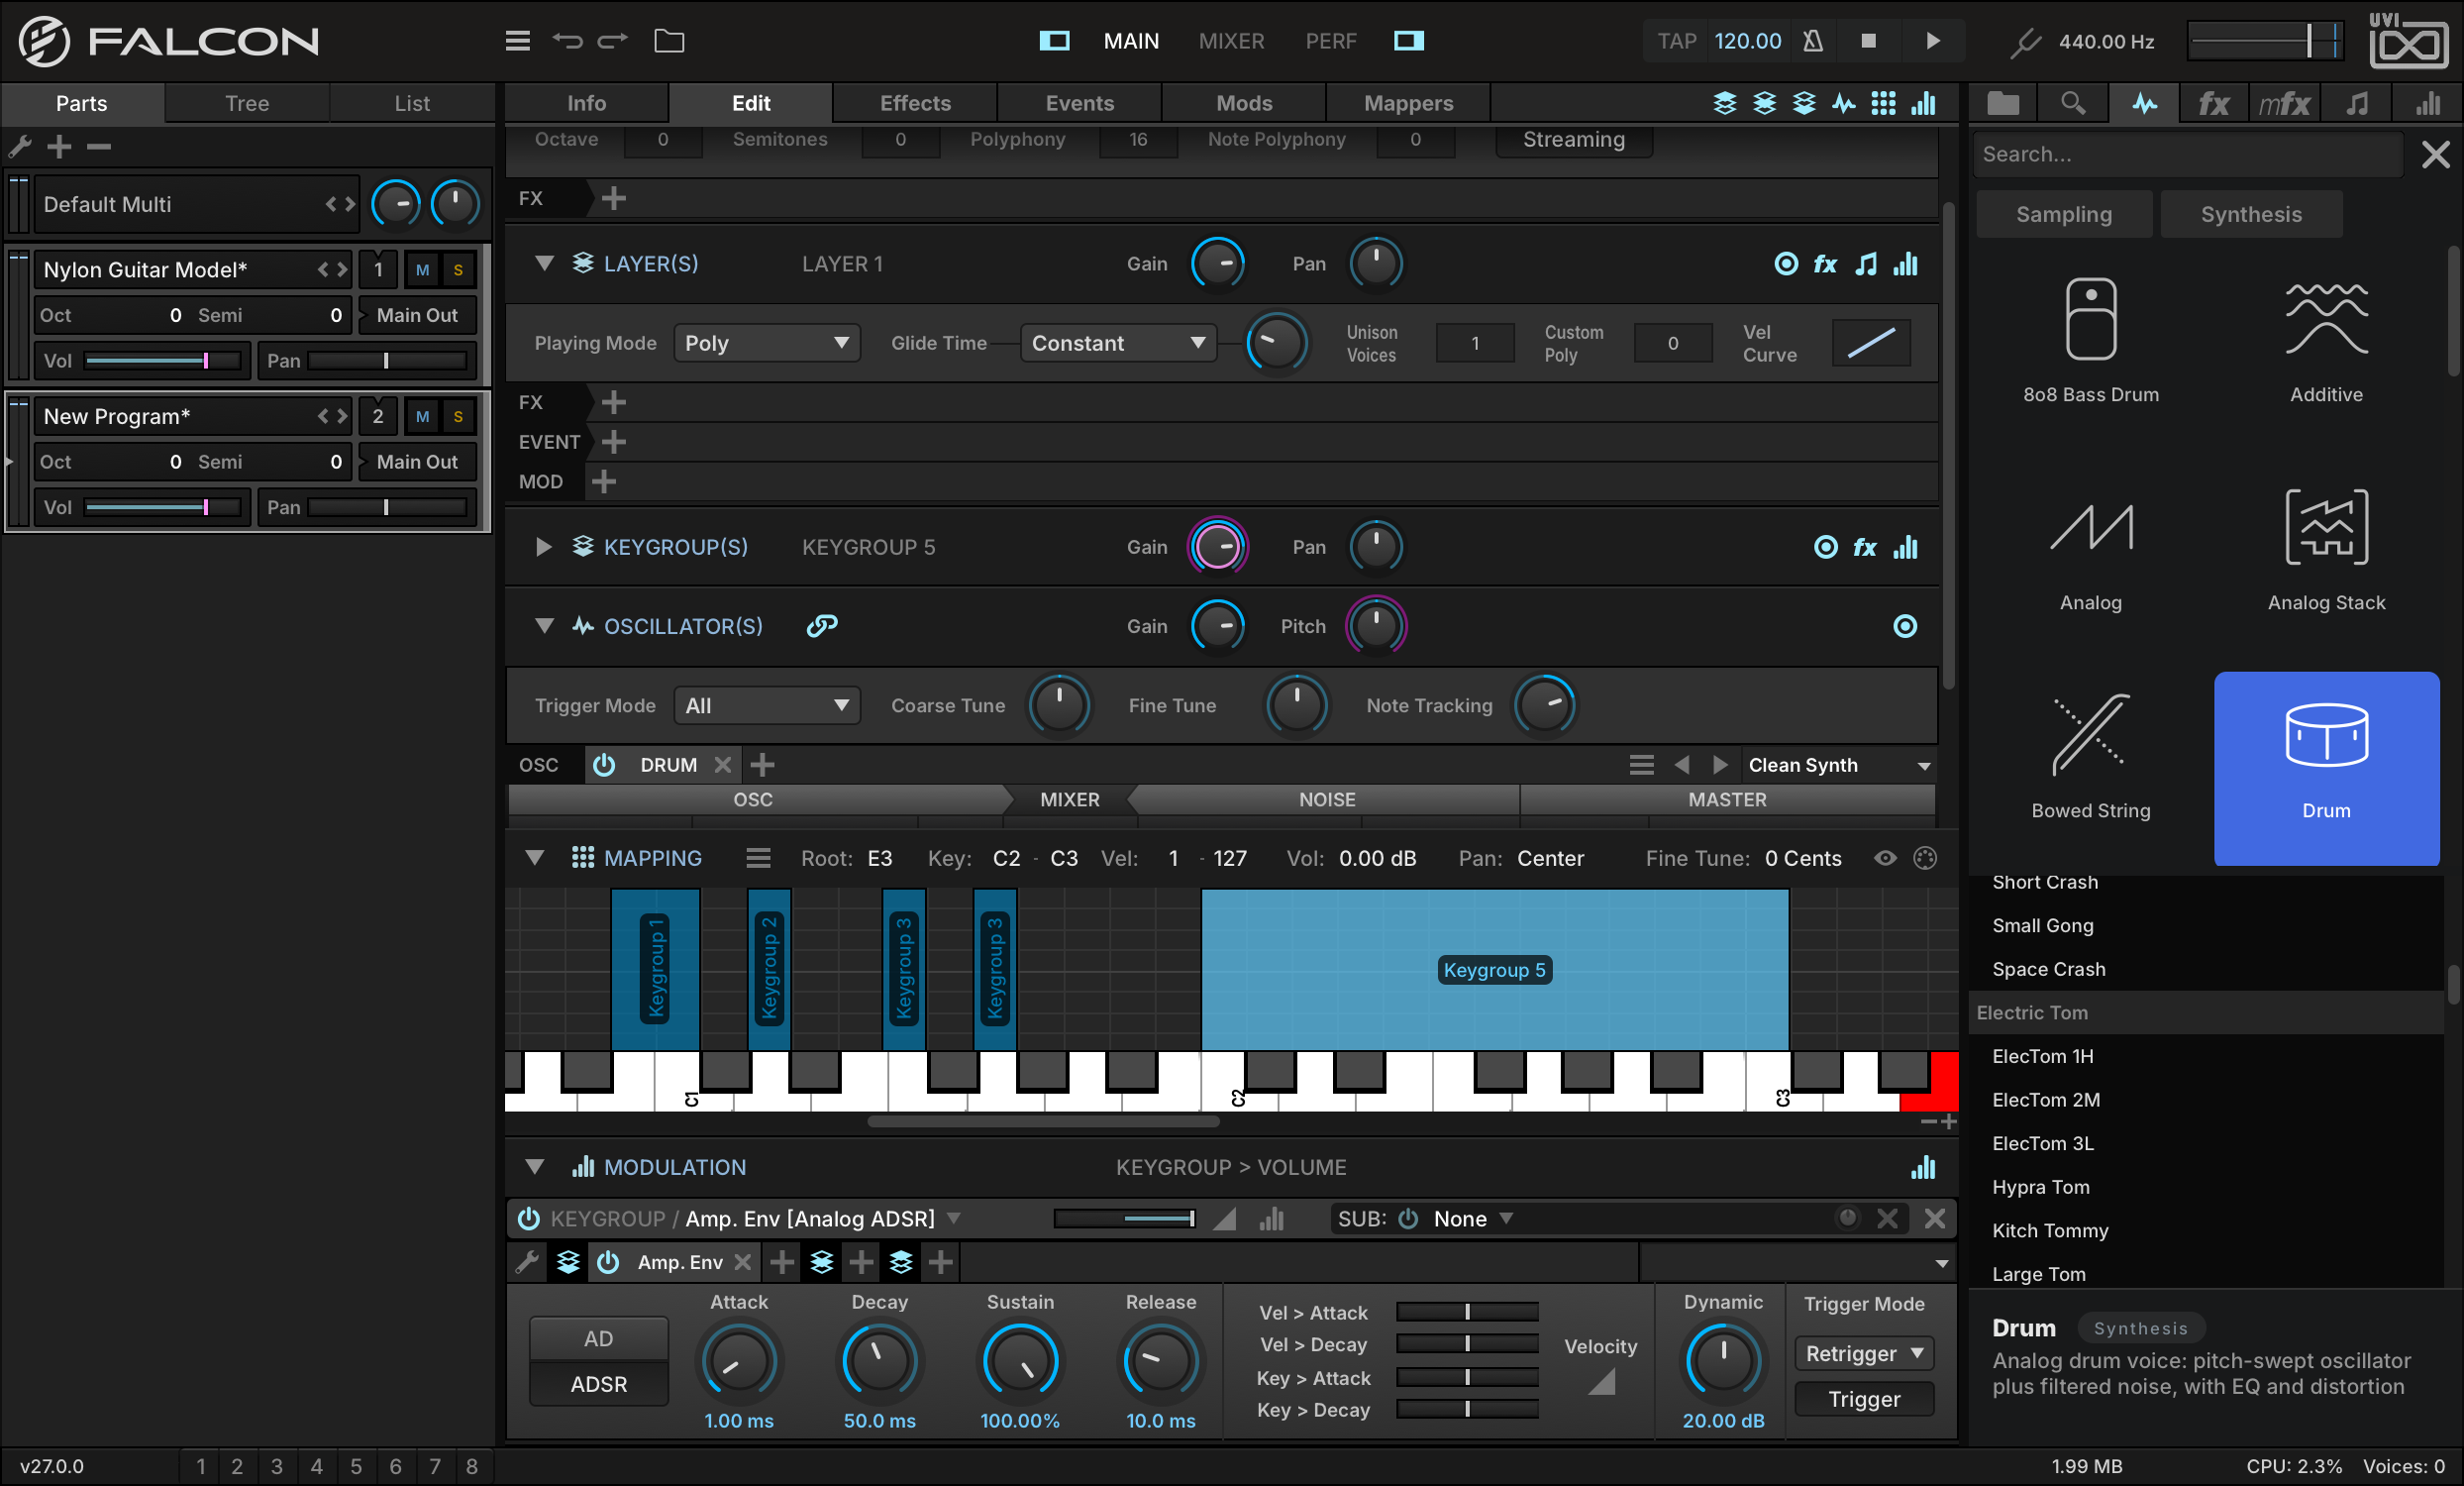
We can also use the Drum oscillator for synth lead or bass sounds. For example, drag in a preset from the Synth folder, such as CLEAN SYNTH, to cover the range C2 to C3. Moving this keygroup to a separate layer will give us more flexibility with effects routing and other program settings, so let’s move the keygroup.
-
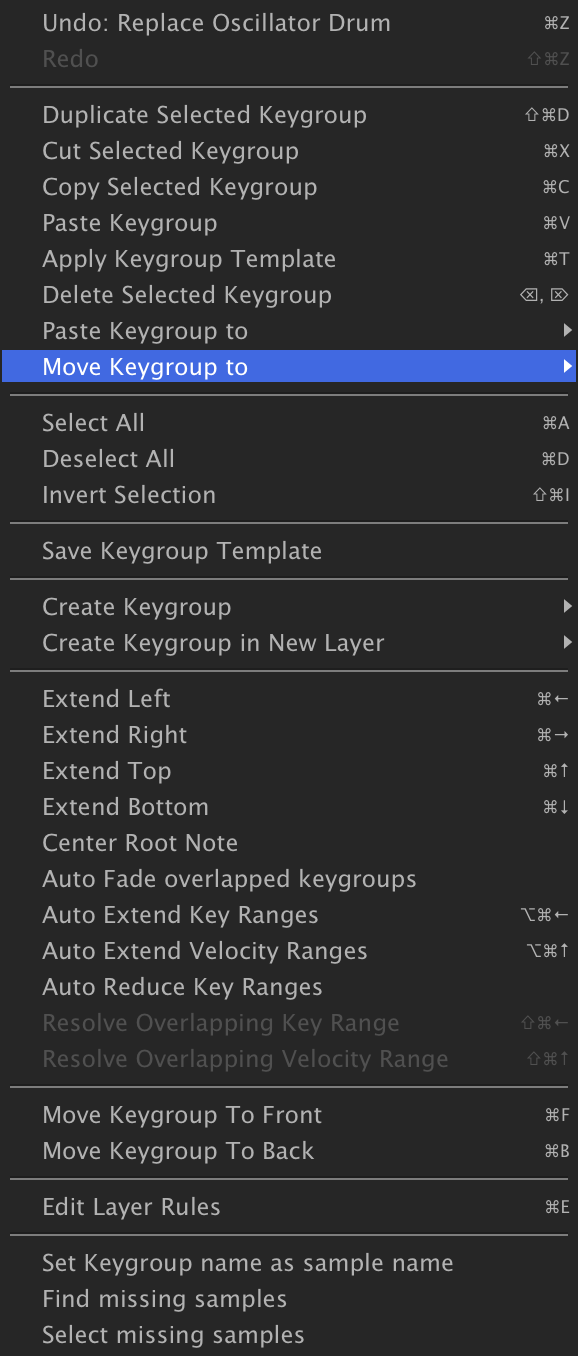
Right-click the synth keygroup in the Mapping Editor and choose MOVE KEYGROUP TONEW LAYER.

You now have a drum kit built from Drum oscillator presets, with a synth on a layer of its own that can take its own effects (see Interface › Effects); for every Drum control, see Oscillators › Drum.