Events
We’ve looked at ways to create and apply effects to sounds, and we’ve looked at ways to modulate them; now let’s take a look at Event processors.
Event modules can generally be thought of as MIDI effects, processing incoming MIDI signals or generating them, though with the Script Processor it’s possible to extend that paradigm to include extremely sophisticated creative devices and interface customization.
The most commonly used Event processors are the Arpeggiator, Micro Tuner and MIDI filters like the Chorder, Tonal Harmonizer and Strum. These are easily mastered devices providing great performance utility.
In the following lessons we’ll take a look at a few of these devices and some of the ways that we can effectively implement them in our own projects.
Using the Arpeggiator
The Arpeggiator is a classic synthesizer effect which modifies the incoming notes and plays them in a programmable pattern to create a dynamic sequence.
-
Let’s start by loading the KEYSHYBRID PIANO program from the FALCON FACTORY REV2 Soundware.
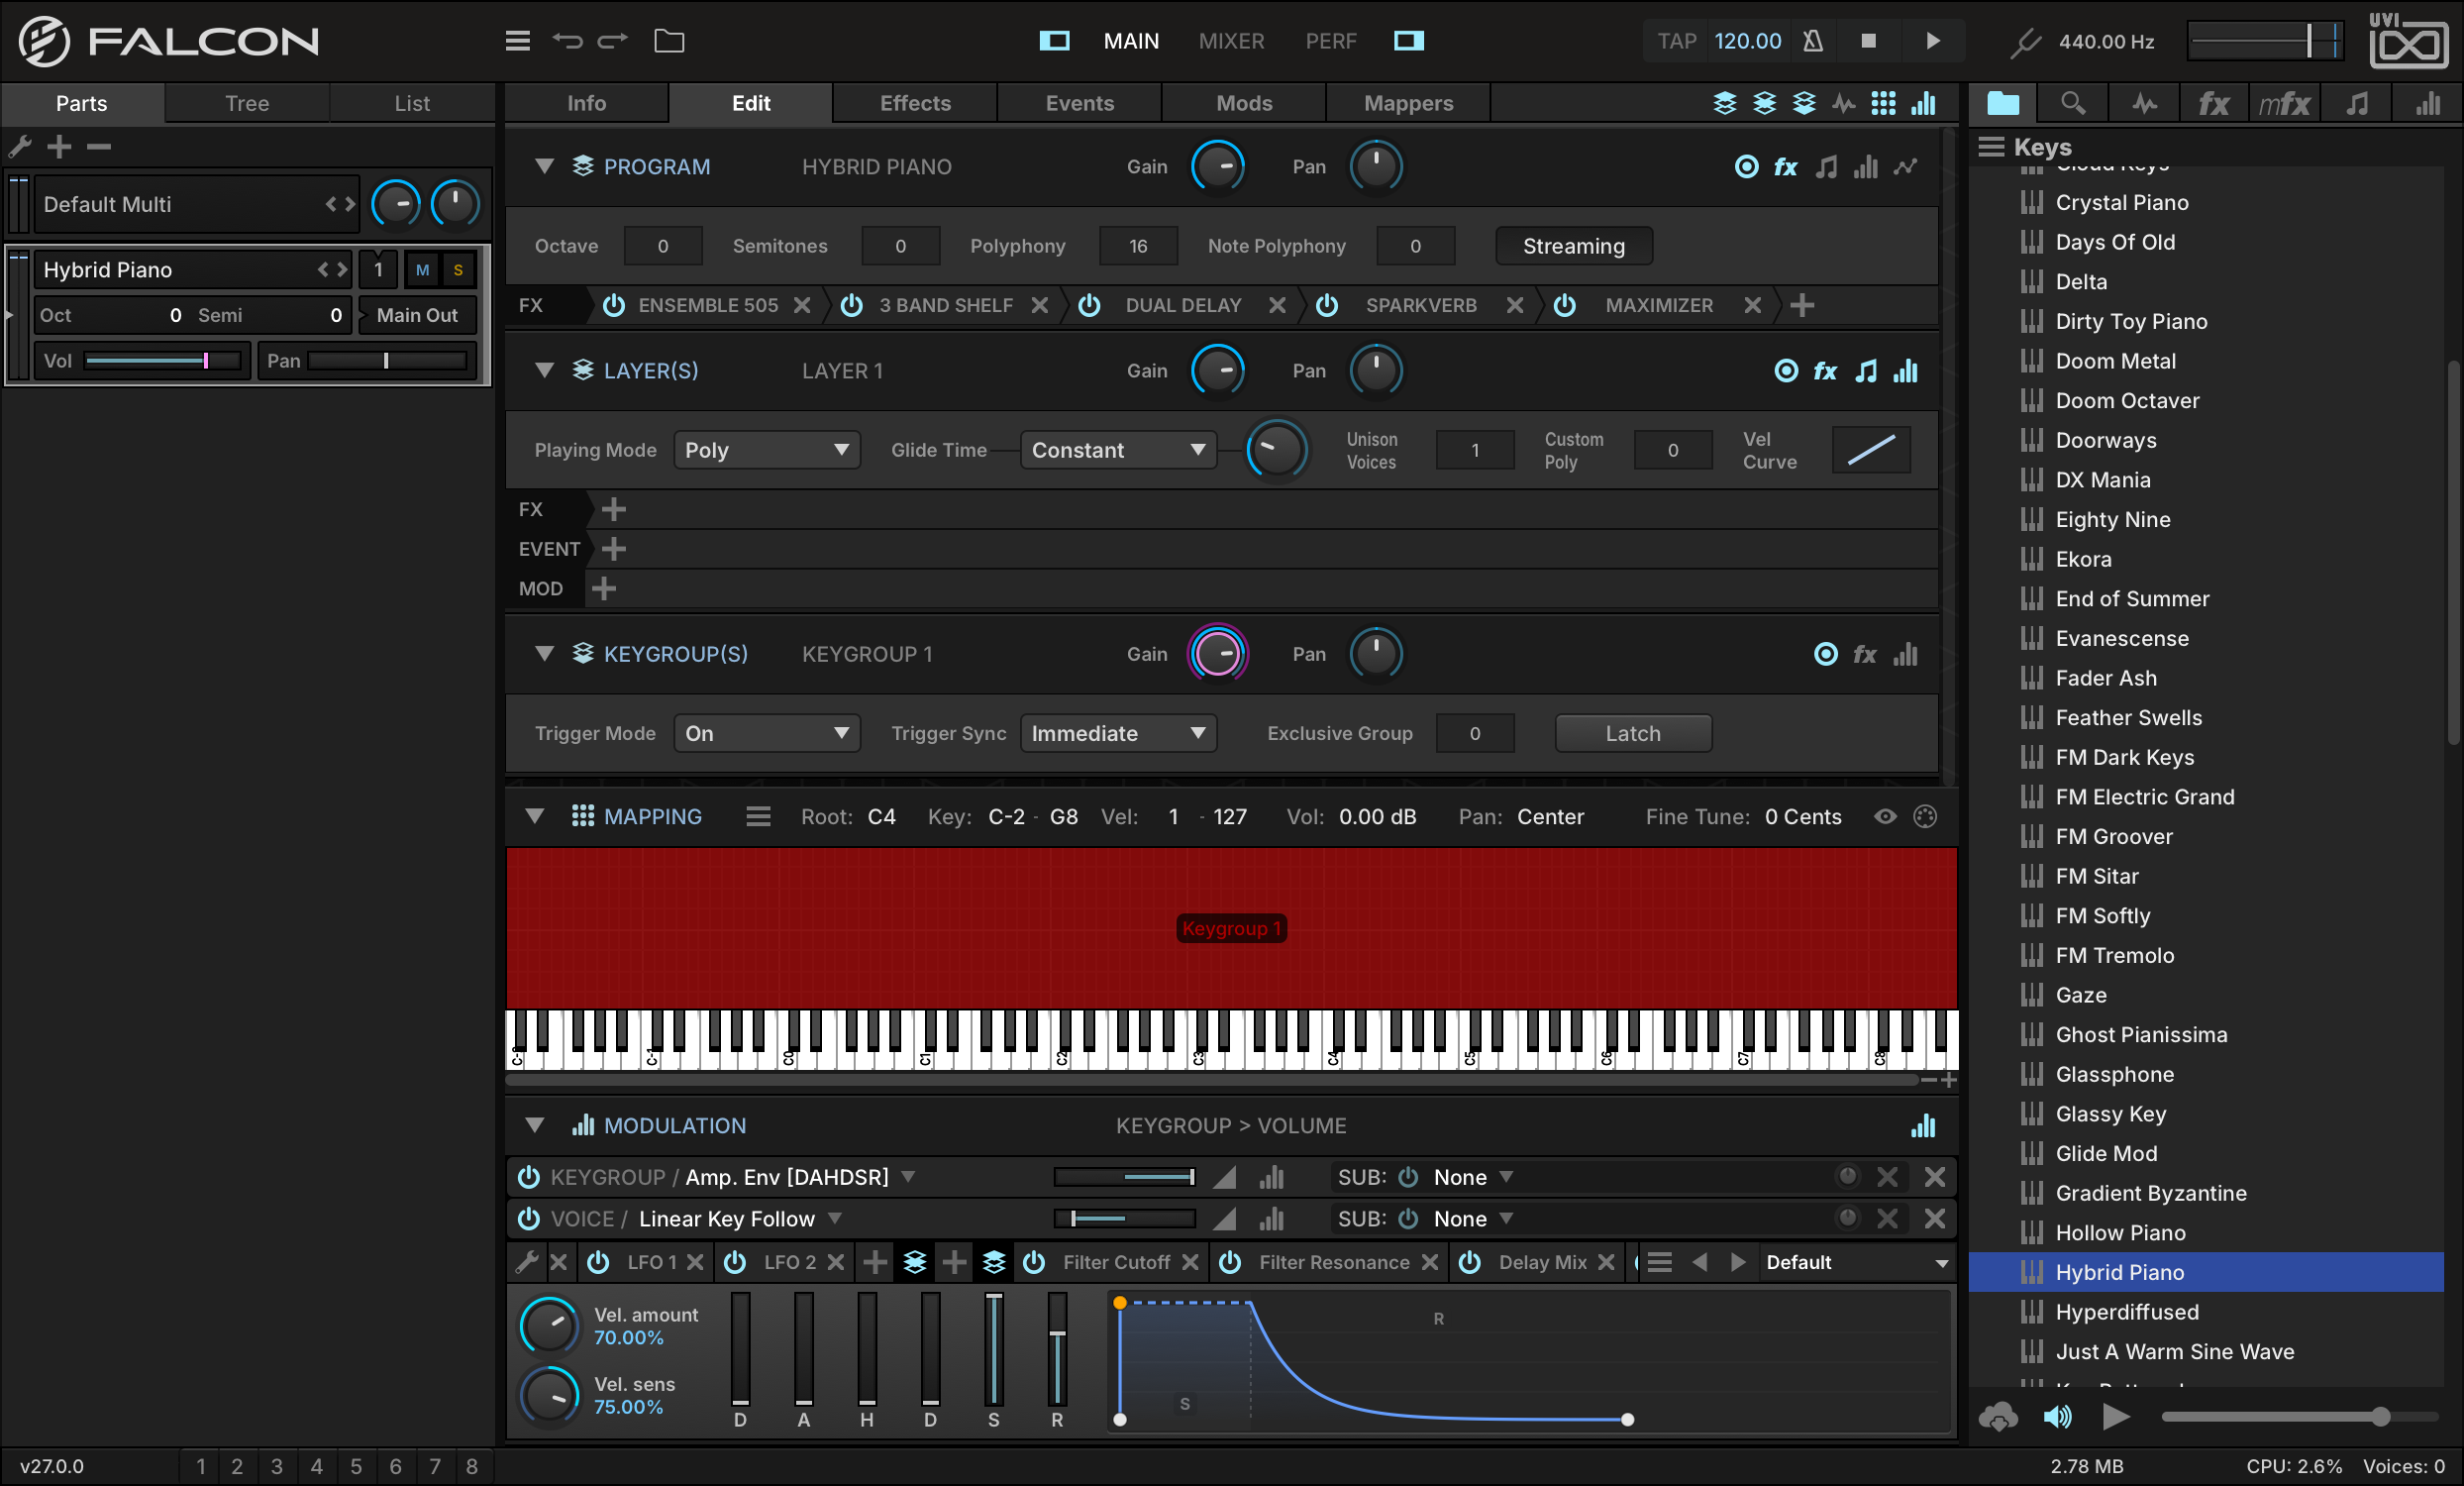
-
In the EDIT tab, change the play mode to POLY PORTAMENTO.
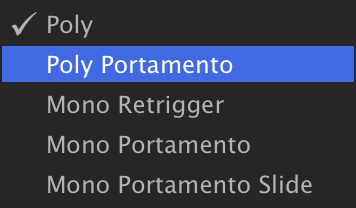
-
Switch over to the EVENTS tab, hit the + button and select the ARPEGGIATORARP BASIC2 OCTAVE UP preset.

-
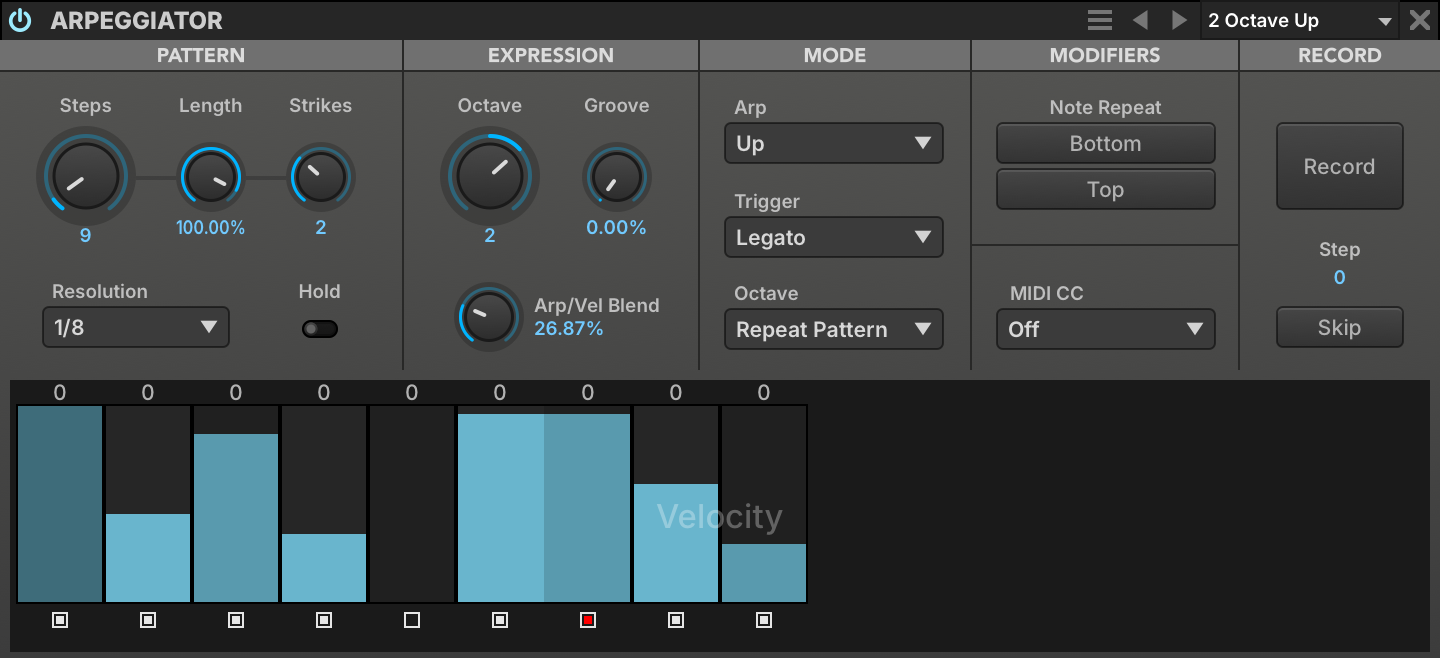
Let’s slow the RESOLUTION down to 1/8 and add a few more steps to this pattern. Change STEPS to 9 and enable step 9 by clicking the step state box underneath it, so that steps 1, 2, 3, 4, 6, 8, and 9 are On and steps 5 and 7 are Off.
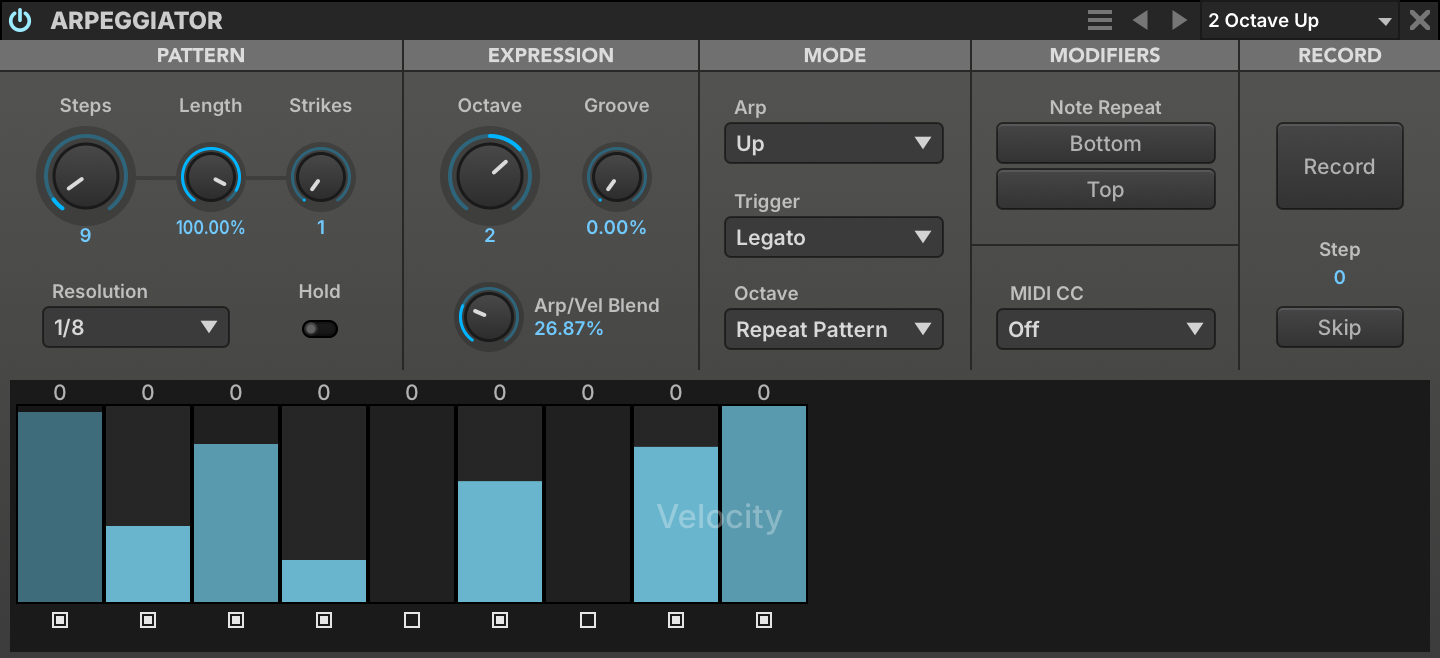
-
Now let’s customize the value of these steps: adjust the velocity by click-dragging in the graph, and modify the step length by Shift-click-dragging.
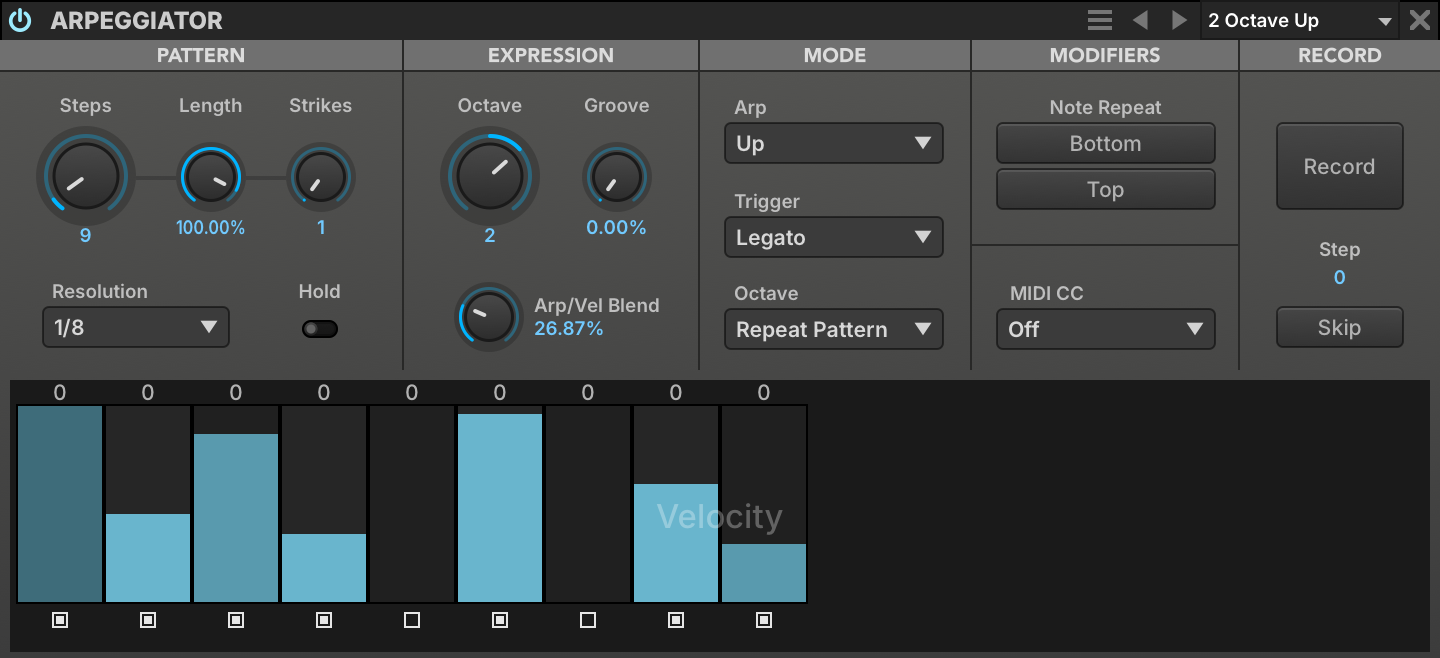
-
To give the pattern a more defined groove let’s change STRIKES to 2 and Shift-click the step state button of step 7 to merge it with the step before it.
-
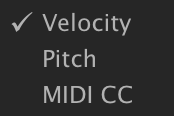
The Arpeggiator has three layers: Velocity and Pitch for notes, and MIDI CC for generating a MIDI CC as an additional control signal. Right-click the step grid to change which layer is displayed. The step state (on, off, or merged) is shared between the three layers, but the velocity, pitch, and MIDI CC values of each step are independent.
Using the Micro Tuner
The Micro Tuner allows the exploration of many unique and interesting temperaments, both modern and classical. It also allows instruments from other musical traditions to be played in their own tuning.
For this example we’re going to create an instance of Falcon in 12-tone Pythagorean temperament with C4 at 256 Hz. Pythagorean tuning is based on a stack of intervals called perfect fifths, each tuned in the ratio 3:2, which gives pure fifths.
-
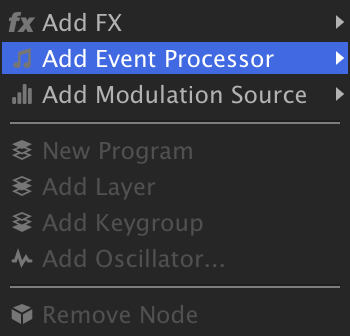
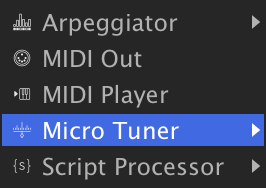
Navigate to the TREE tab, right-click the MASTER node and select ADD EVENT PROCESSORMICRO TUNER. Placing the Micro Tuner at the Master level means that all parts in Falcon will be affected; this is a great way to ensure that any and all instruments loaded or created from here on out will be in tune.
-
Double-click the new Micro Tuner to reveal it in the EVENTS editor to the right. In its default state the Micro Tuner doesn’t do anything. From here we could load an existing preset, but for this example we’re going to use a custom Scala file.
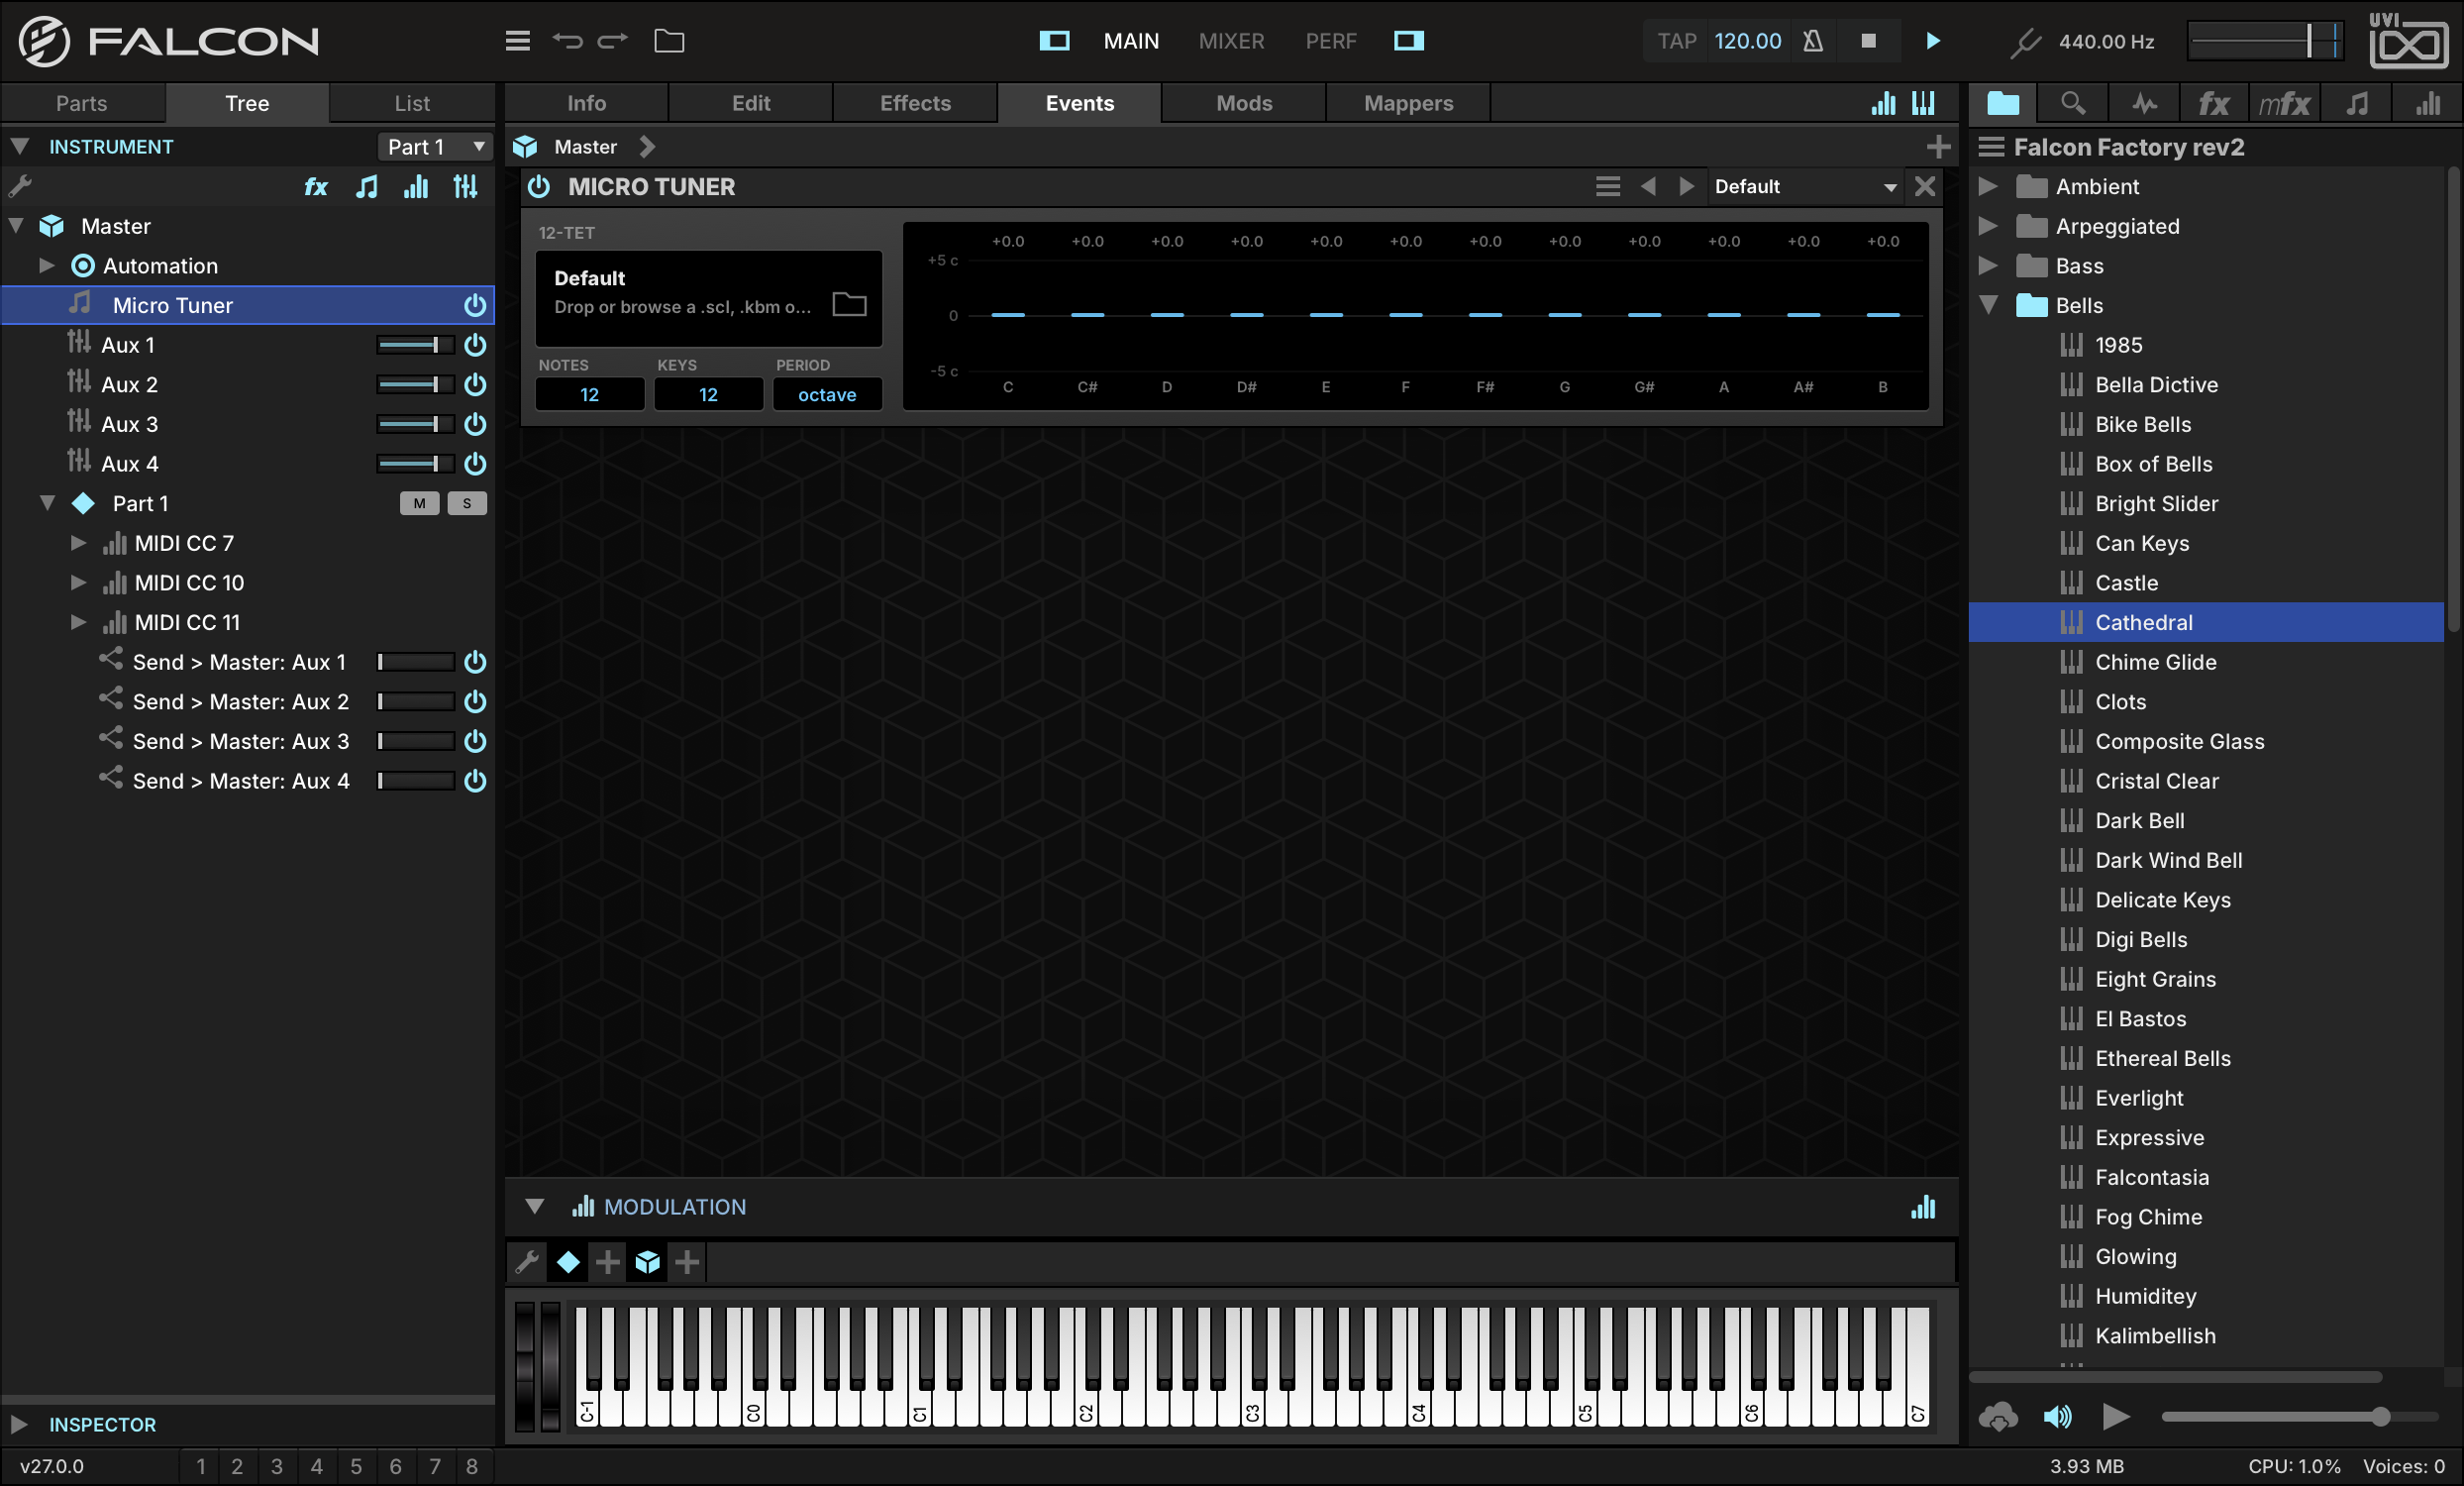
-
Let’s create a new Scala file to describe 12-tone Pythagorean temperament. Create a new text document and paste in the following:
-
! pyth_12.scl ! 12-tone Pythagorean scale 12 ! 2187/2048 9/8 32/27 81/64 4/3 729/512 3/2 6561/4096 27/16 16/9 243/128 2/1 -
Save this document as
pyth_12.scl(UTF-8 encoding) and drag the resulting file onto your Micro Tuner. You can save this as a Micro Tuner preset and it will be available for future projects.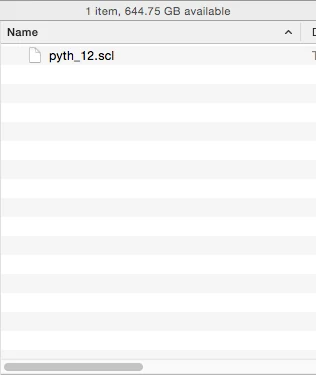
-
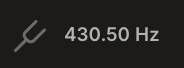
Now change the GLOBAL TUNE in Falcon’s toolbar to 430.5 Hz. With A4 tuned to 430.5 Hz, C4 will be at 256 Hz. This would be a good time to save out the Multi if you wanted to create a template or even SAVE AS DEFAULT MULTI if you consistently use a particular tuning.
-
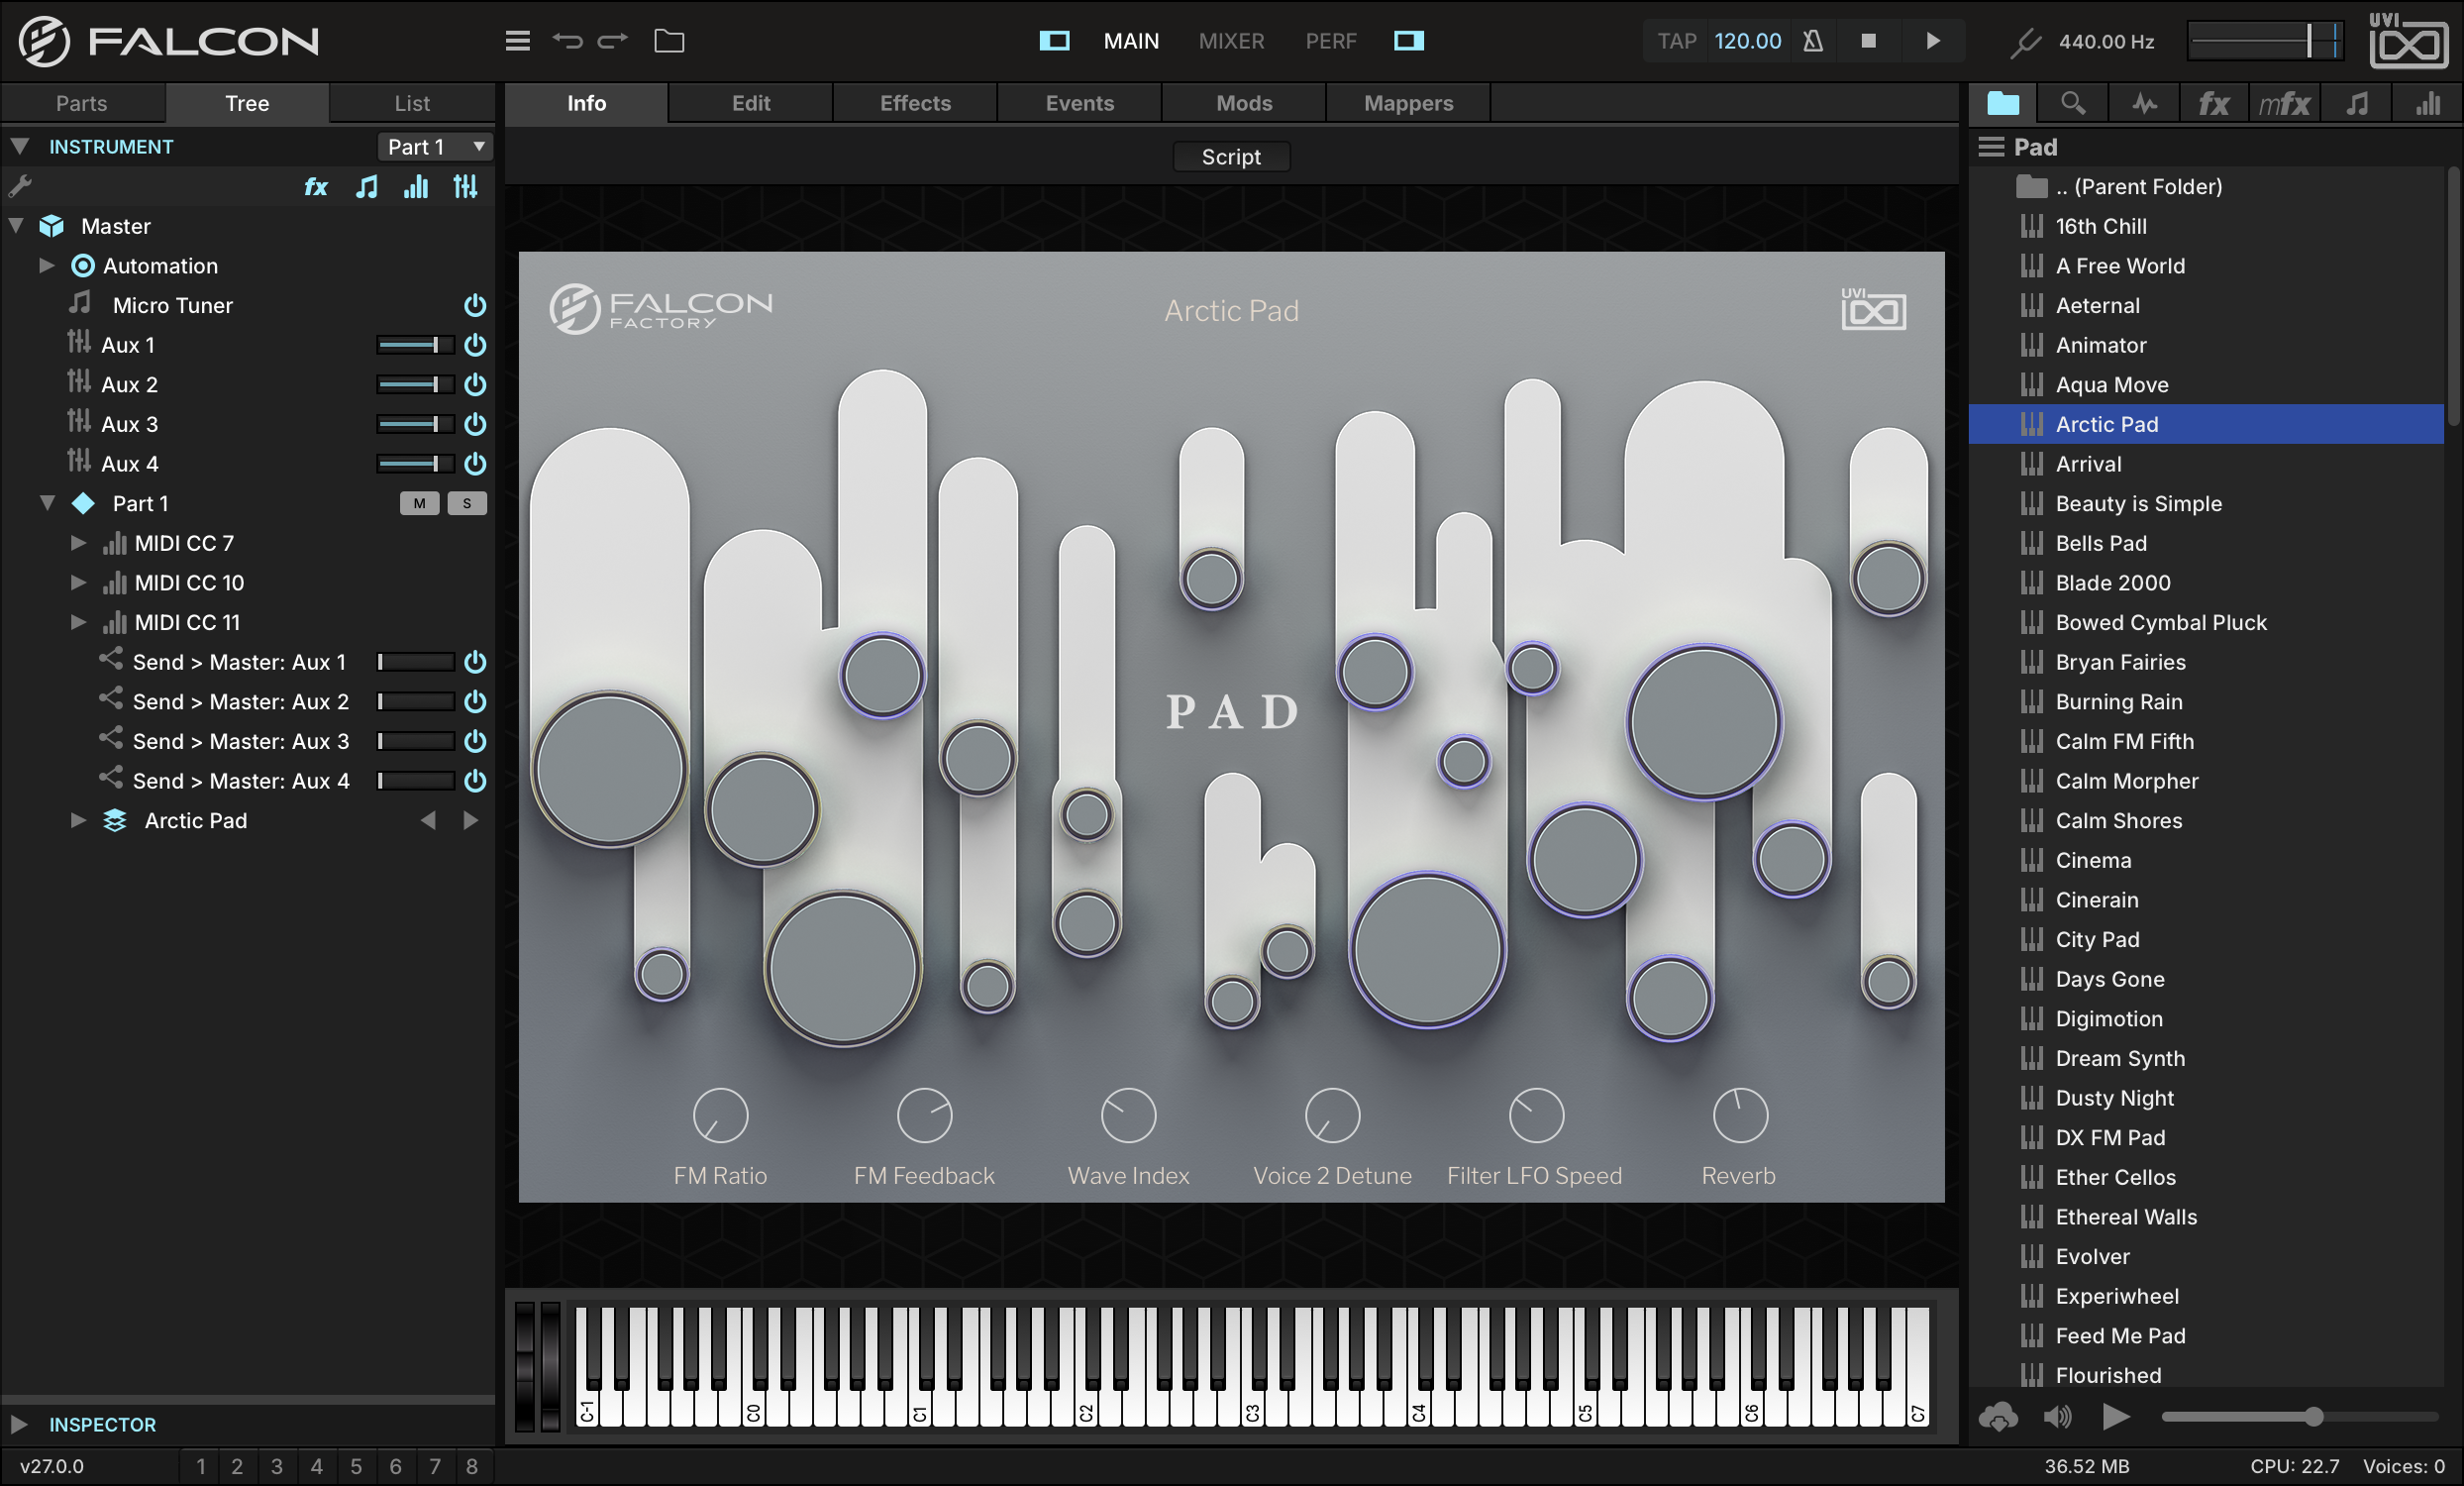
Now let’s load a patch to hear the results. For something with a long release, try PADARCTIC PAD from the FALCON FACTORY REV2 Soundware.
Falcon comes with many Micro Tuner presets, and you can easily add more with custom Scala files.
Using the Script Processor
The Script Processor module provides custom event processing capabilities, using the Lua-based scripting language UVIScript.
The Script Processor module has two primary sets of controls: the standard controls for interacting with the script itself, and the controls defined by the loaded script (knobs, buttons, menus, and so on).
-
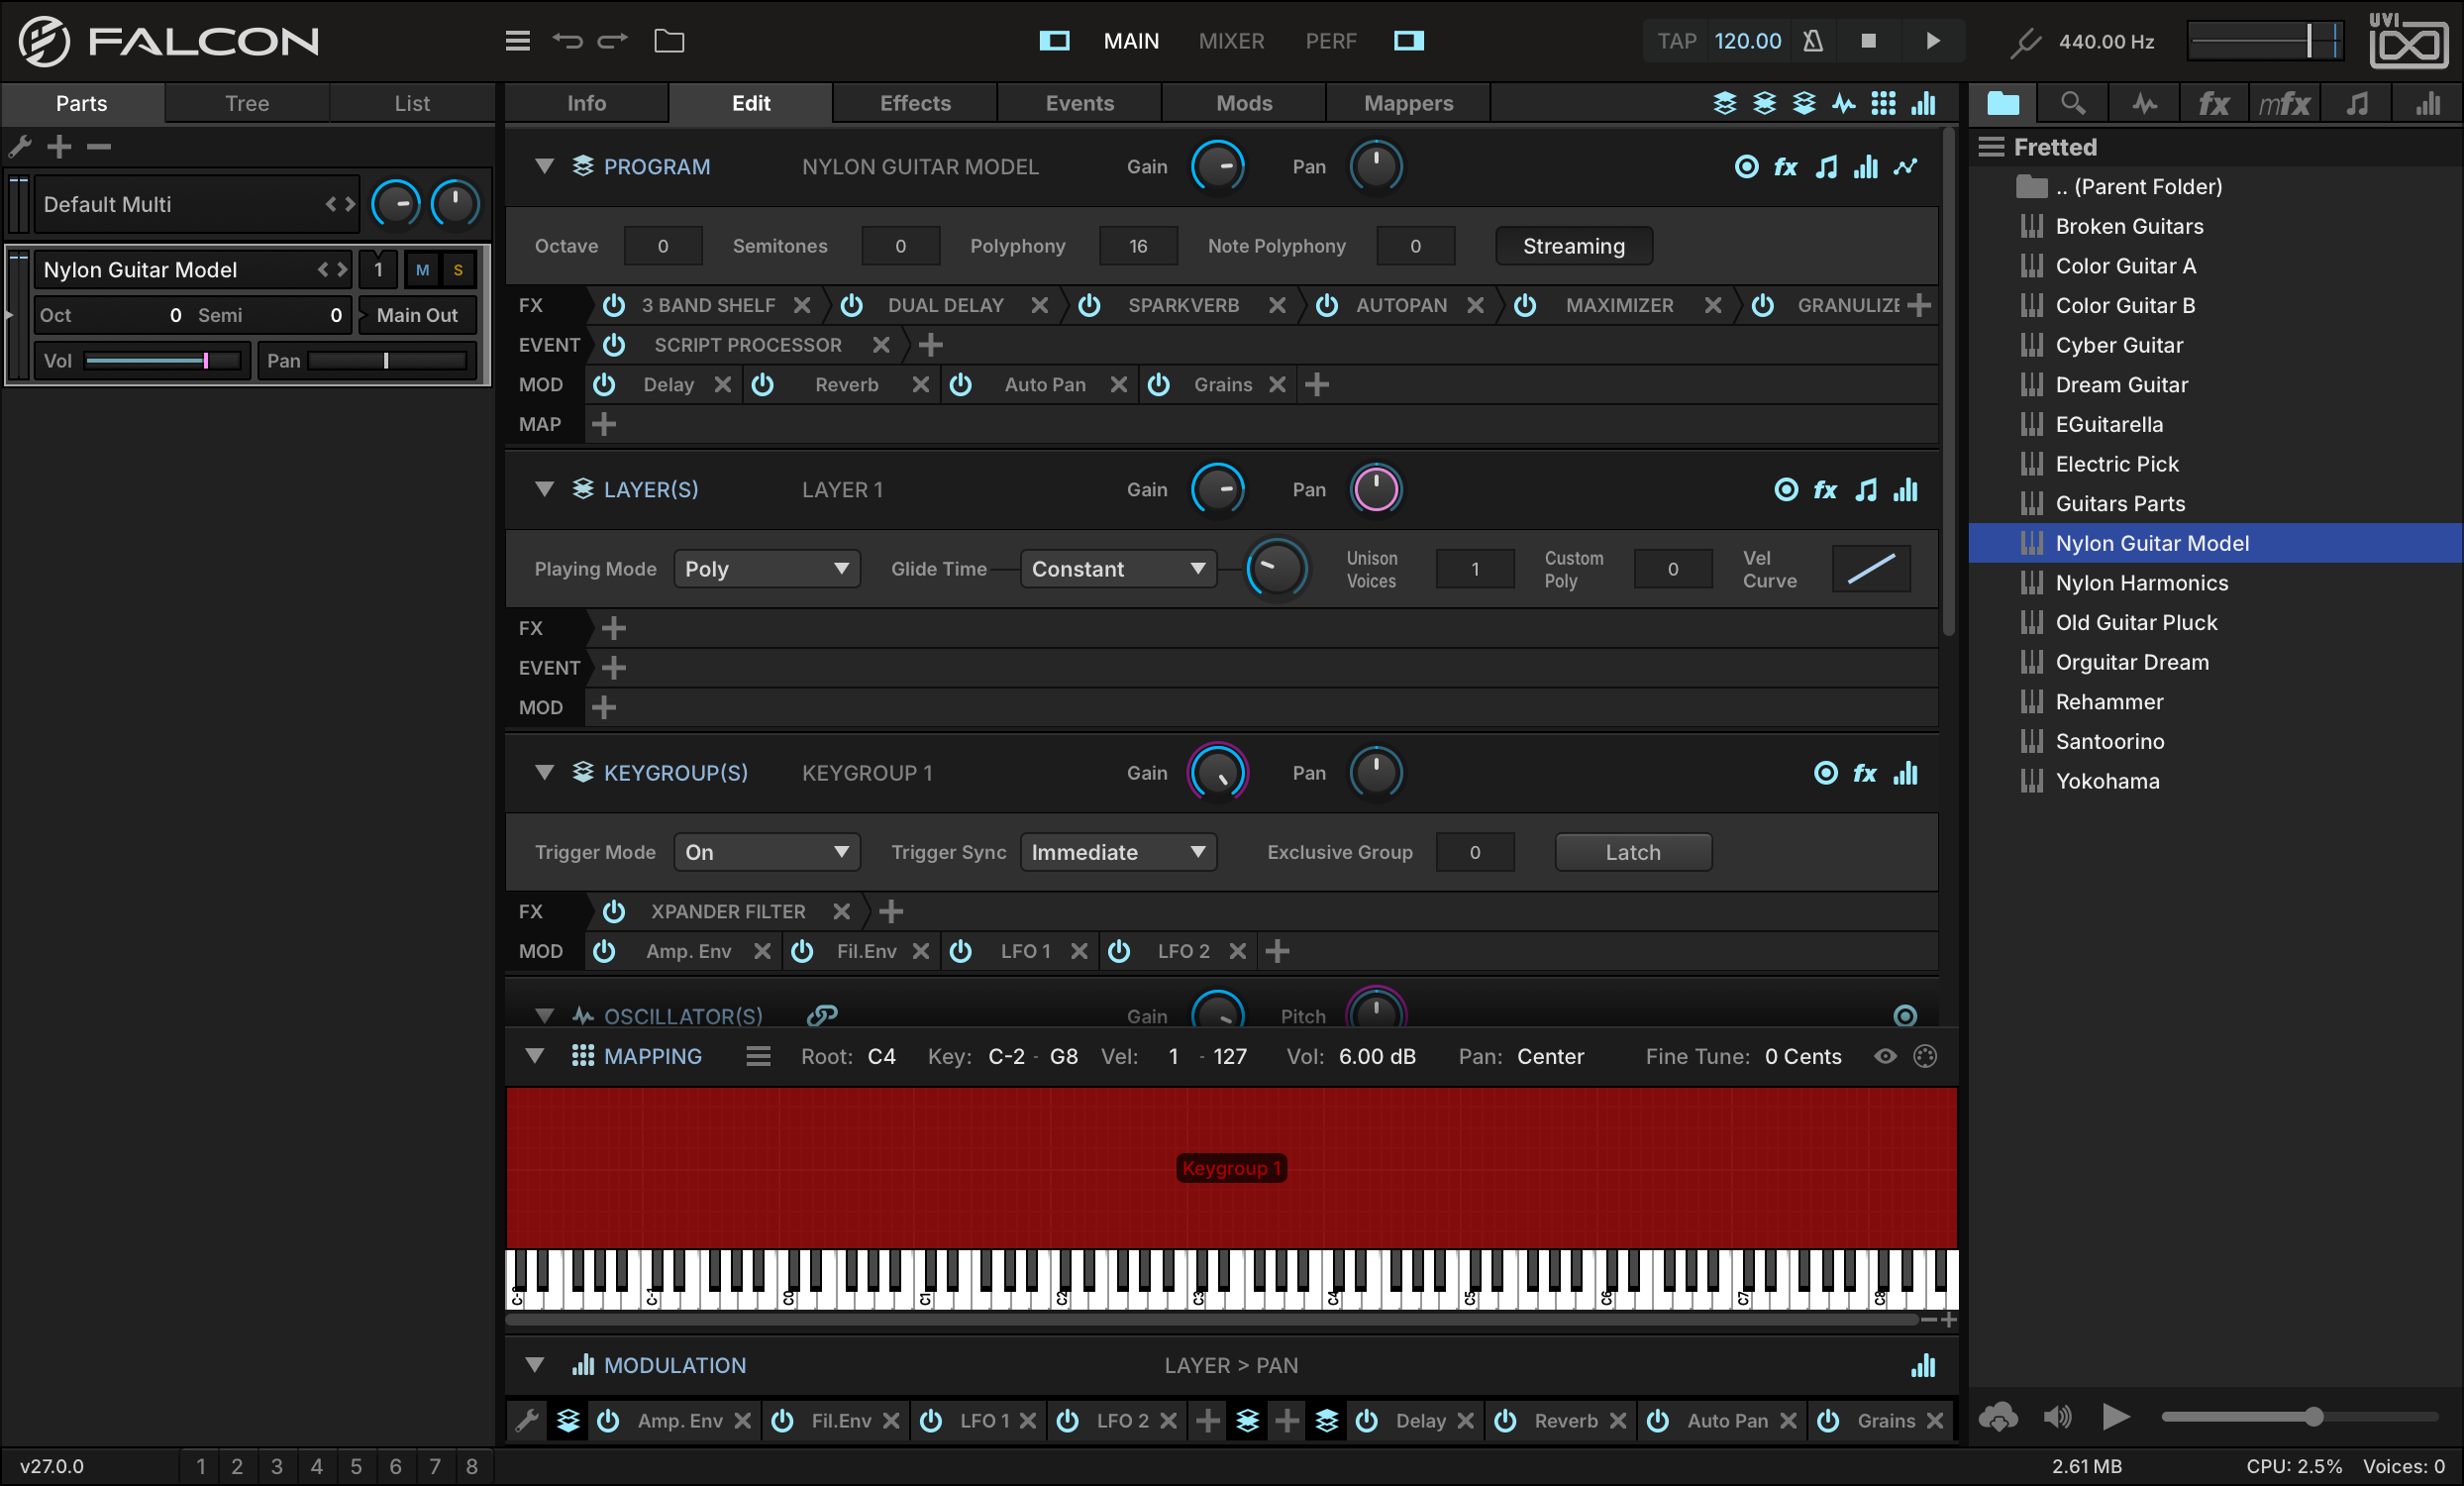
Let’s load the FRETTEDNYLON GUITAR MODEL program from the FALCON FACTORY REV2 Soundware. Then go to the EVENTS tab, add the Script Processor module, then load the PERFORMANCESTRUM preset.
-
The script adds four parameters: DIRECTION, which orders the notes (up, down, alternating or random), LAG (0–200 ms), the gap between them, HUMANIZE, which randomizes that gap, and VEL. SENS., which shortens it as you play harder. Adjust LAG and play a chord, and you’ll hear the notes played in succession as if strummed rather than triggered all at once.

-
Let’s start with a simple script that prints some information about each note to the Script Processor console. Enter the following code into a text editor and save the file as
printer.lua:printer = OnOffButton("Print", true) function onNote(e) if printer.value == true then print("On : ", e) end postEvent(e) end function onRelease(e) if printer.value == true then print("Off : ", e) end postEvent(e) end -
In the Script Processor module, press the LOAD SCRIPT button on the left and choose the
printer.luafile.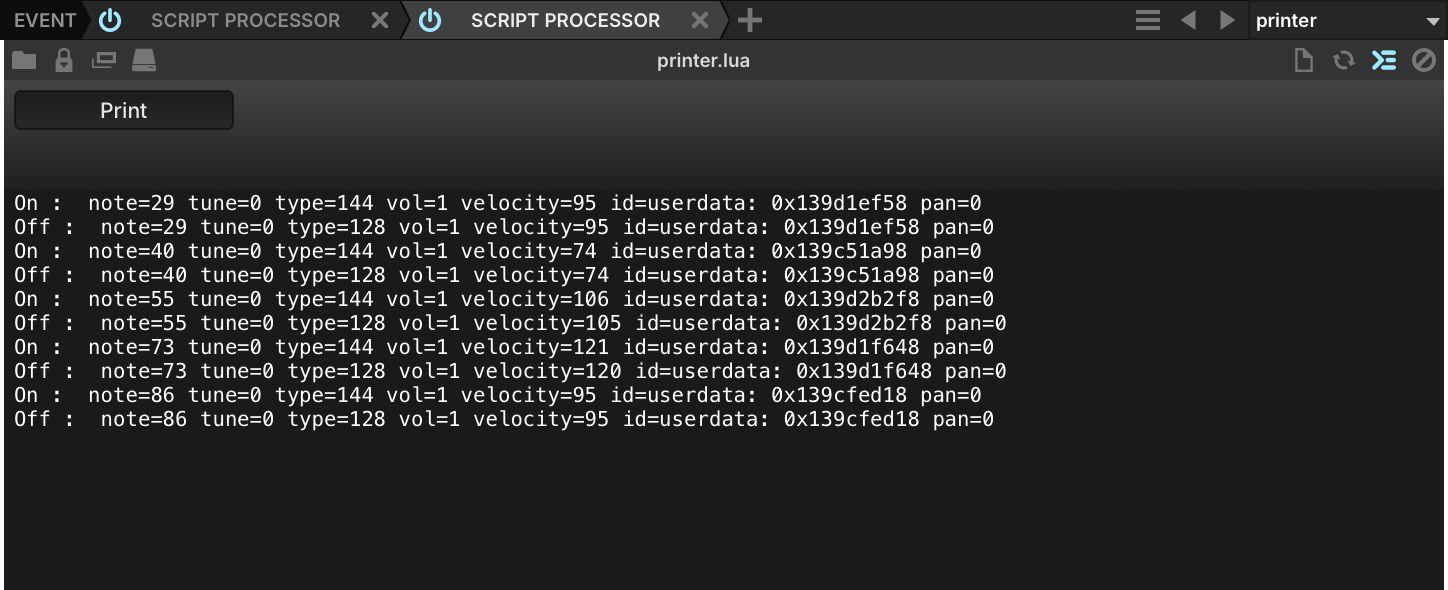
-
Then enable SHOW SCRIPT CONSOLE OUTPUT at the right of the module’s toolbar, which is generally used for displaying debug messages, and play a few notes—you will see that as each note is triggered and released, a line of information about the note is printed to the console so long as the script’s PRINT button is enabled. If you disable the Print button, the messages no longer print to the console.
You have loaded a factory script and written one of your own that logs every note it receives. To go further, see Scripting in Lua, and for the module’s own controls, Event Processors › Script Processor.